Mercy (Overwatch) Cosplay Progress: Update January 2
I was able to get a bunch done over the New Years holiday, so I will be catching you all up now.
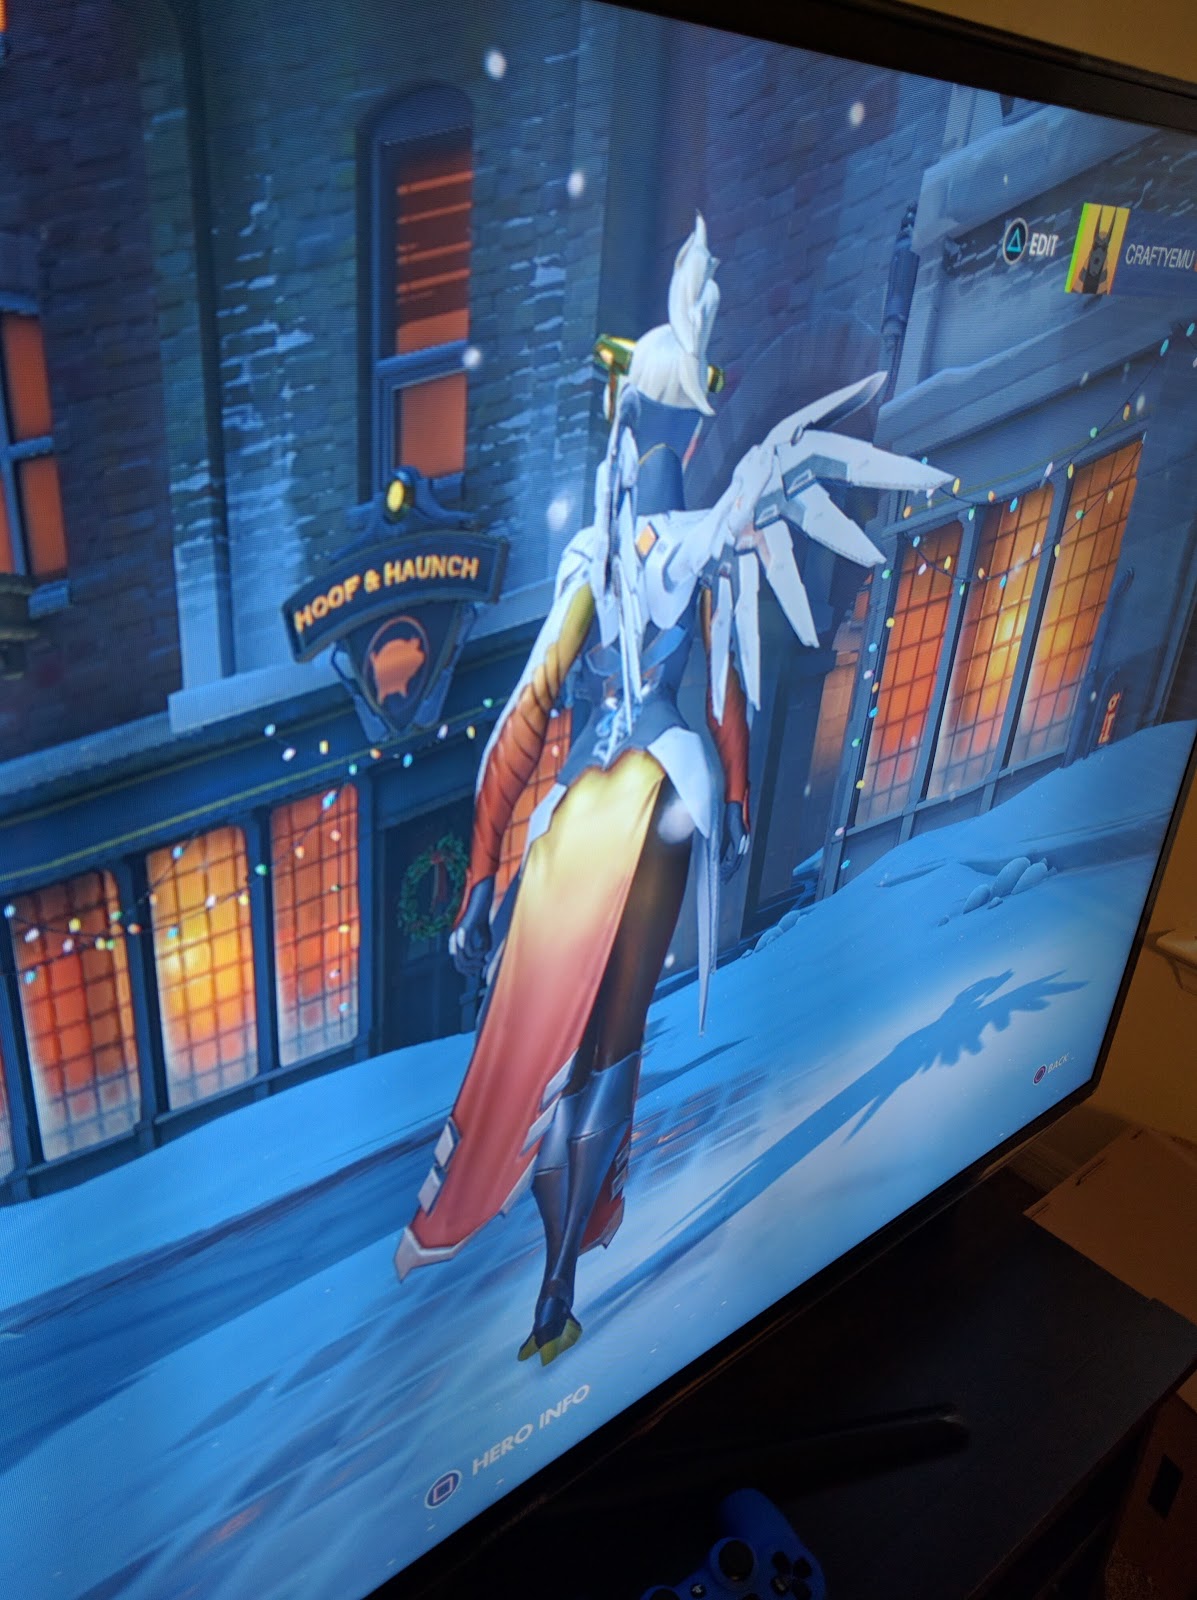
First, I got some new reference pictures from the game. These made it a lot easier to figure out the skit fitting, which I will discuss at the end.


Wings
First, I scratched my wings. I was totally hating them and they weren't turning out the way I wanted. I decided to make them out of foam board instead.


It was much easier to get a finished product and to make the cuts that I wanted. I simply cut out the shapes in layers and stacked them up. I initially stuck them together with hot glue, but I took them apart in order to add the wing blades and wrap the wings in Worbla.
I made the feather parts out of acrylic sheeting that I picked up from Home Depot.


Once I wrapped the pieces in Worbla, I started painting them in Gesso to get the wings smoother.

I spray painted the feather parts with Cider Apple paint that I picked up from Michaels.


I glued the wing feathers to the center portion of the wings with E600 glue.

To solidify the bond, I applied weight.

And that's where I am on those right now.
Boots and Leg Armor
I purchased Refresh Women's Ringo-03 Knee High Side Zipper Closure Chunky High Heel Dress Boots off of Amazon.
I painted the bottom of the shoe and heel in a light orange paint. Unfortunately I don't have pictures at this moment, but I will have them in the future.
I made the leg armor out of foam wrapped in worbla.


I will be adding straps and details later.
Chest Armor
So my chest armor was another thing that ended up sucky and again I scraped what I had done earlier. My original armor was too thick so I couldn't sit down and it wasn't smooth.
I decided to do my armor in pieces so that I could get the shapes right.
I started with the lower half.

Next, I tried to mold the Worlba to make boobs. I shaped the Worbla to the bra that I was planning on using since my dress form is pretty flat chested. However, it didn't have great results.

So I dropped the bra and molded it directly to the dress form.


I connected the two with scraps and a picture is below after the Neck Piece and Collar. I also added some shaped shoulder pieces.
Neck Piece
For the neck piece, I didn't want anything too stiff and would allow for full function of my neck, which ruled out a neck corset design. I took inspiration from a ski mask for my pattern.
I made an example out of masking tape on my foam head. Yes, it is a man's foam head. Yes, I have a giant head so this is totally necessary.


Then I cut it out of fabric and fitted it to my head.
And here are the finished results (ignore the greasy suck-tastic hair).


Collar
I used EVA foam and then covered it with the same fabric from my tunic.

Picture of Collar, Neck Piece and Chest Armor


Skirt
With the help of my boyfriend, I measured out the skirt on me using the reference pieces I created.
The front skirt was 8" x 33 1/2" and the back was 16" x 24". I double layered the skirt because of how thin the fabric was.
I used yellow Kona Cotton that I purchased from JoAnn Fabrics.

Next, I needed to dip dye the fabric to get the yellow to orange gradient.
I marked out 5" increments on the fabric so that I could keep the gradient matching from the front to the back. The front strip is longer, so it will have more yellow at the top.

I used a Howcast video on dip dying (https://www.youtube.com/watch?v=N458U7QPv5s) as a guide for my work.
I used Rit All-Purpose Liquid Dye in Tangerine.
The results are below.


The bottom isn't as dark as I want, so I may go back and redye with a darker color.
That's it for now. I have a little over a week before Swamp Con so I will be working hard to accomplish the rest of my costume.
If you have any questions, feel free to ask!
TTFN!
Tendrás las plantillas de las alas para la skin rosa ?
ReplyDelete