Vanessa Carlysle (Deadpool) Strappy Dress
Ever since the Deadpool movie came out, I've been obsessing about Vanessa's strappy black dress.
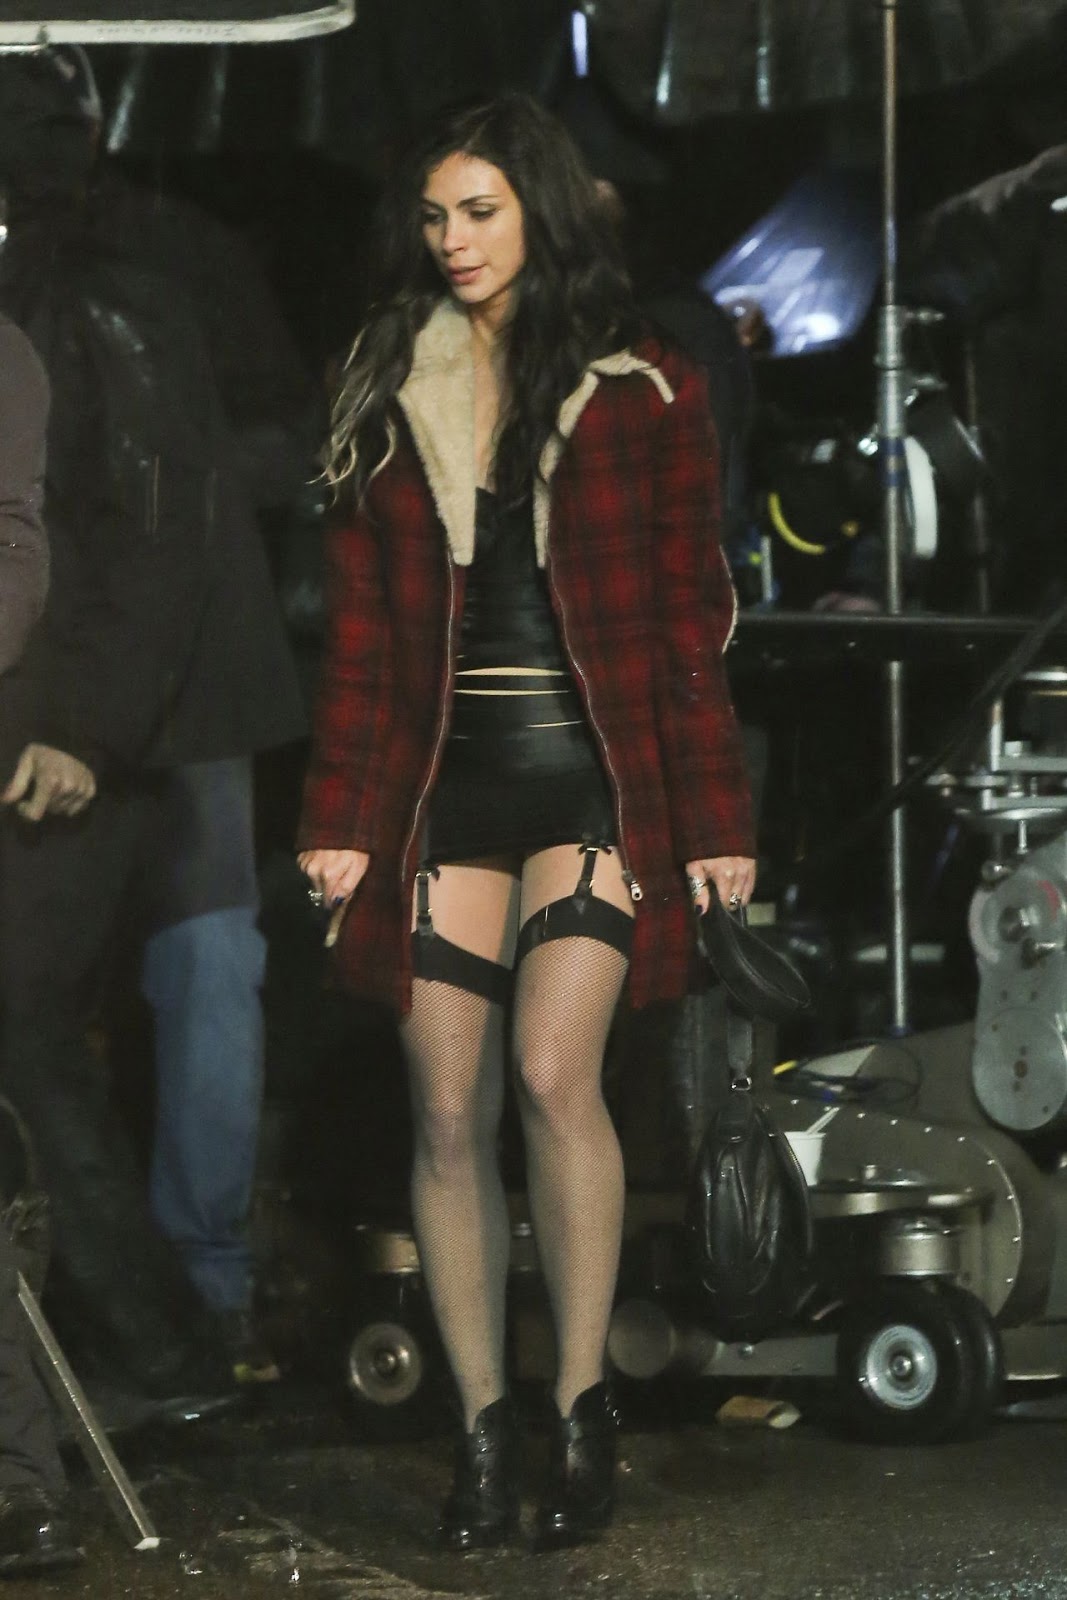

Not gonna lie, this is my excuse to wear something more scandalous that I would normally. Also, I've worn more scantily clad outfits for the sake of cosplay so it really is pretty tame.
Someone on the RPF actually found out that the dress used in the money was the same as the Angela Dress by Bordelle in Black.
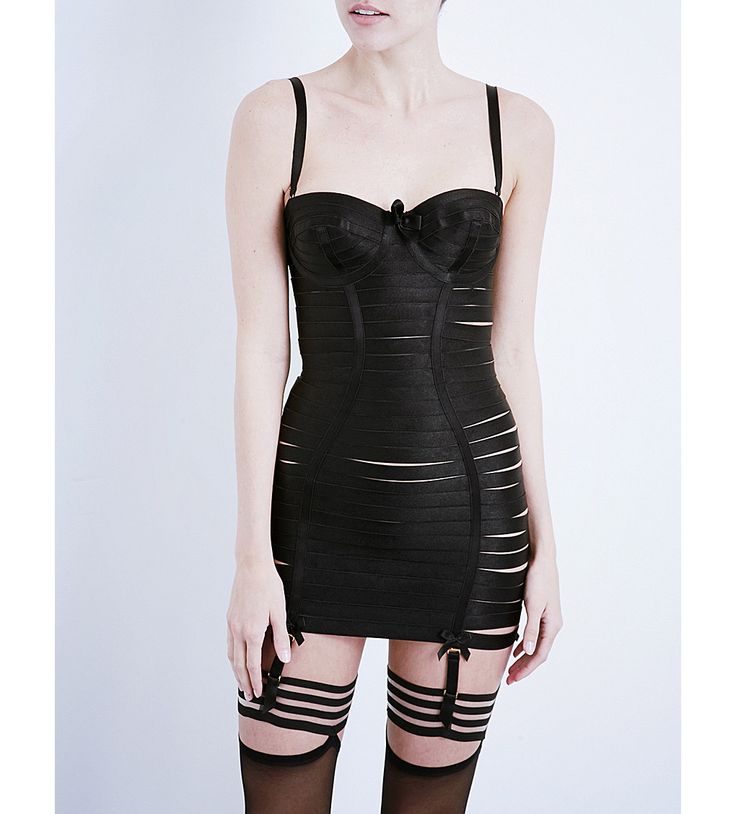
I got ridiculously excited until I saw the price tag. $740.00 AUD (approx. $560 US) is not an amount that I can simply drop on an outfit, so I decided to go DIY.
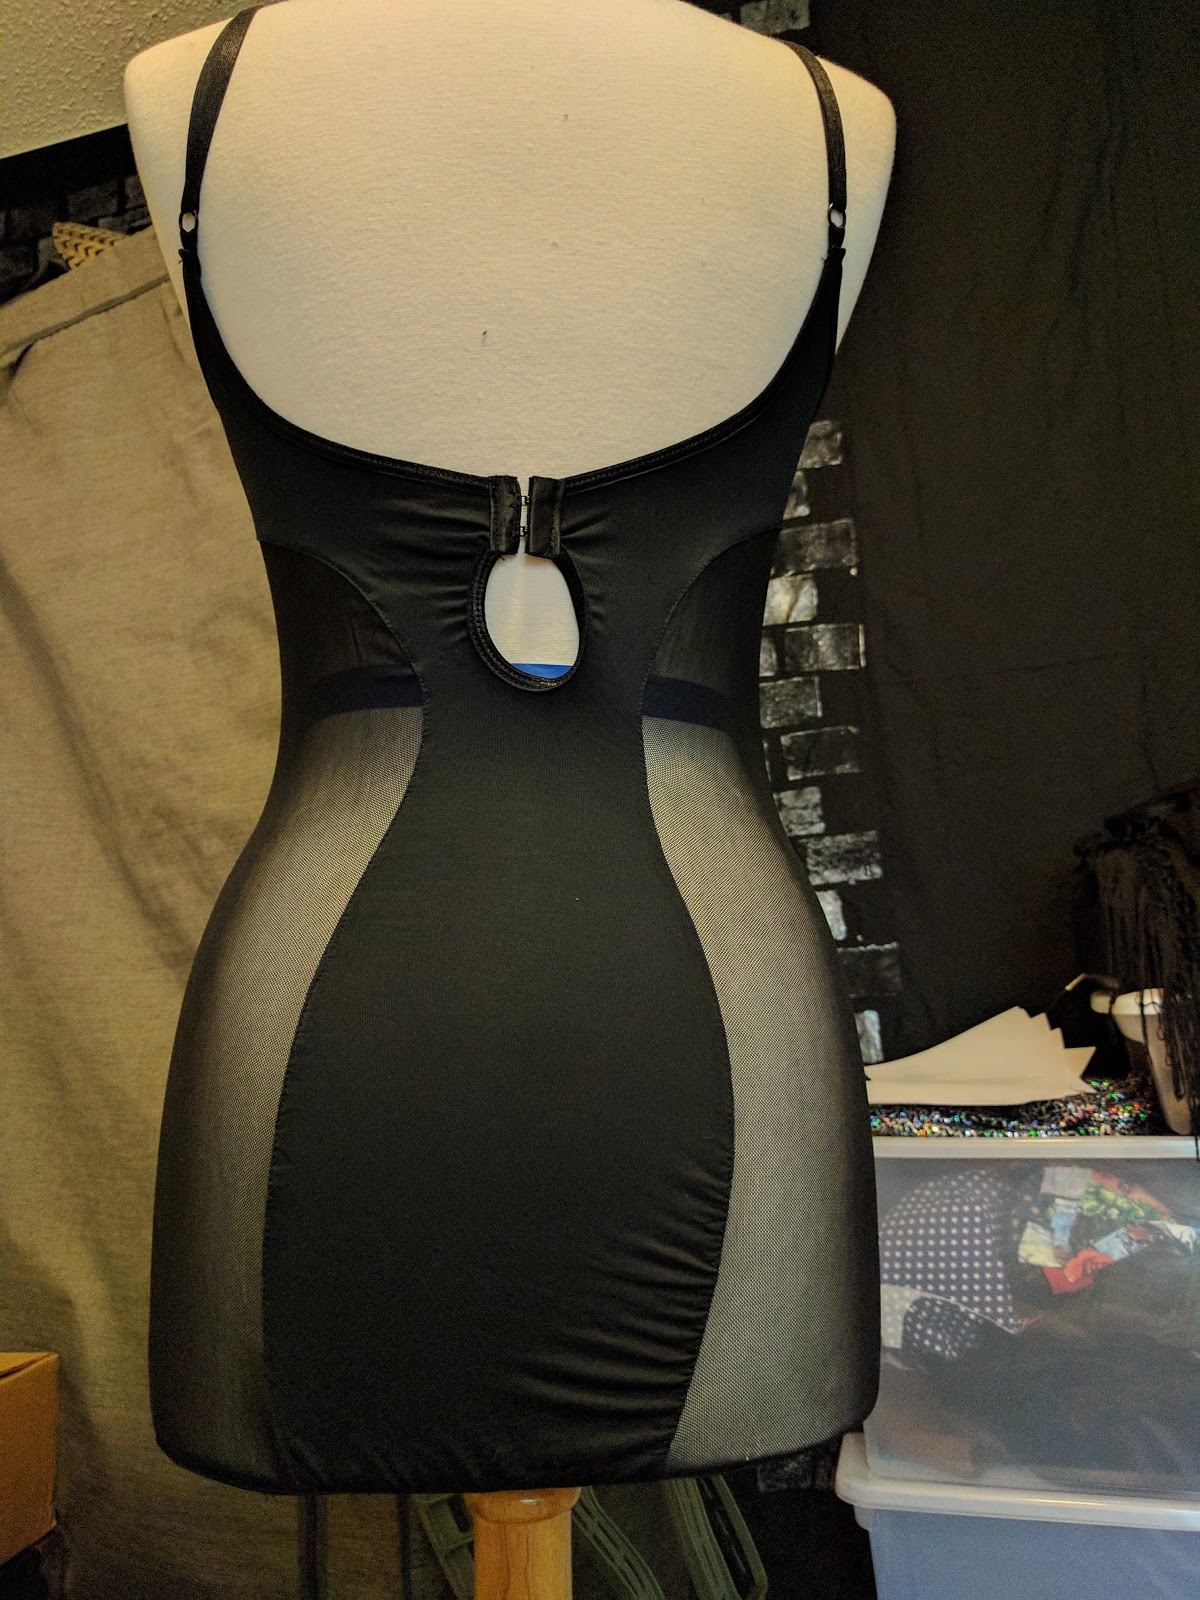
Originally, my idea was to just make a bodycon dress out of elastic. However, I couldn't find a pattern that I liked so I decided to build off of a basic dress. I still wanted to get the slashed up side look, so I found a dress with mesh sides.
Front:

Back:
Side:
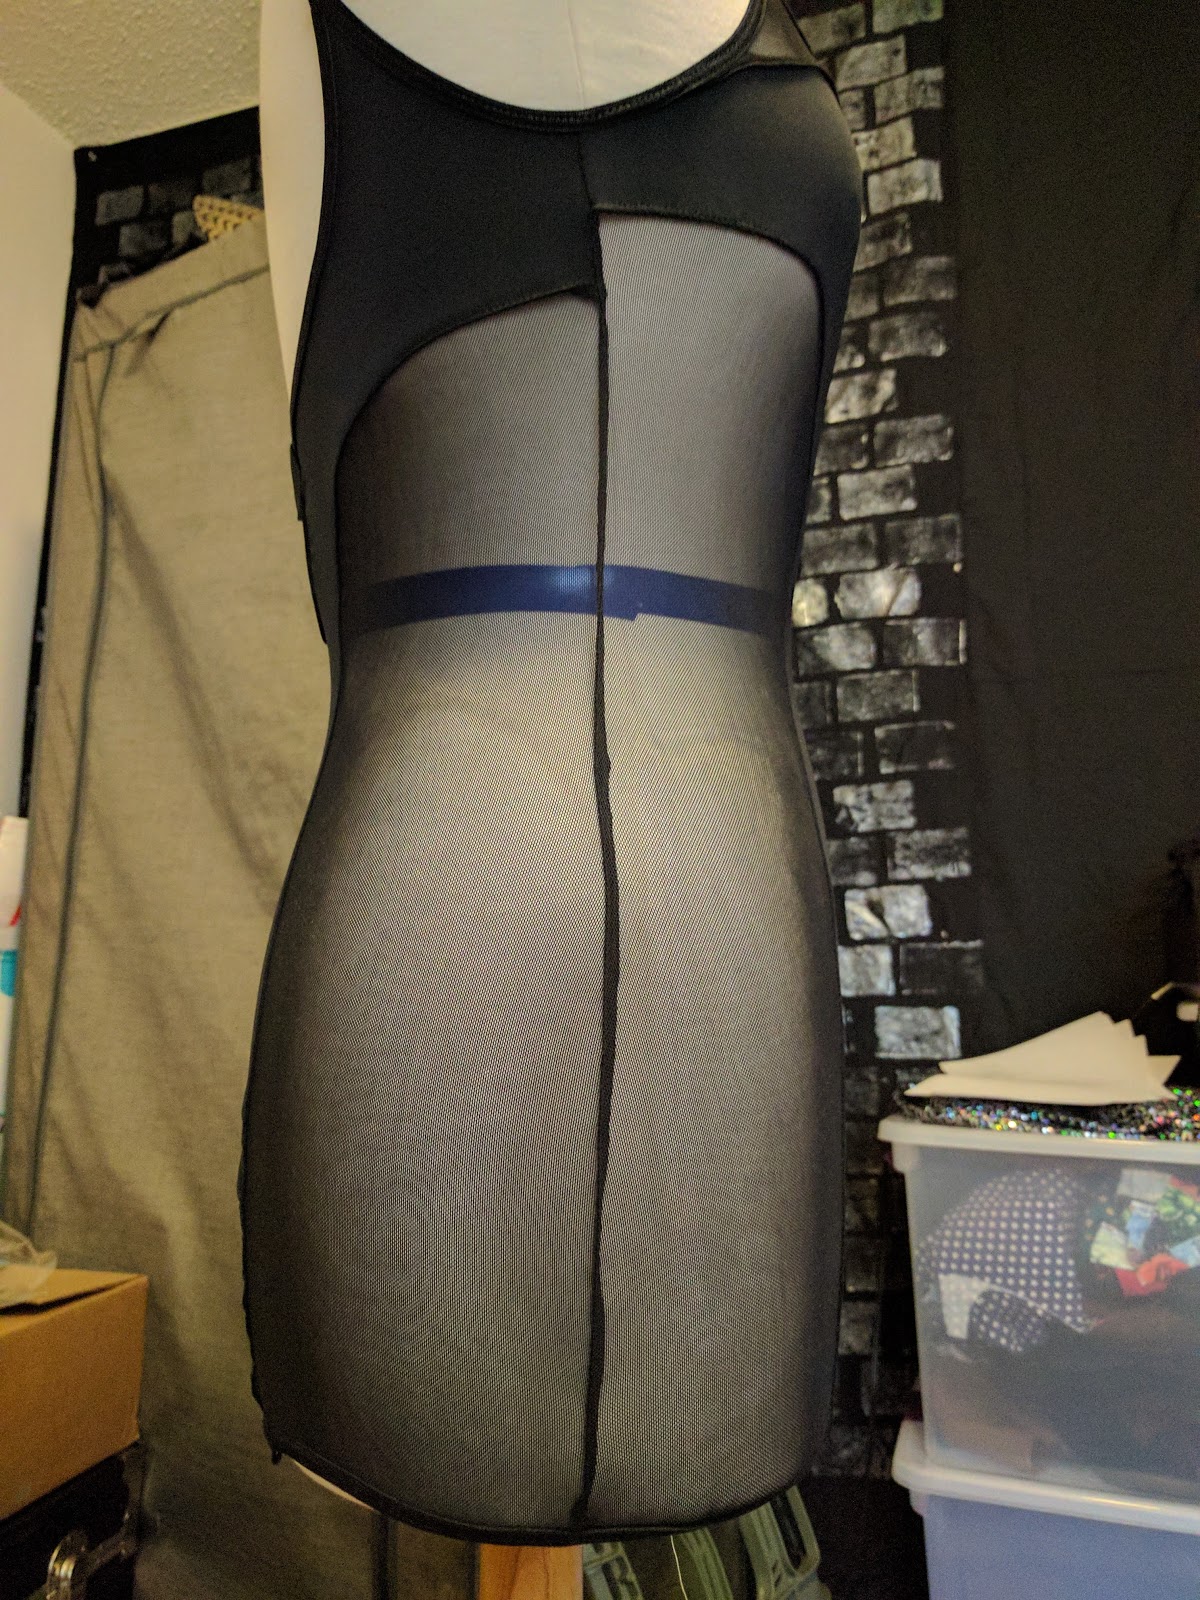
Overall, it covers all the major bits so I don't have to worry about the elastic not covering the goods.
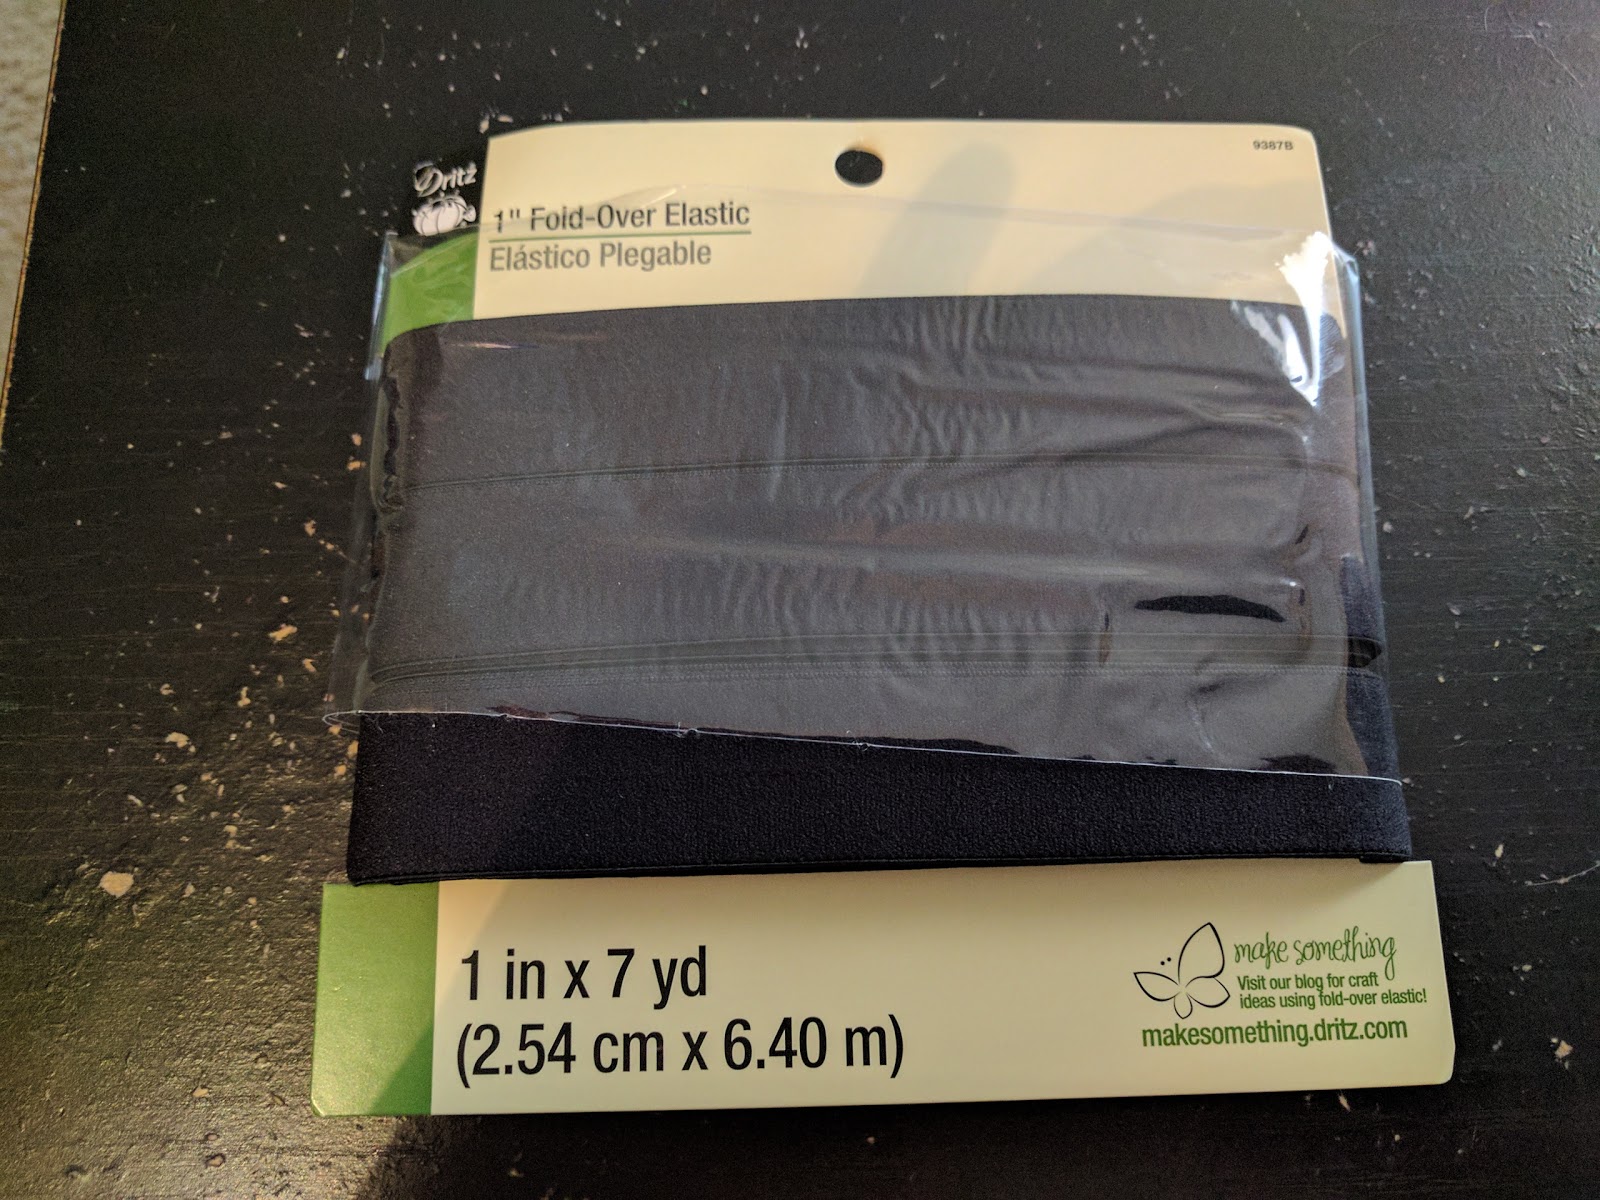
For the elastic strips, I used Dritz 1" Fold Over Elastic in Black. By the end of this post, I have used two packages of the elastic and have bought a third. Use coupons, people. It is the only way.
Applying the Elastic
I started at the bottom of the dress and made loops of of elastic. I did not overly stretch the elastic because I am a bit bigger than my dress form. I wanted the dress to be tight, but not hate myself.
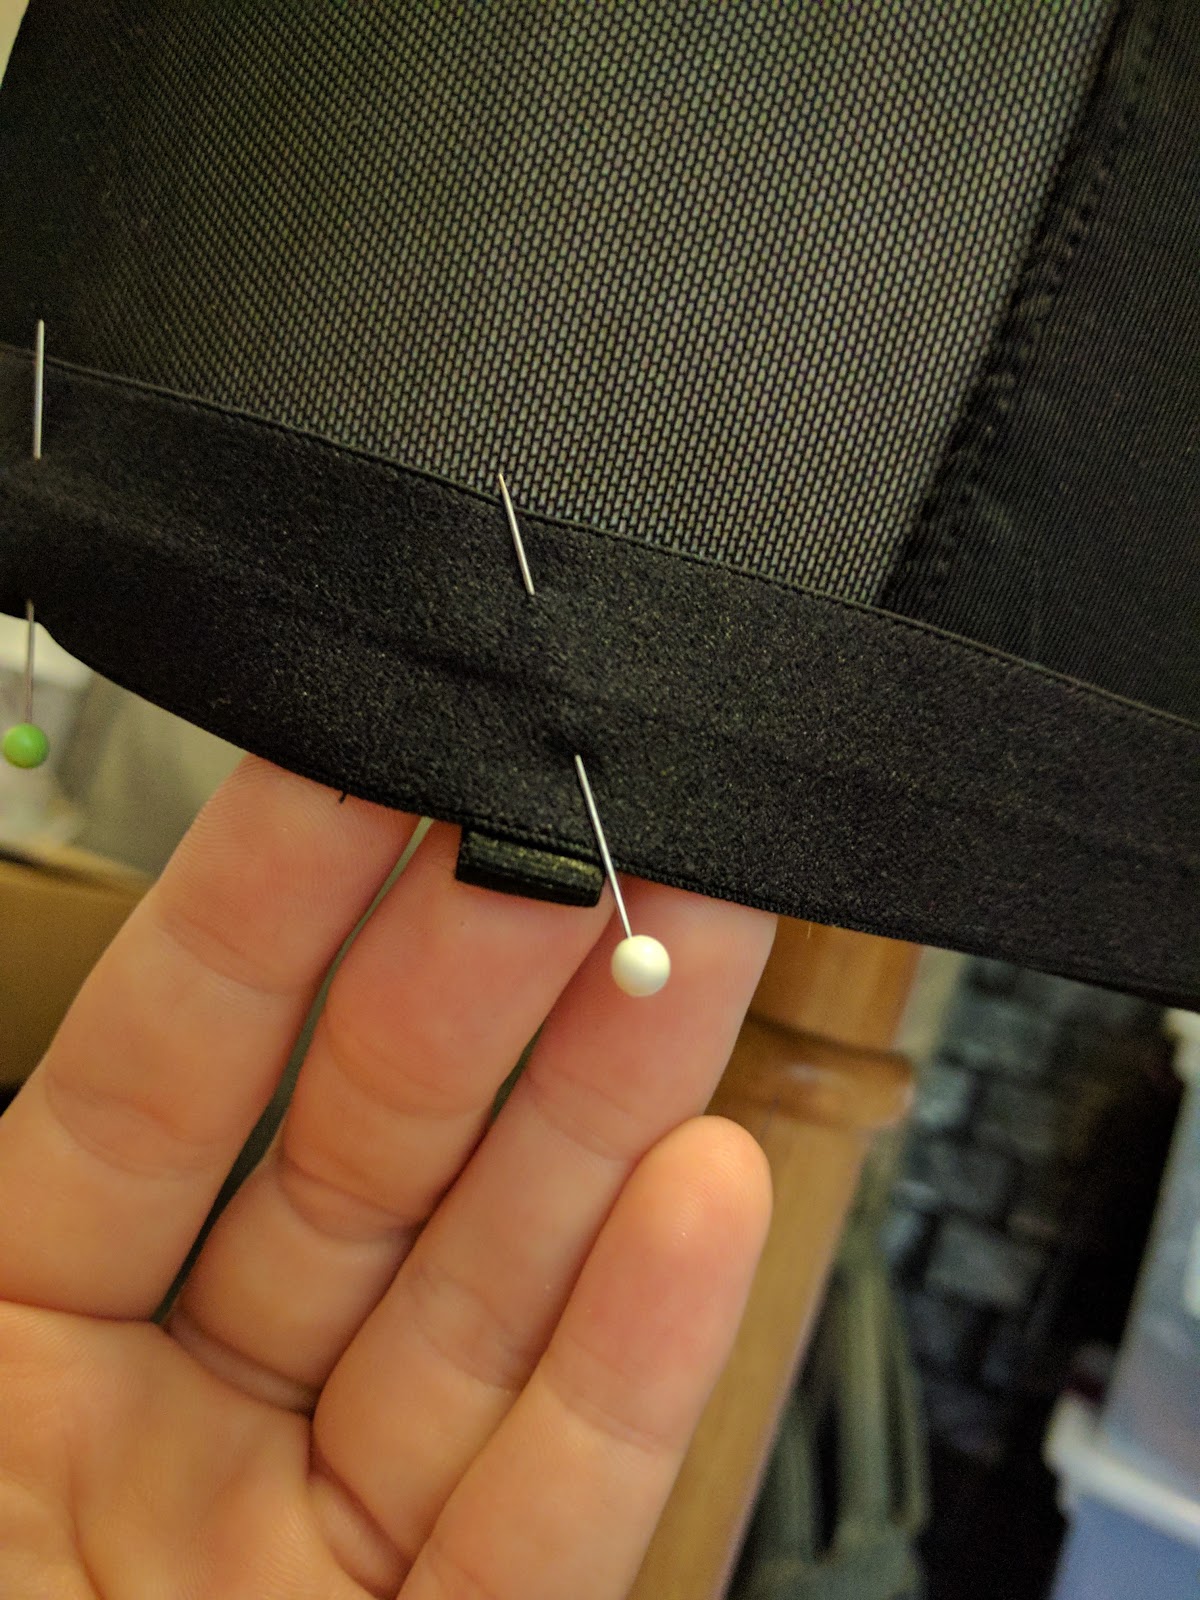
To keep the ends of the elastic from unraveling, I used a candle to melt the ends.
I pinned the edges down to the dress. When using elastic or anything that moves, be generous with your pins. I used like 30 to do a single loop.
Note: This dress came with attached loops to attach stockings. I made a point of avoiding covering up the loops or making them unusable. They will come in handy when attaching stockings so I might as well take advantage.
Because elastic does what it wants, it buckled a bit when I took it off the dress form. To compensate for this, I made sure to stretch the elastic and fabric slightly when sewing.
Also, because there is going to be stretch, I used a zig-zag stitch on everything.

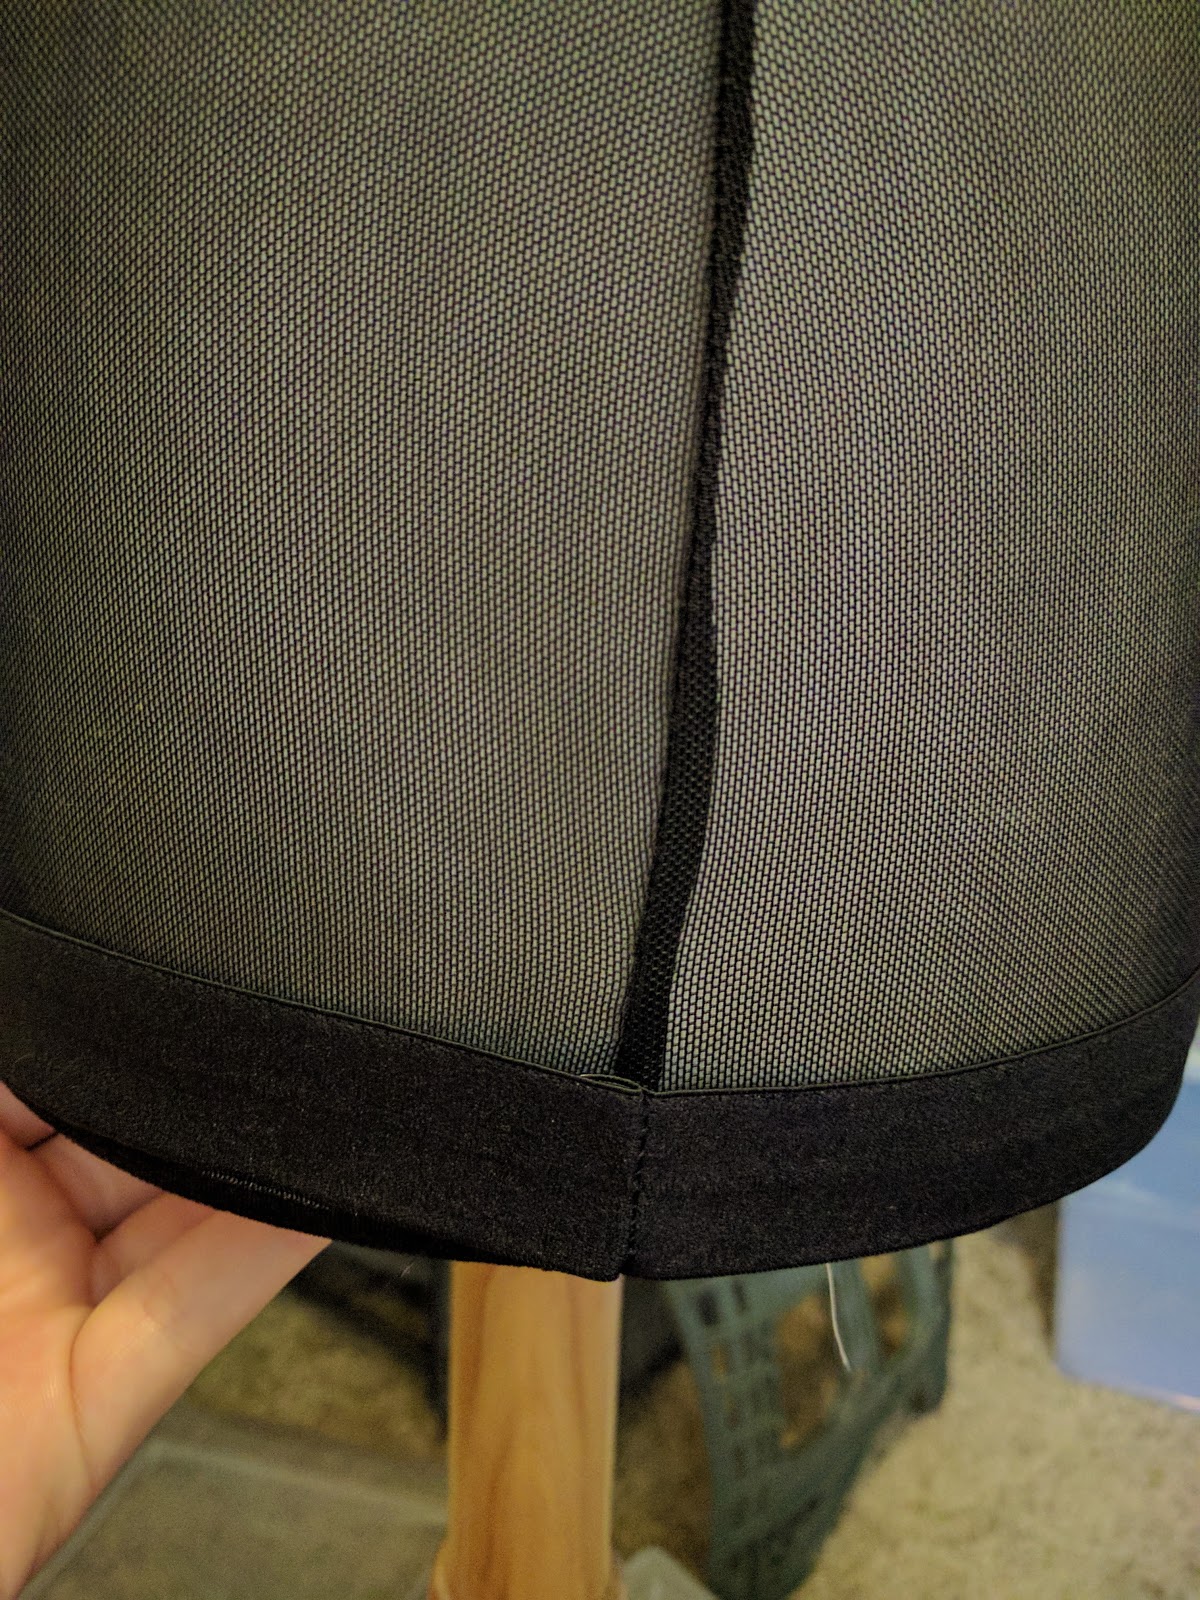
Finished bottom hem:

I repeated the process with the next loop. Although I desire some gap between the elastic strips, I situated the elastic loops right on each other. This would allow gaps when stretched, but not too much of a gap.

After four layers of elastic loops, I decided to not sew completely around the dress each time and only sew on the black fabric and not the mesh.

This is approximately six layers of elastic loops in. You can see that there are a bit of gaps, but it is mainly covered.

As I moved toward the waist, the loops sat less closely together. It didn't mess with the overall look, but gave more space between the layers.
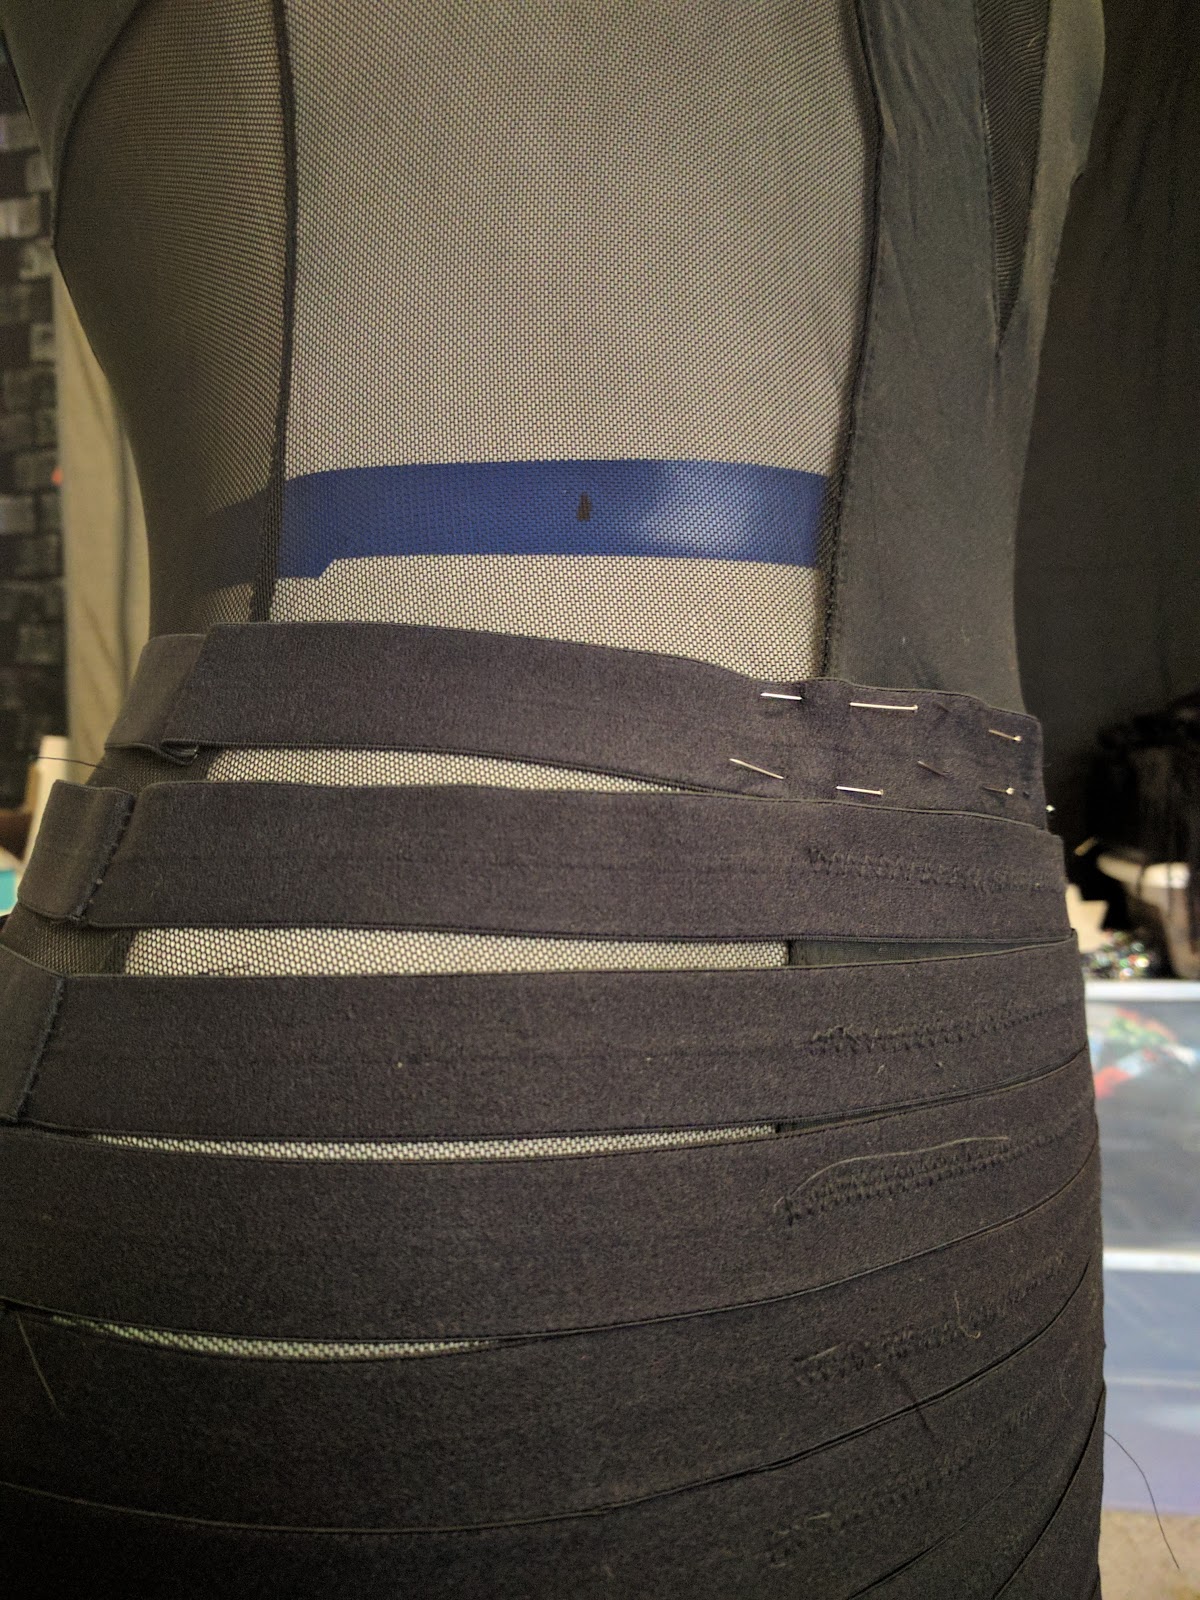
About the time I got half way through, I met the obstacle of the back keyhole cutout. I could no longer do loops, but had to do strips that ended at the keyhole.

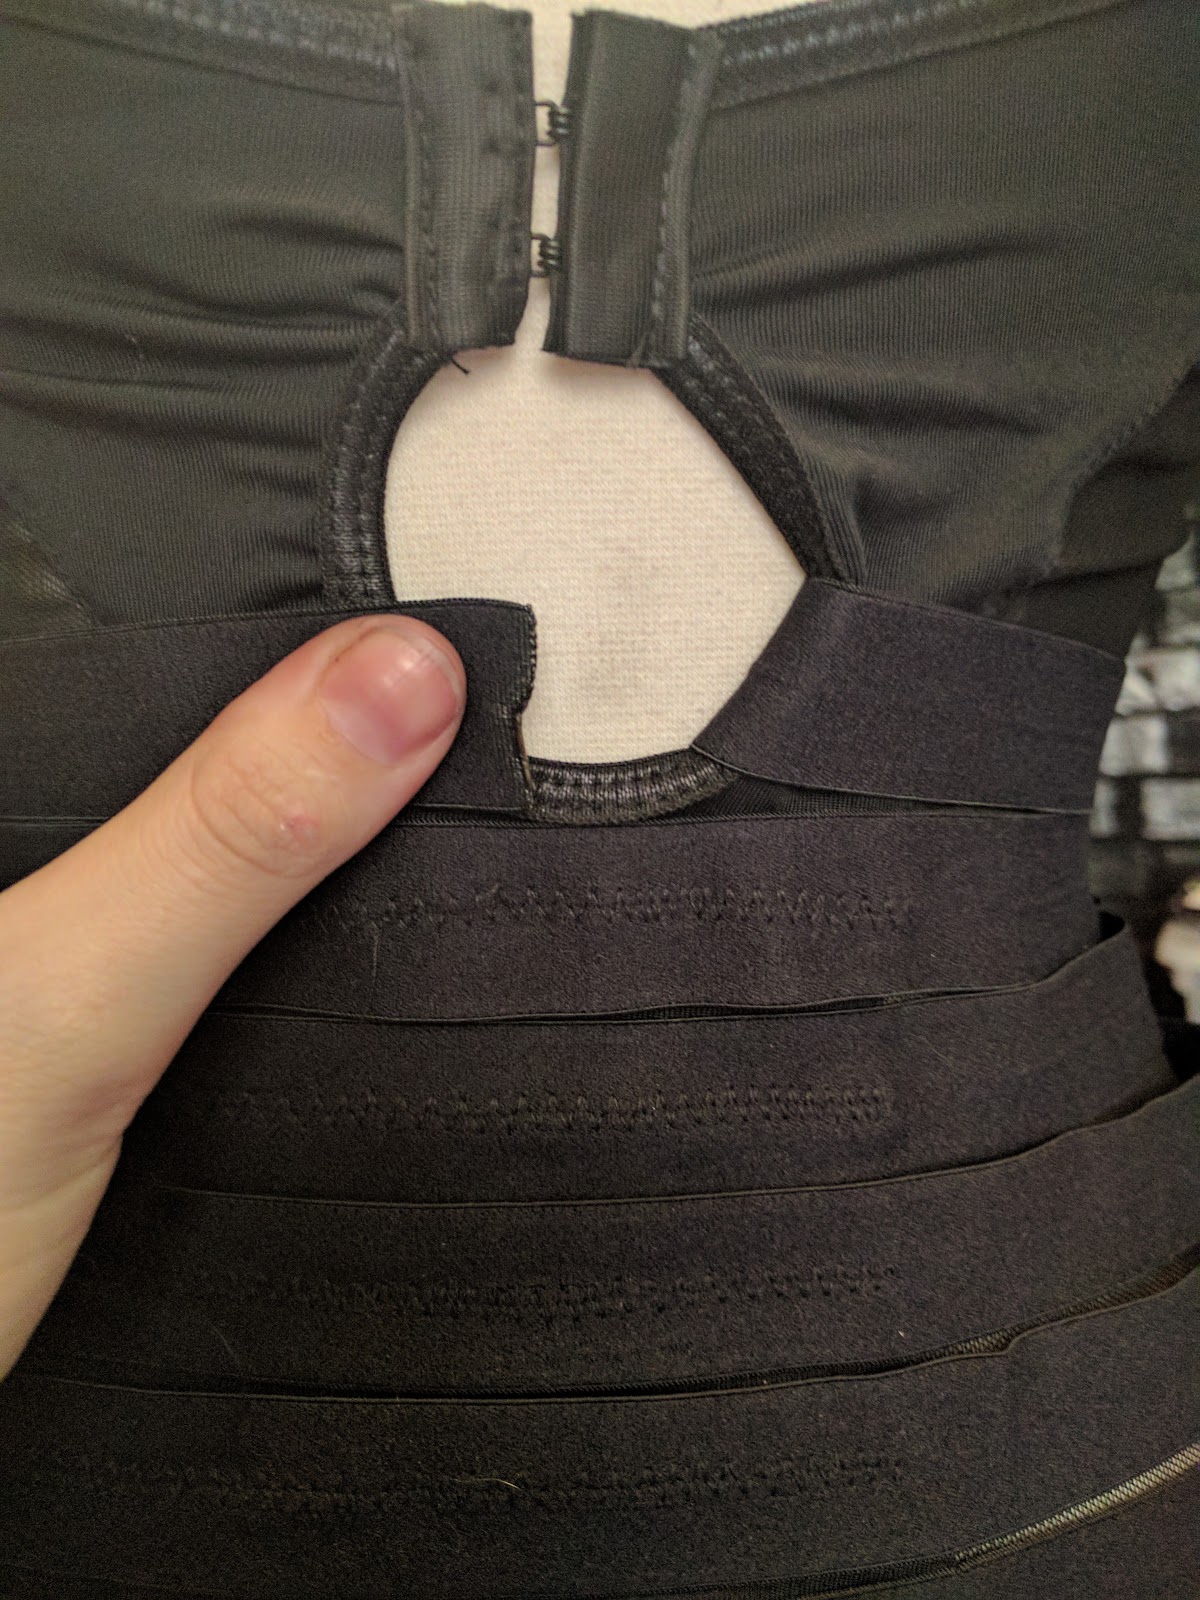

Here is how it looks on with the layers up to the keyhole.


The gaps are a little more prominent than originally intended; however, when I re-position where the dress falls on me (scoot it up), the gaps lessen. I am not sure how I will leave it in the end, but I have options.
I have reached the part where I need to figure out the boobs, so I have reached an end to this part.

Boobs and accessories will come next. Feel free to hit me up with questions or comments. Thanks!
TTFN!