Tuesday, July 18, 2017

GoT Halloween: Melisandre Necklace - 3D Printing

GoT Halloween: Melisandre Necklace - 3D Printing


As part of my Melisandre cosplay, I needed her signature necklace.


Because I have a shiny and new 3D Printer to play with, I decided to try printing the necklace.


Thingiverse Design: Melisandre's necklace from game of thrones by JarlSagan1278

Below is the sample image provided by JarlSagan1278.


The following are my results:


Opinions


First off, this is definitely better than I could have hand crafted with clay or another modeling medium. It has a professionalism that I would probably not be able to achieve. 

The downside to this model is that it is thick. I personally would have liked a thinner necklace piece. I can alter the model and reprint it (and I may do so in the future), but for now I am going to run with it.

I will keep plugging along with the costumes and keep you updated. Feel free to give me a shout with comments or questions!

TTFN!


Saturday, July 8, 2017

A Very Game of Thrones Halloween!

A Very Game of Thrones Halloween!


I am starting prep for Halloween early this year because this year I am making three costumes. Two are going to be for friends and one will be my own. We have decided on dressing up as a group and we shall be Game of Thrones themed! Which I personally think is perfect because the new season is about to start and it will give me tons of motivation. The costumes we have chosen are:

Robert Baratheon

Jon Snow


Melisandre


I am already starting on the Robert Baratheon cosplay and am hoping to put out my first post on the outfit within a week.

In other exciting news, my boyfriend and I were gifted a 3D printer by one of his friends so I can print all the things!


As someone who has never worked with one before, I am going to post about getting started with the machine and how I went about making things so that others can avoid any pitfalls that I may encounter. If you have any advice for a novice like me, feel free to hit me up at fangirlingoutcosplay@gmail.com or through my Facebook page (https://www.facebook.com/FangirlingOut/) because I literally have no idea what I am doing.

TTFN!

Tuesday, June 13, 2017

Bulma's Namek Dress Cosplay Walkthrough

Bulma's Namek Dress Cosplay Walkthrough

This is way, way past when I intended on posting this, but I got sidetracked by work and generally being lazy.

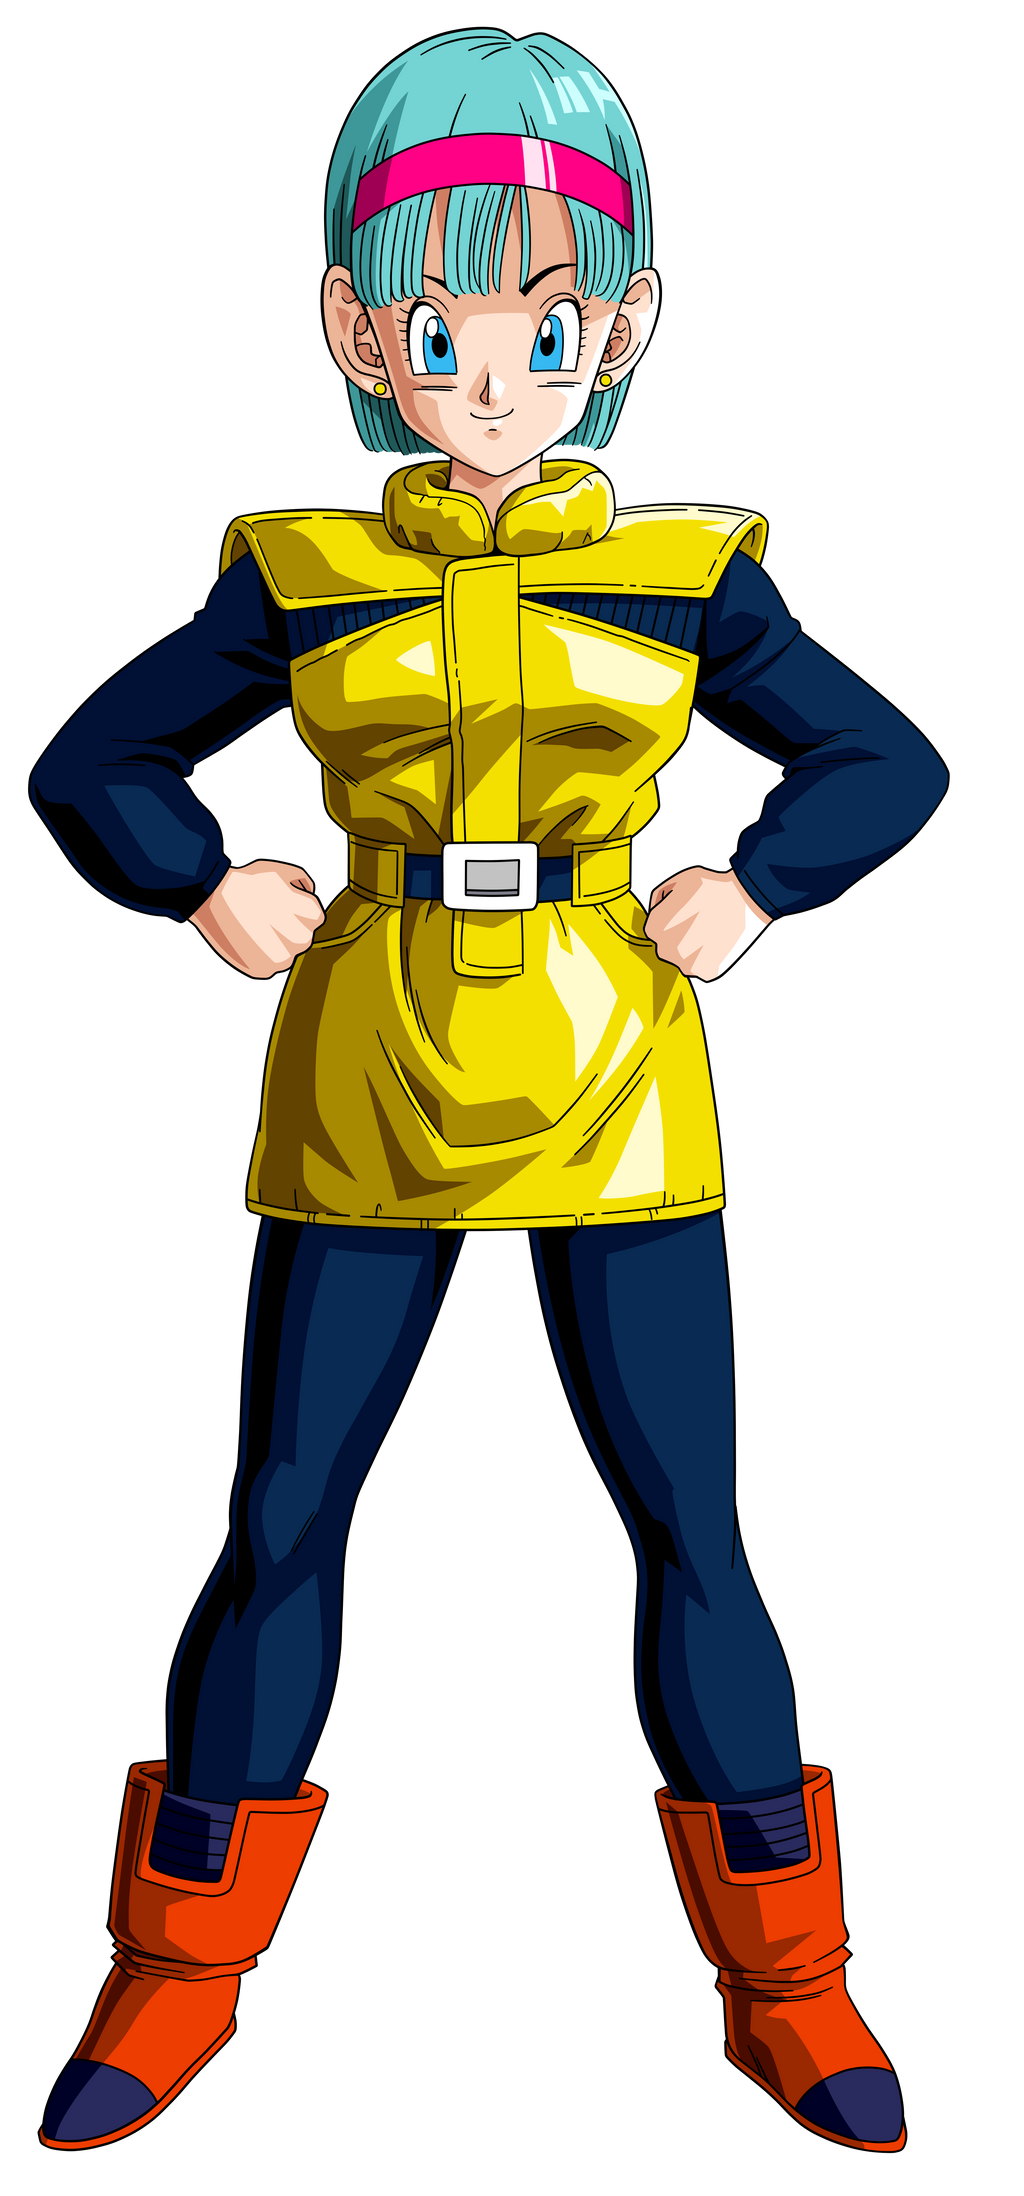
For FreeCon, I made Bulma's outfit from their time on Namek in DBZ.

Image result for bulma namek

Dress

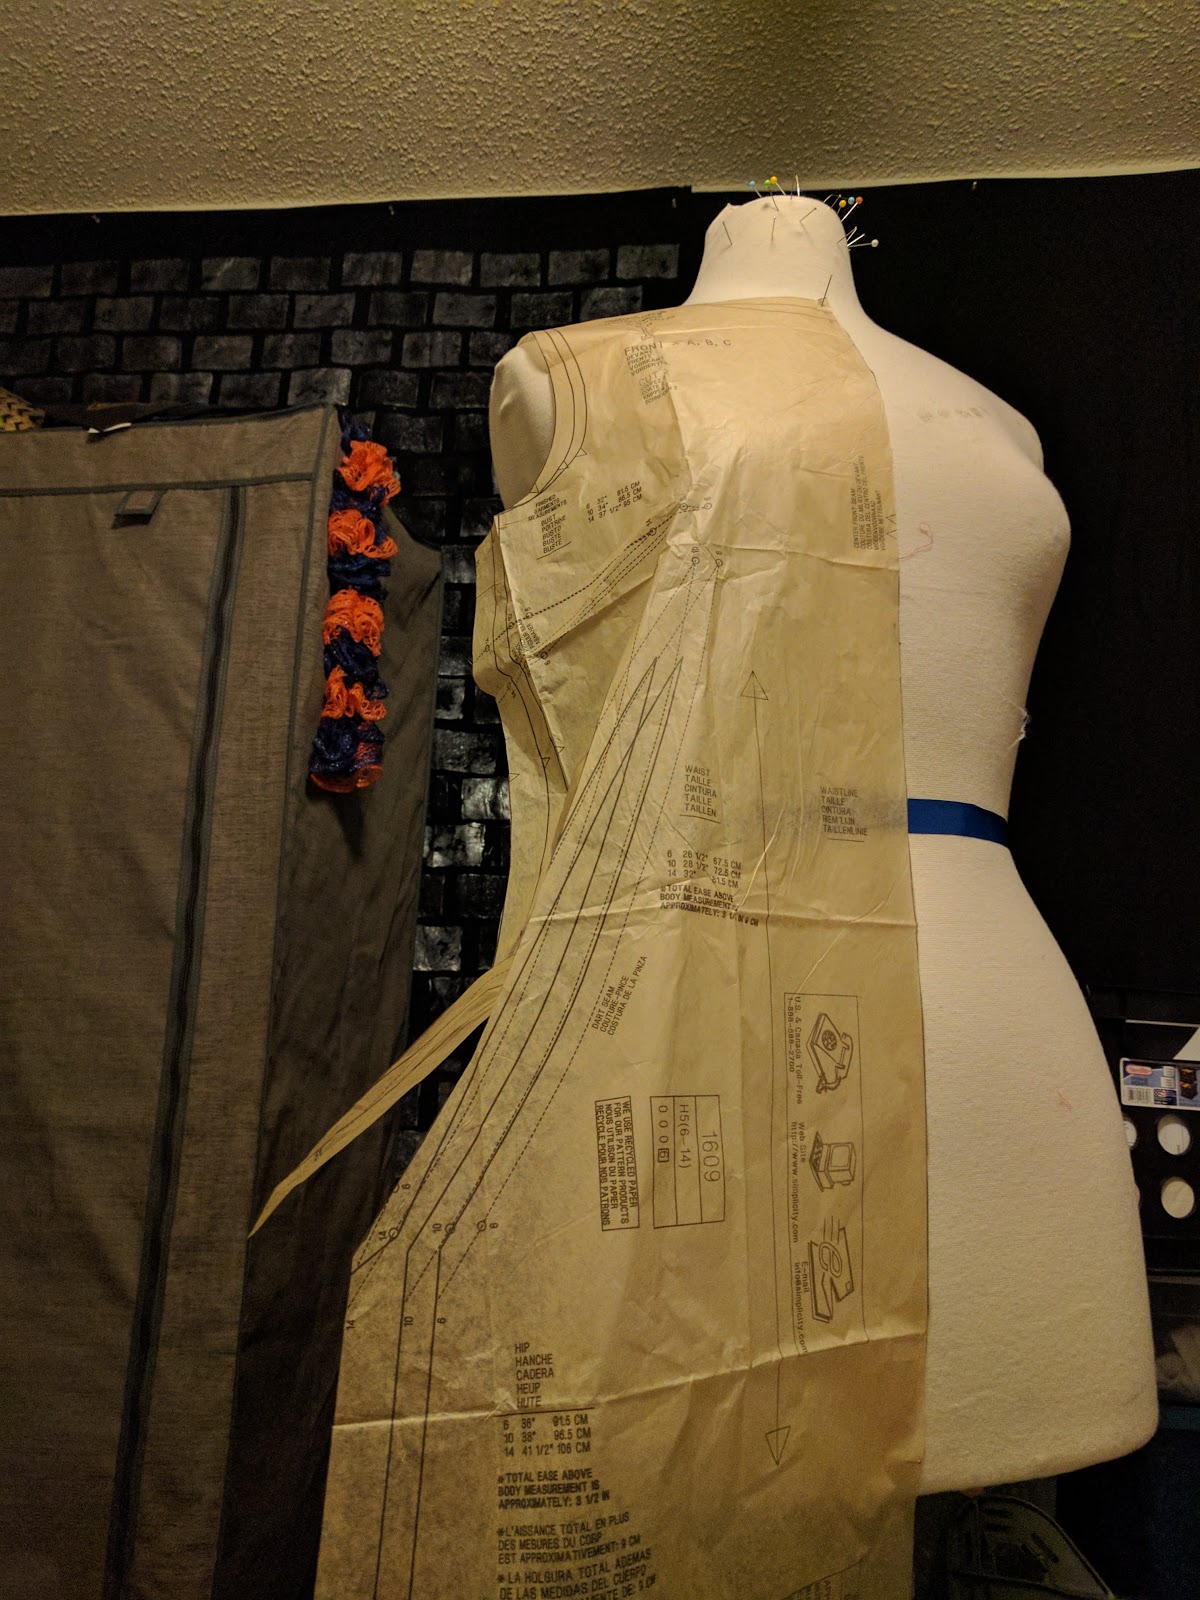
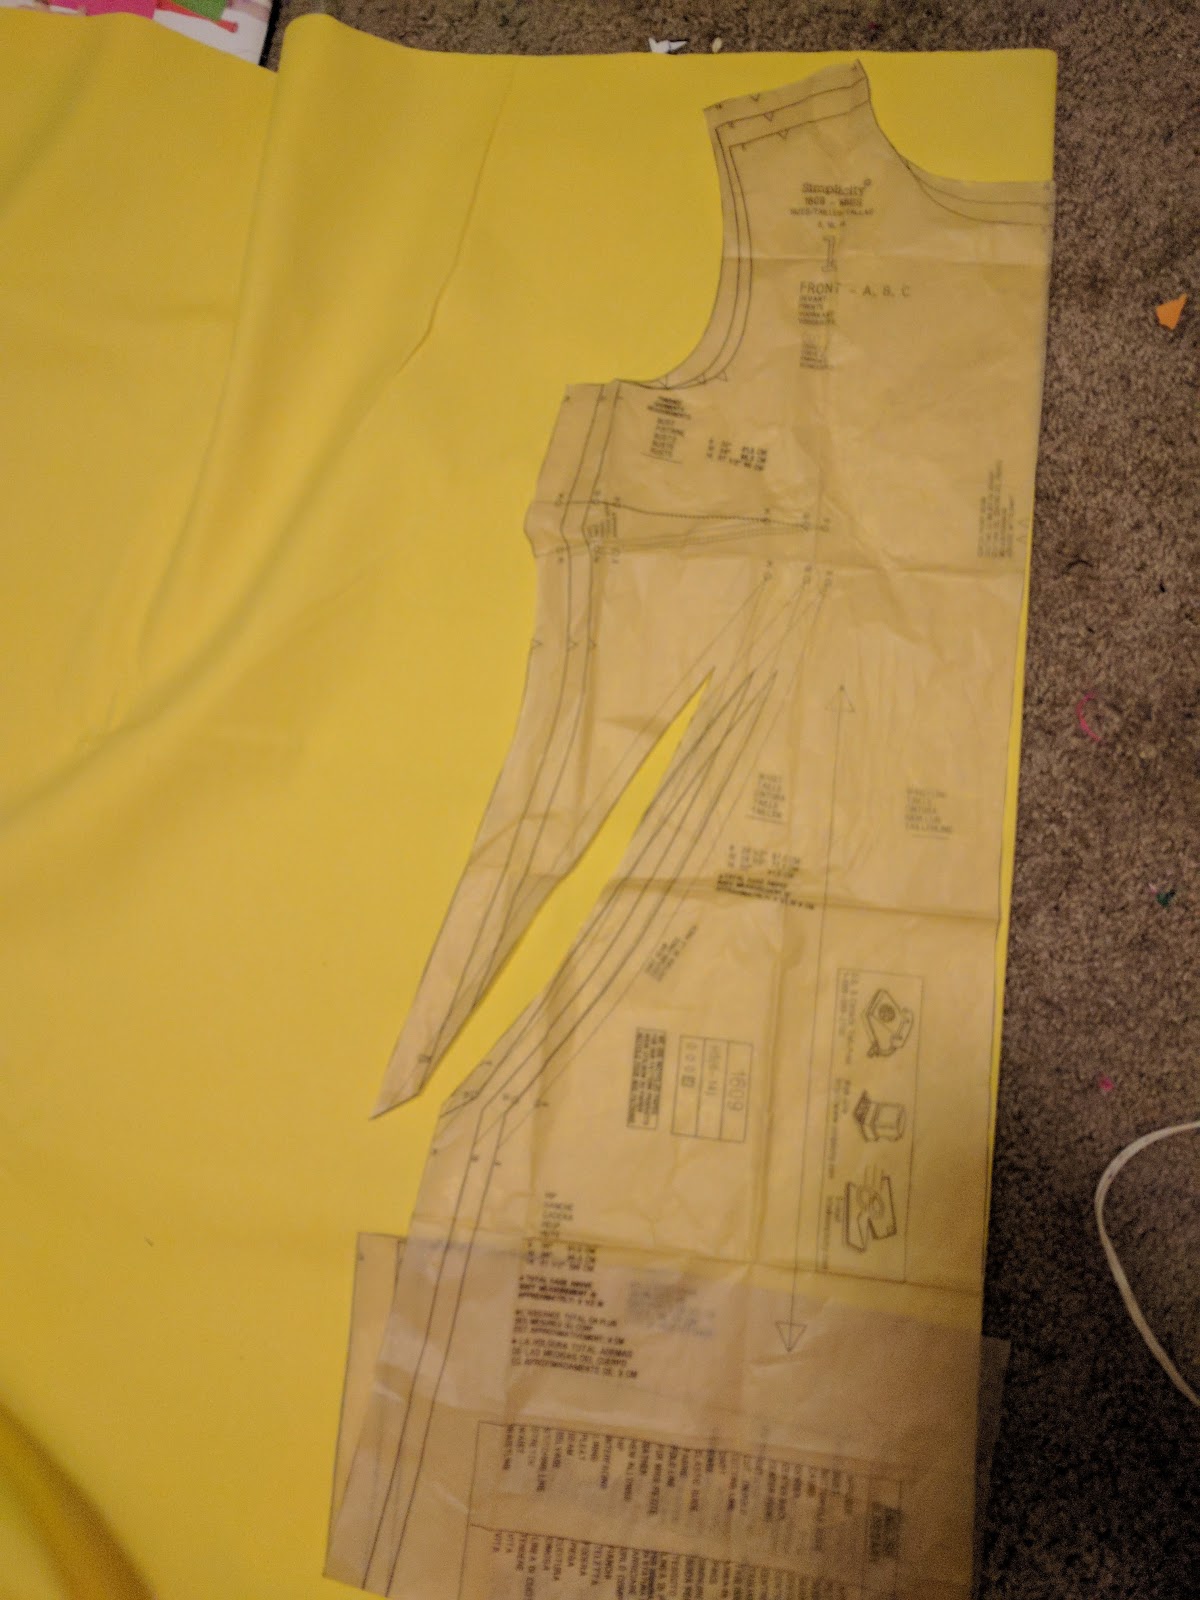
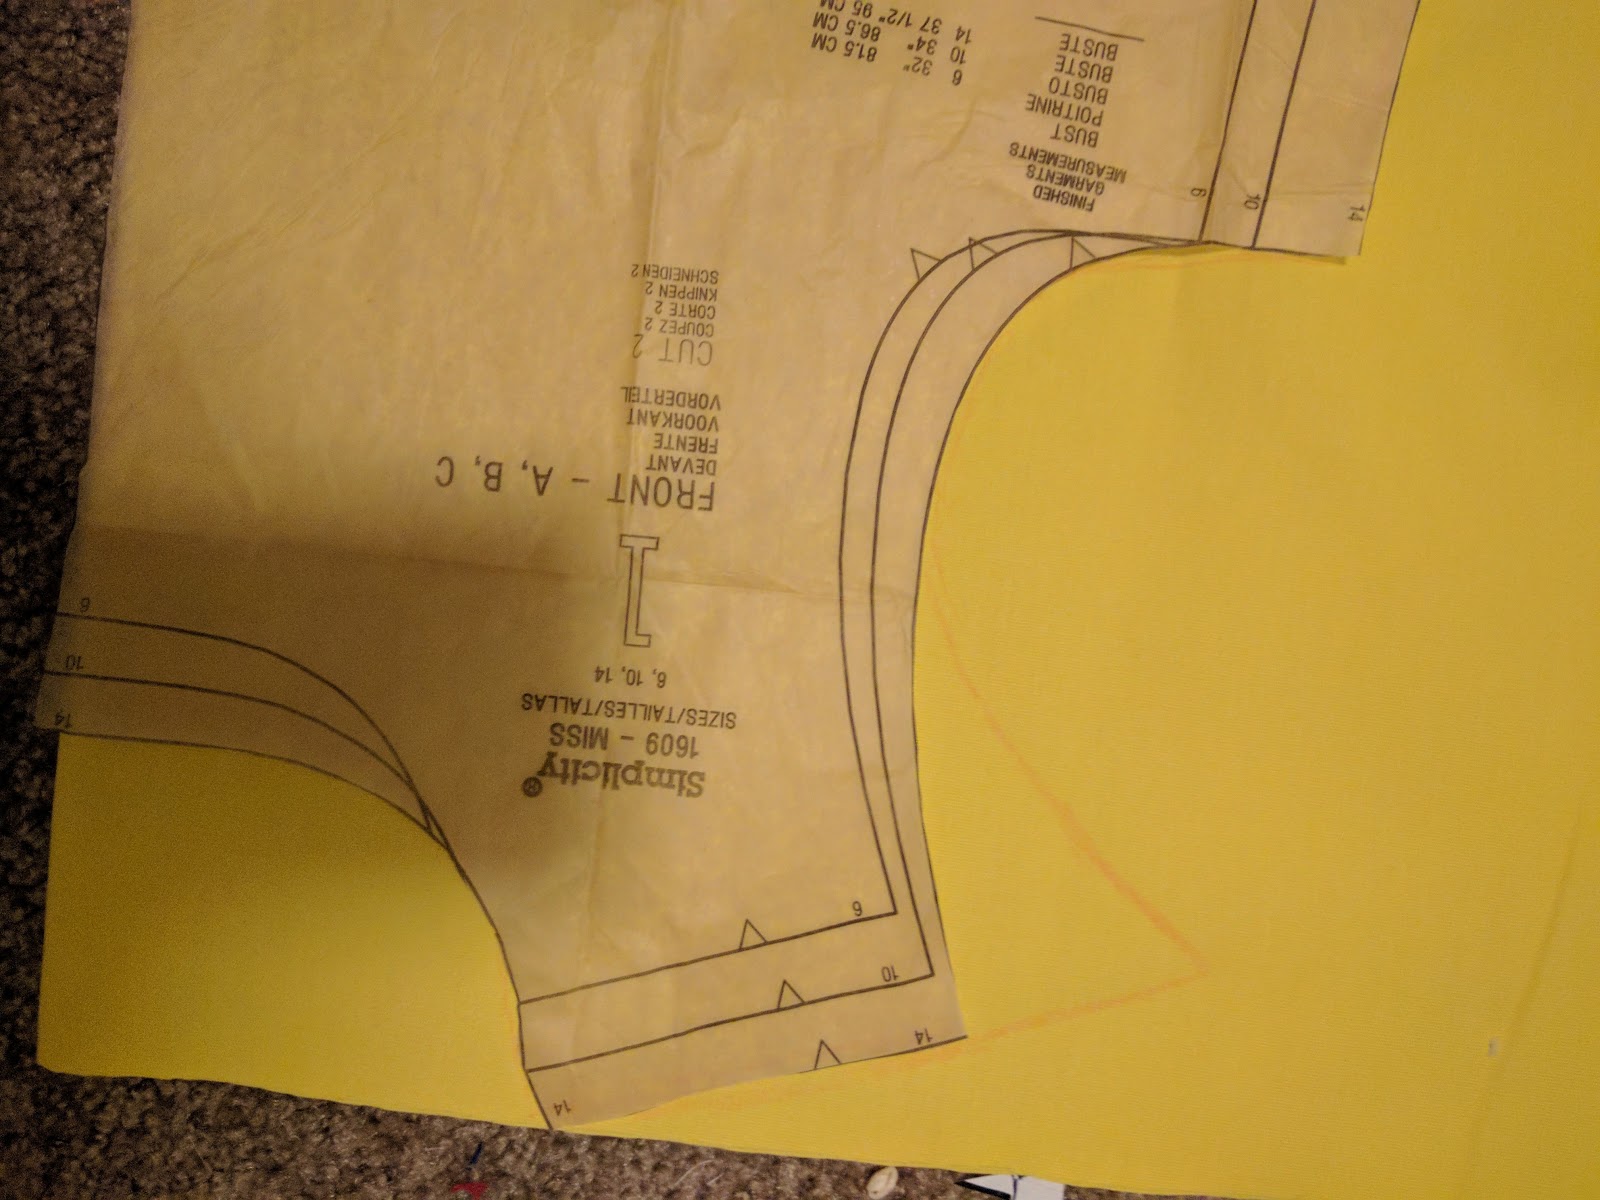
For the dress, I used some yellow sportswear fabric from JoAnn Fabrics and the Simplicity 1609 pattern.


I cut out the pattern a size bigger than I would normally in order to give some bulk to the outfit. Bulma's yellow dress is a bit bulky on her, so I wanted that extra umph to it. 


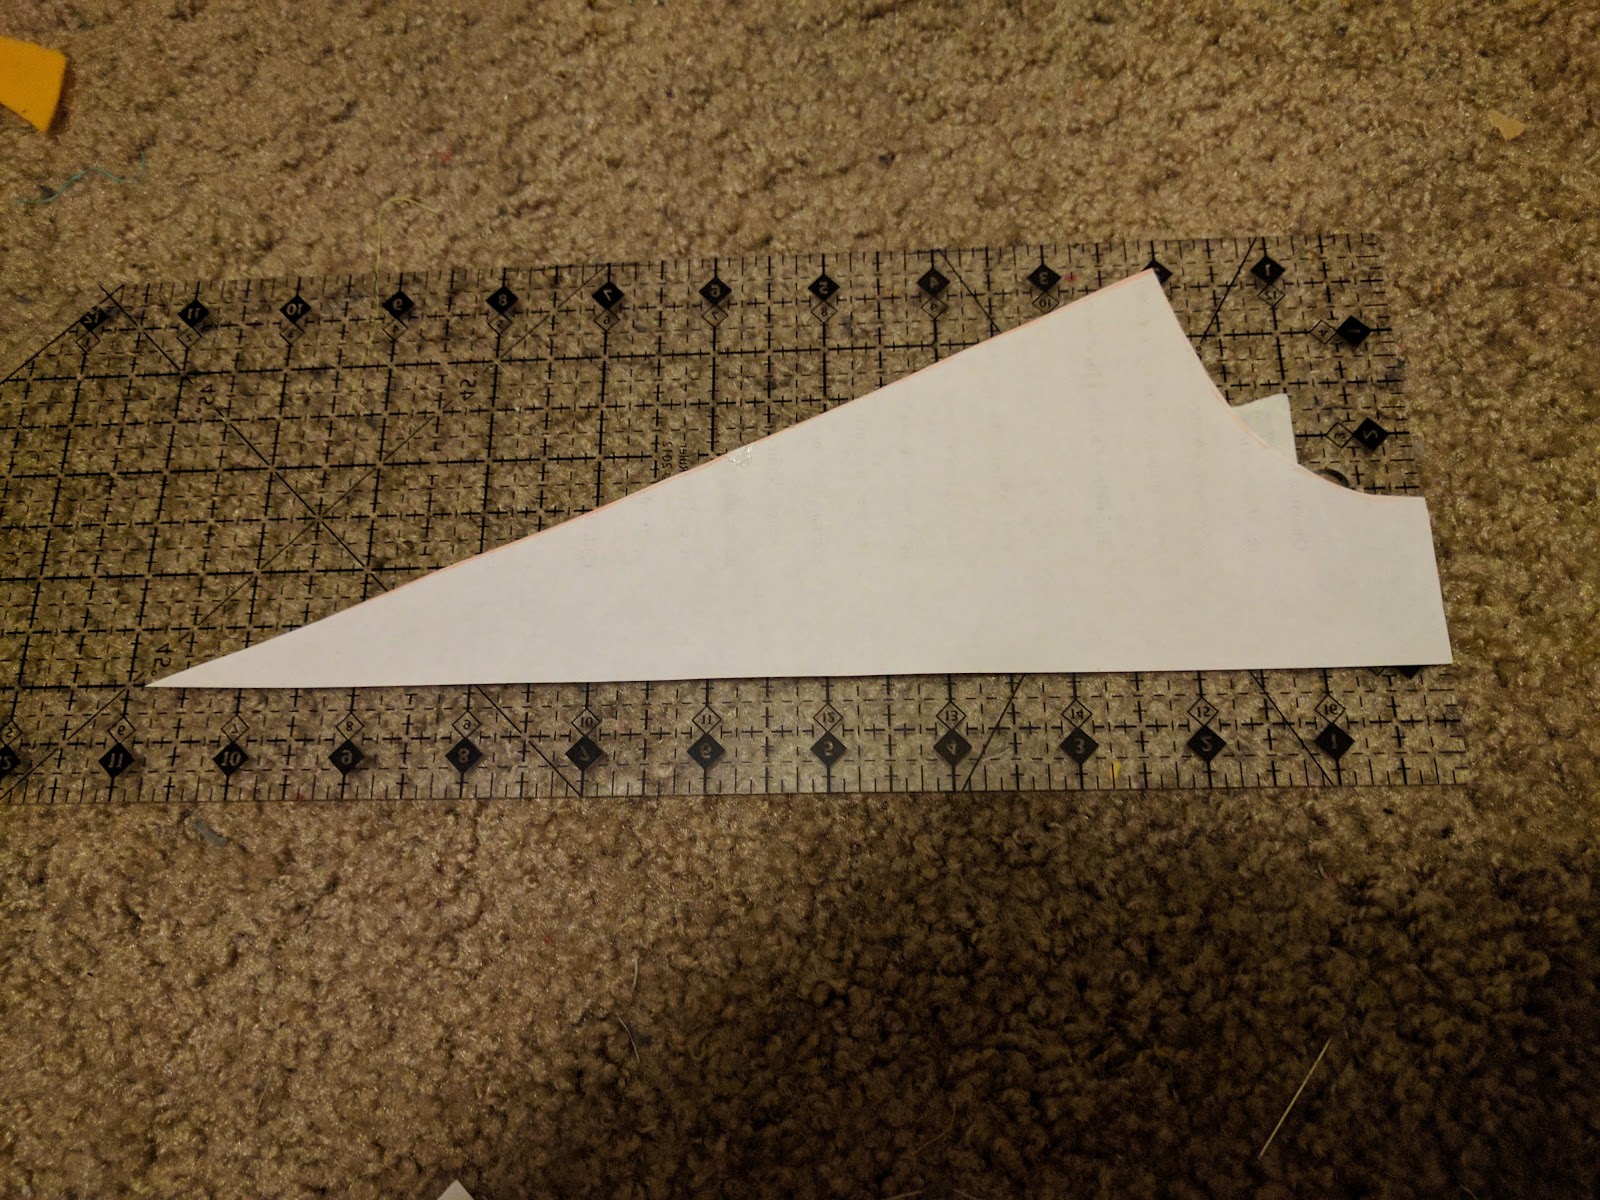
I placed the pattern on my dress form to find out a good length for the dress. Bulma has very little length to the dress, so I didn't want to waste fabric on giving the full dress length and then chopping it all off.


Because Bulma's dress has more shoulder covering than the pattern provides, I extended out the shoulder and gave an almost cap-sleeve look to the dress. 


I duplicated the shoulder extensions on the back as well.


I sewed the front and and back together.

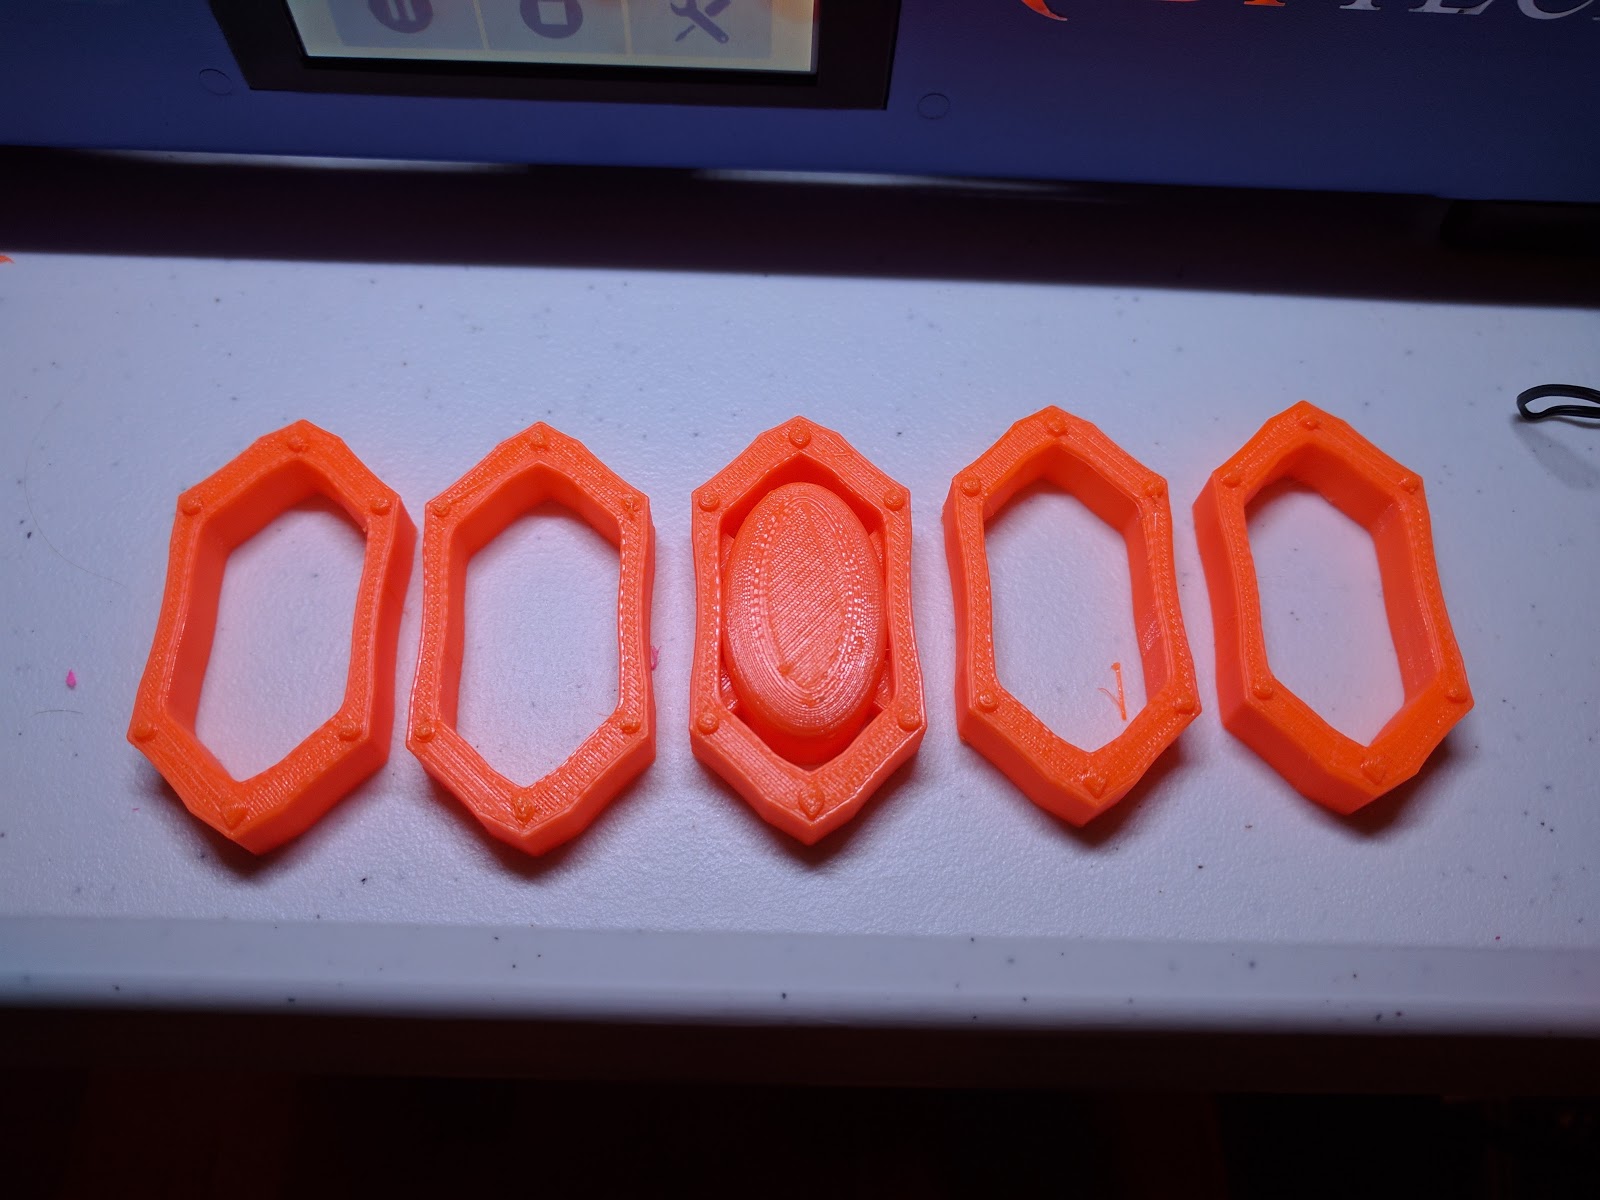
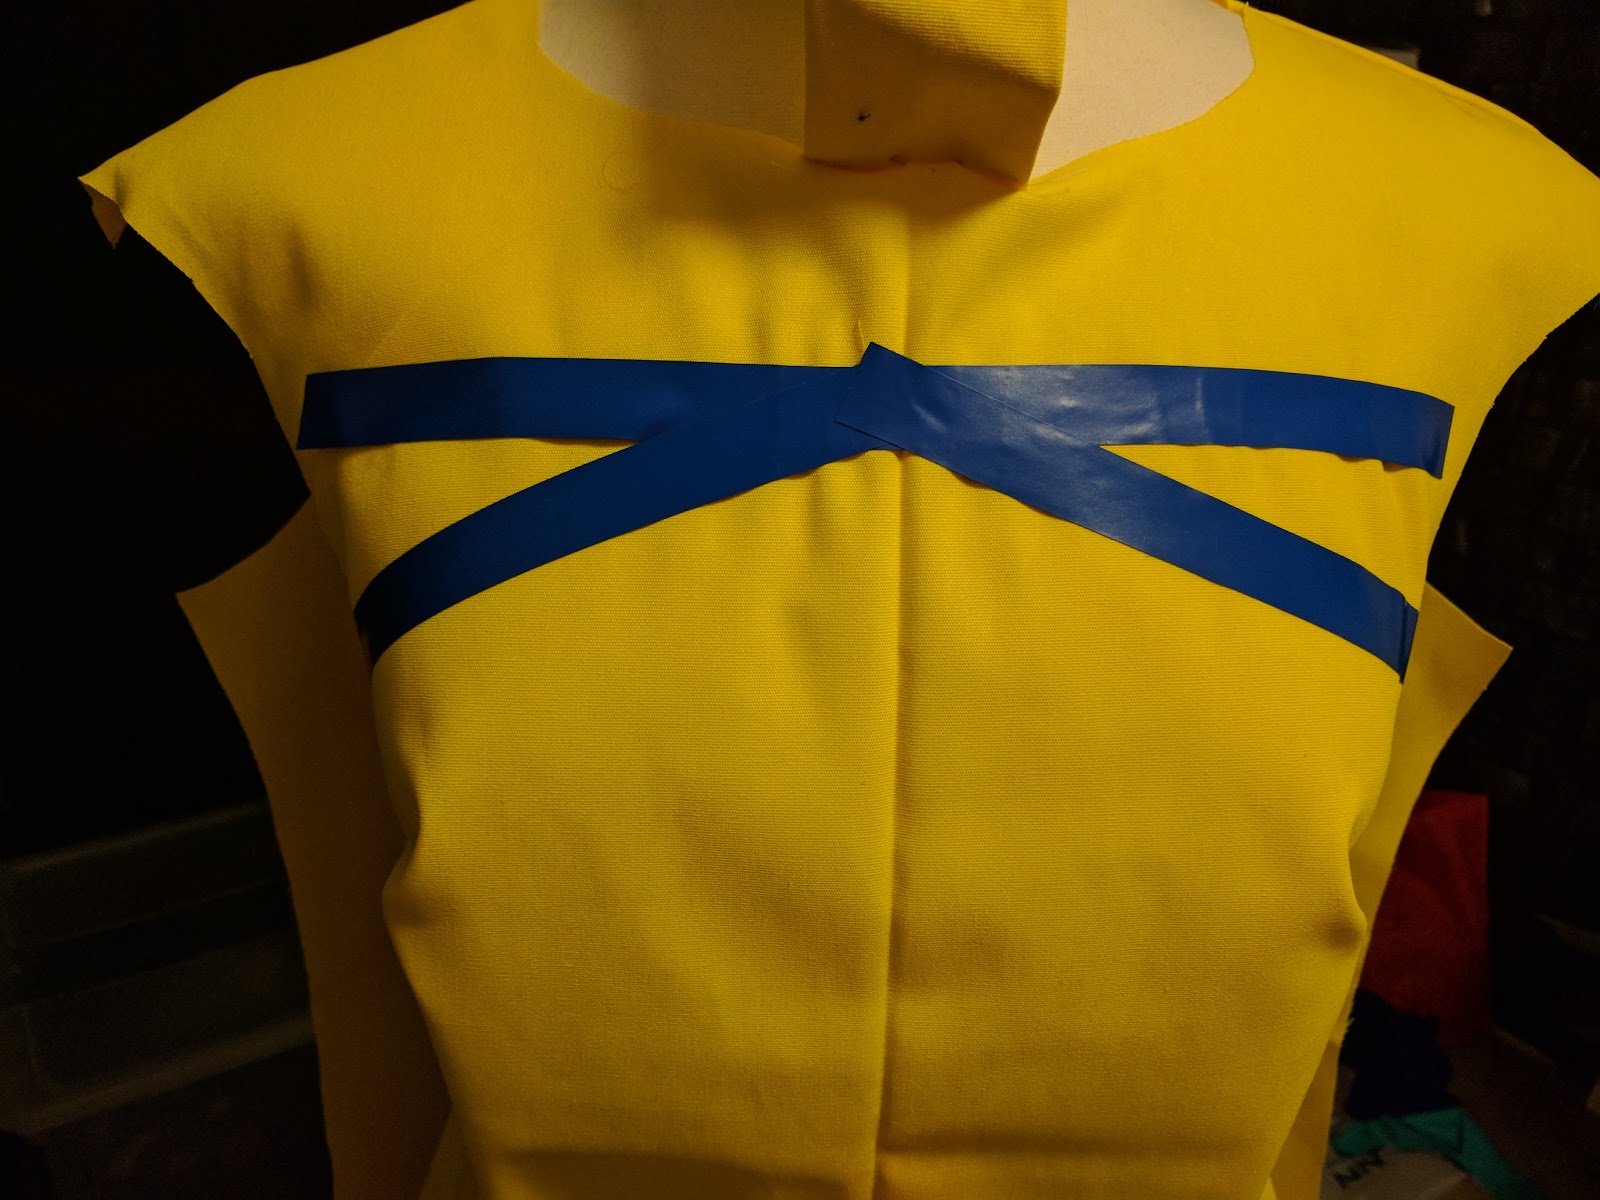
Next, I got working on my cutouts.

I used electrical tape to mark out my intended cuts.


From this, I made templates for my black sections.


I used left over black flannel to make the black sections. 


I went on to cut out the sections and did a little mini hem.


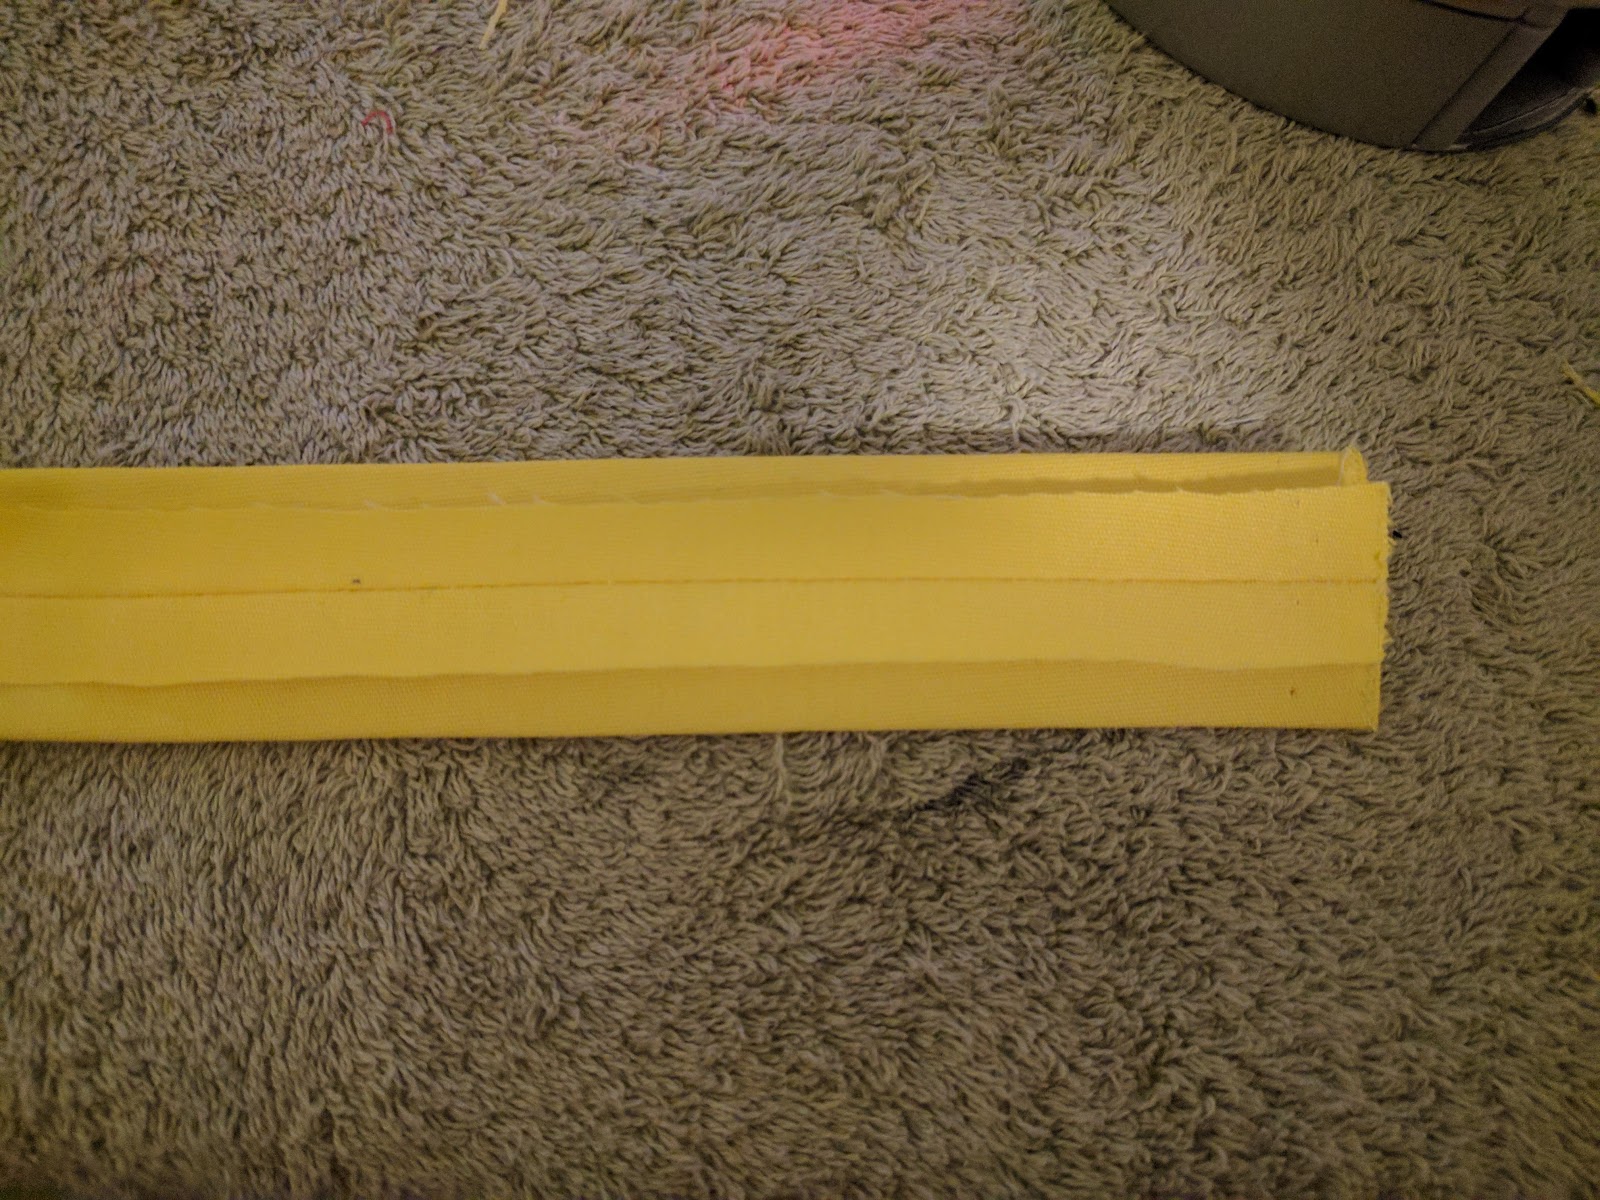
After that I went to make the center strip/zipper. 

It ended up being a 4" x 20ish" strip, which I folded over and stitched to make a tube.


I pinned it to the center of the dress.


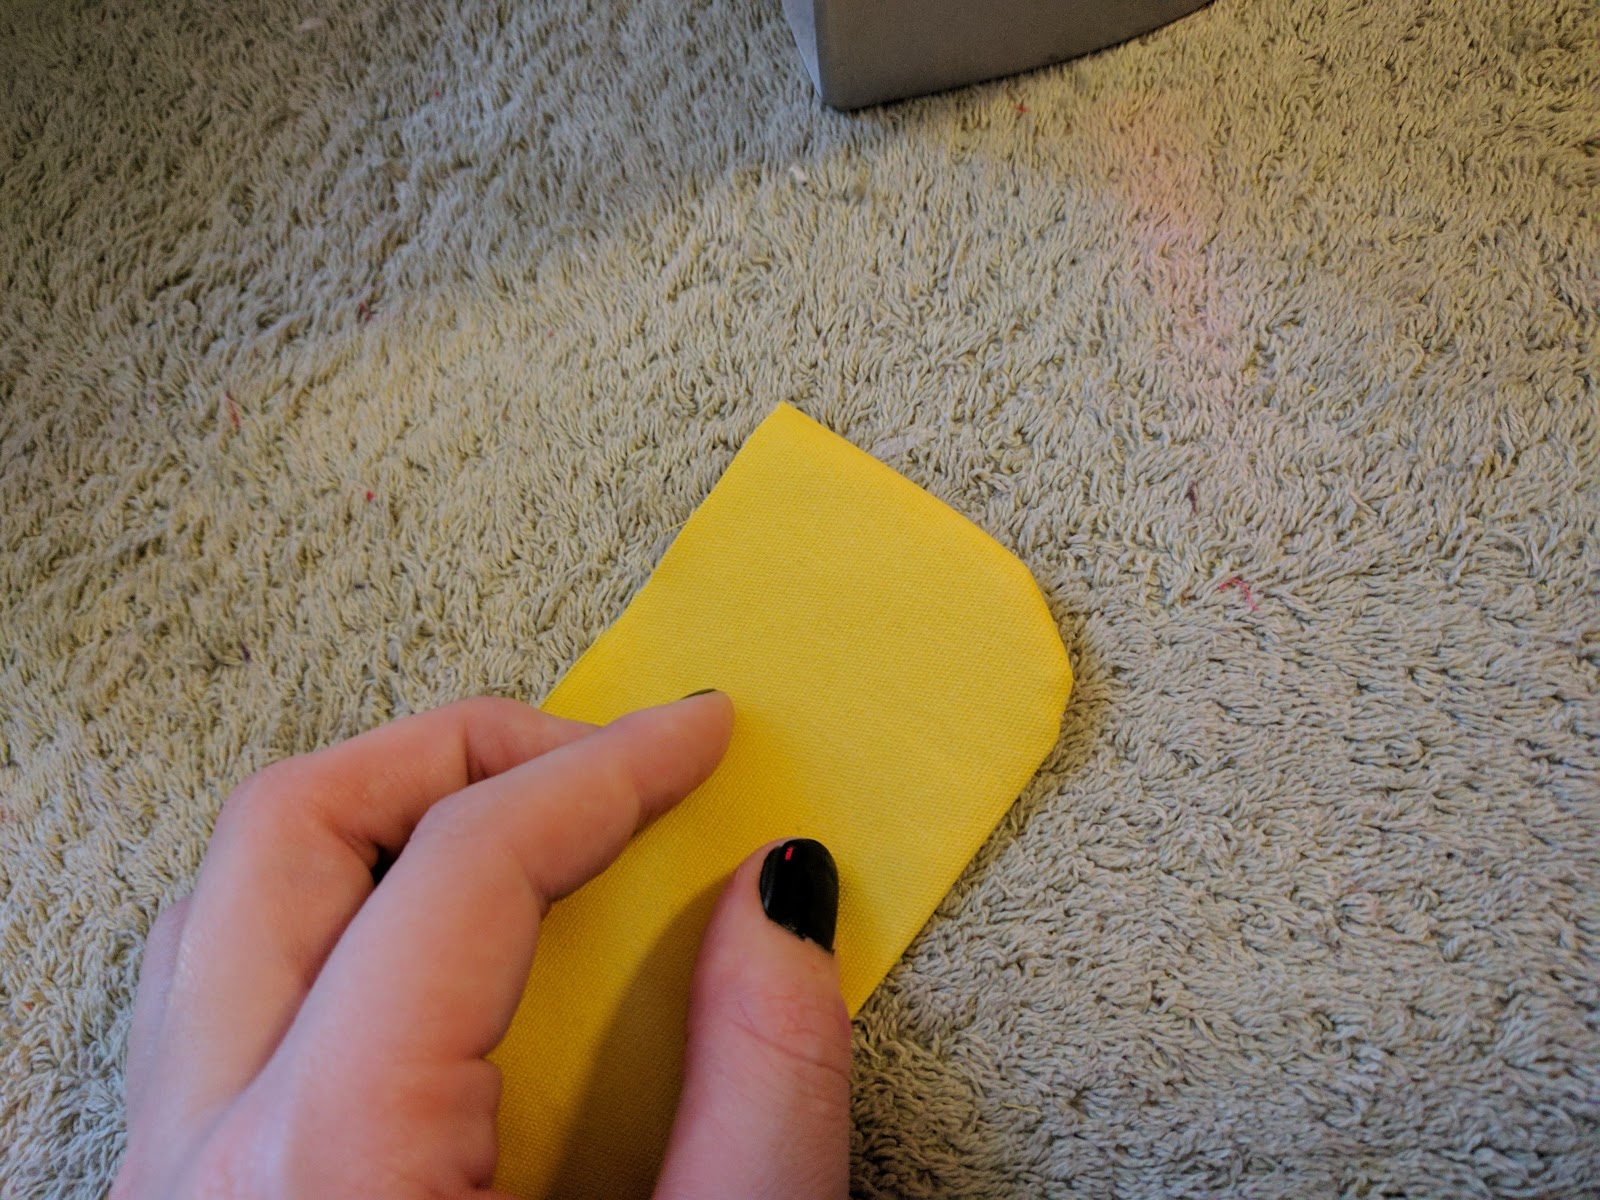
Before I attached the center strip, I needed to make a collar.

I cut a 5" x the circumference of the neck on my dress rectangle of the yellow fabric.


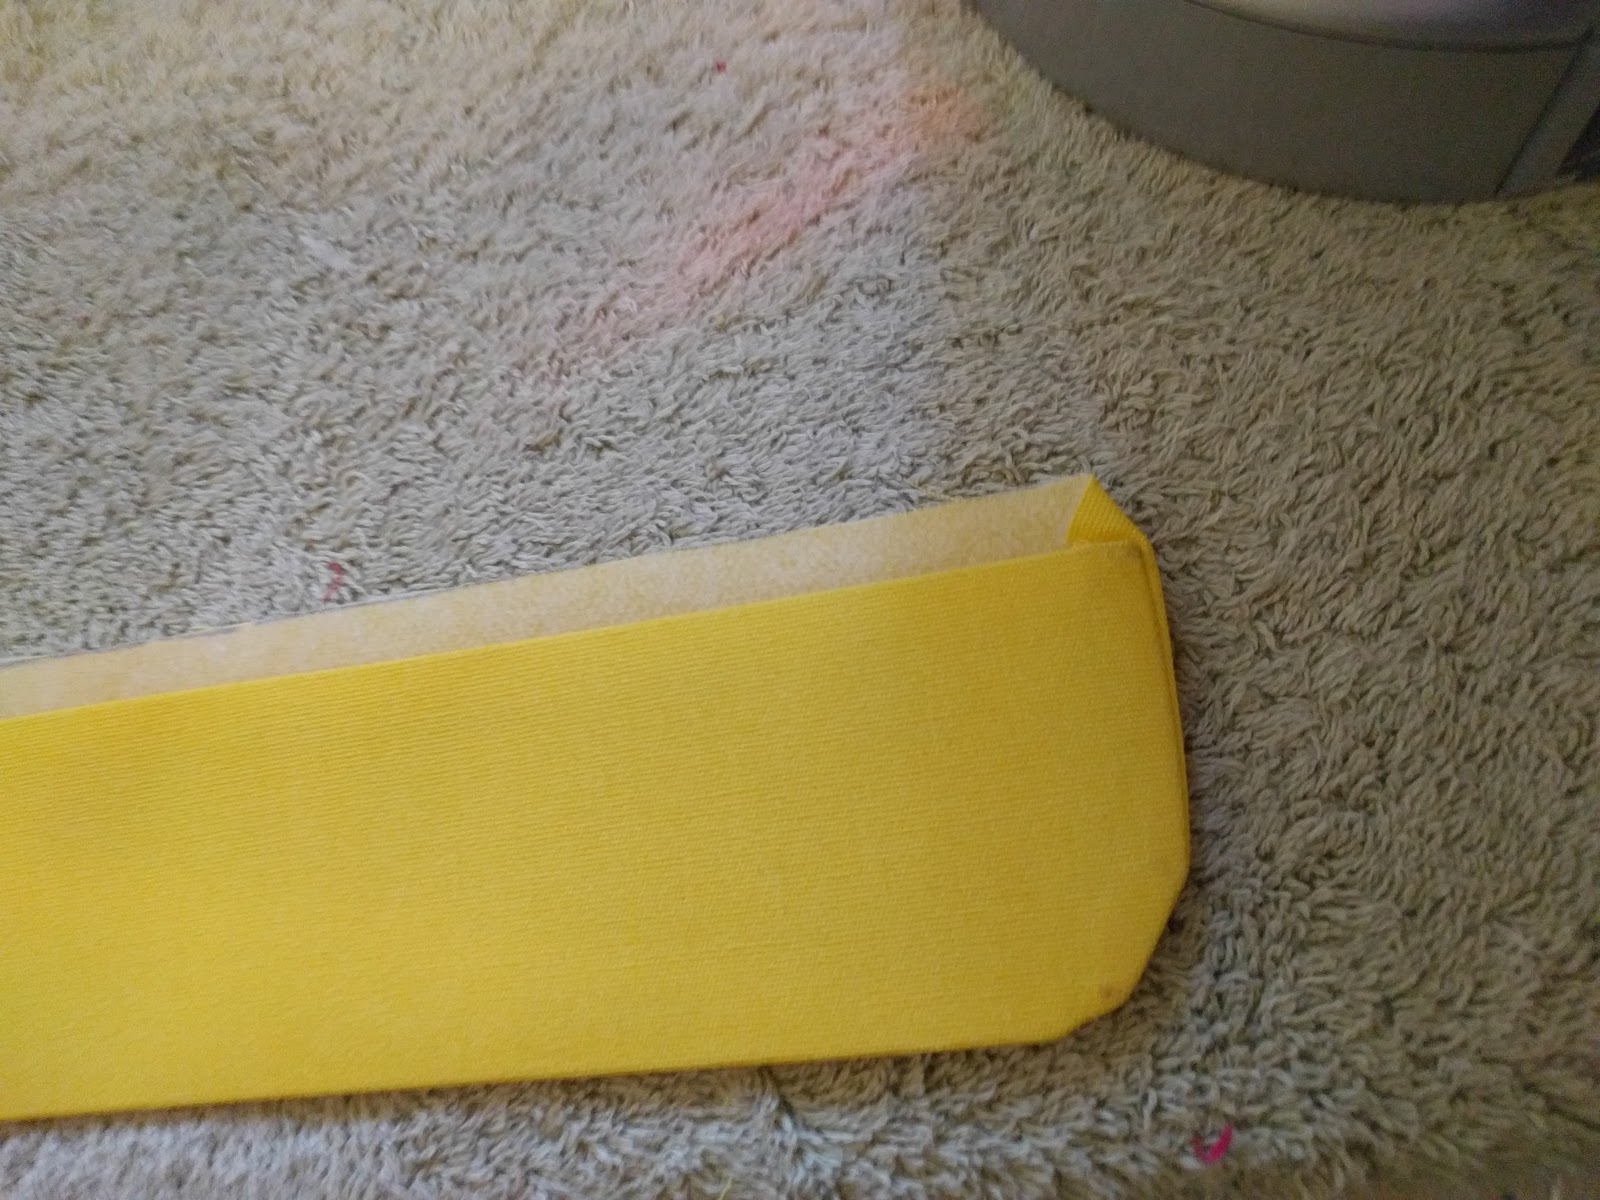
I added light weight interfacing to the rectangle to make it stand up. I folded that in half then used a roll of thread to round out the top of the band. 


I flipped the fabric inside out and sewed along my markings to give a rounded edge to each side of the collar.


I also removed the last few stitched so the it could lay along the neck of the dress.


I sewed in the black parts.


To make my belt look nice, I made a tube of yellow fabric and threaded the belt through. 


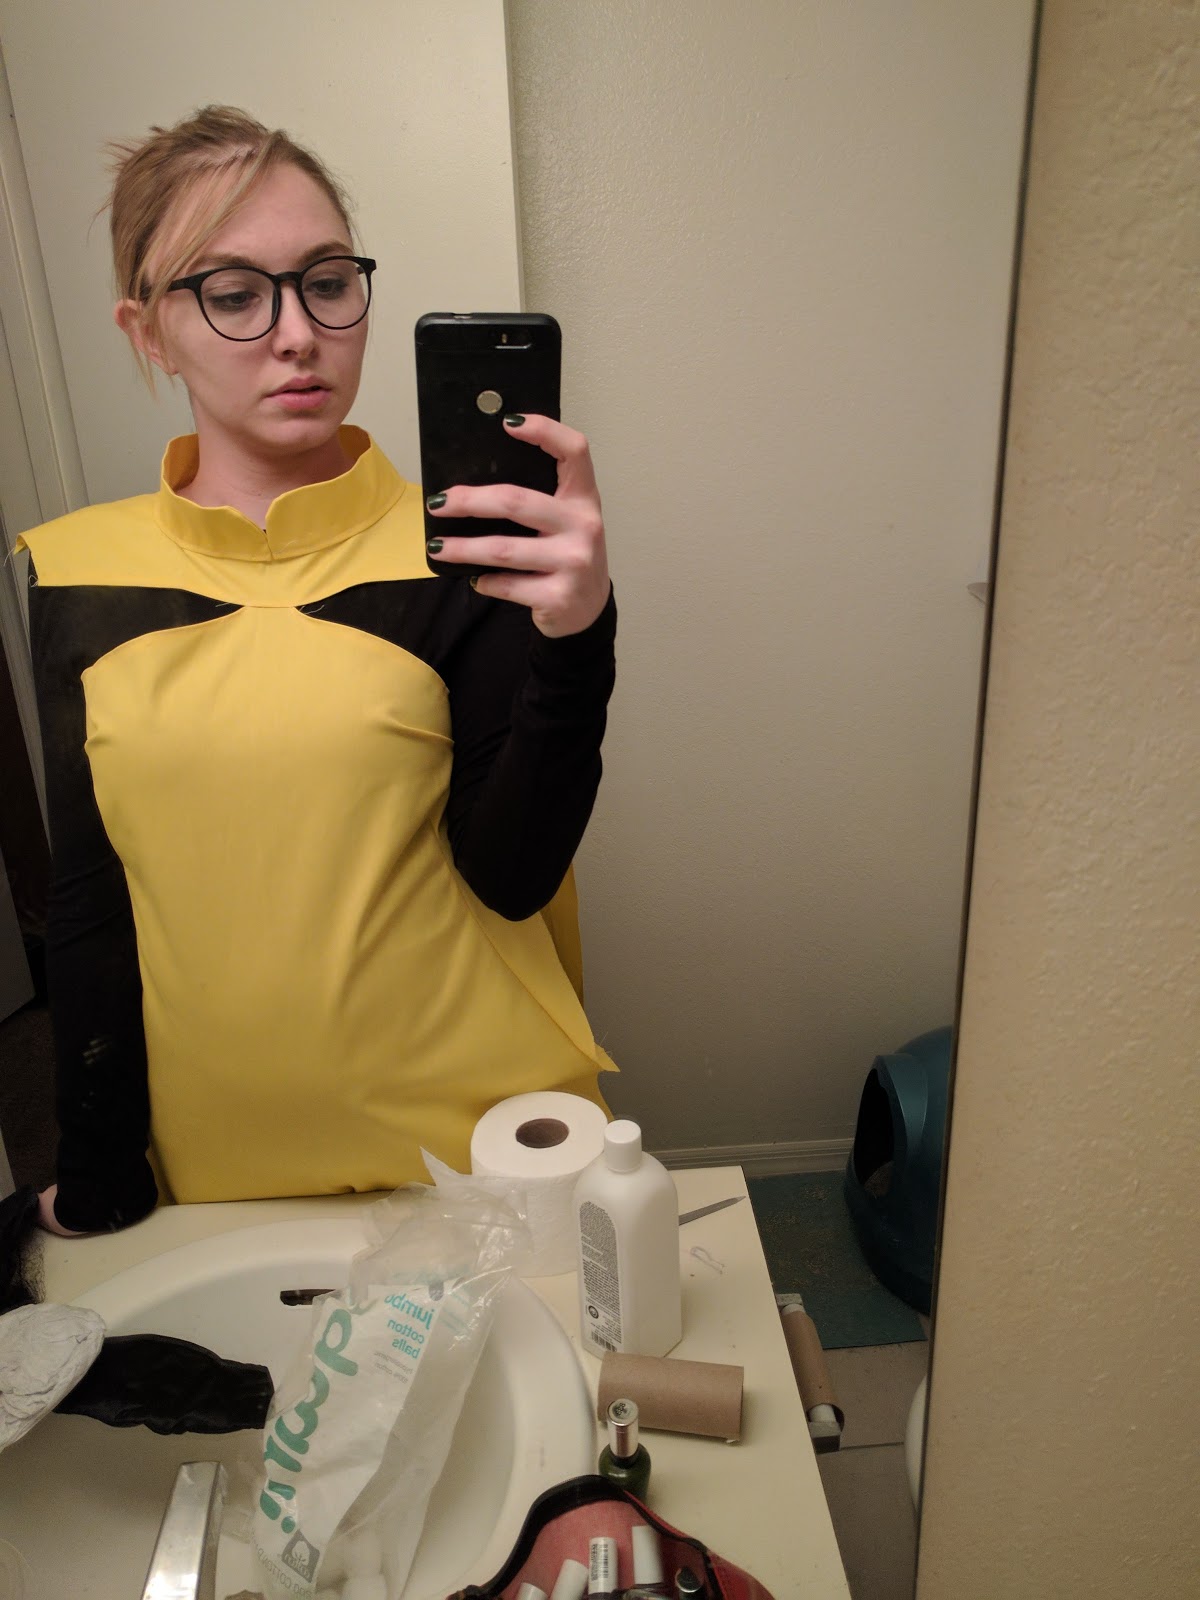
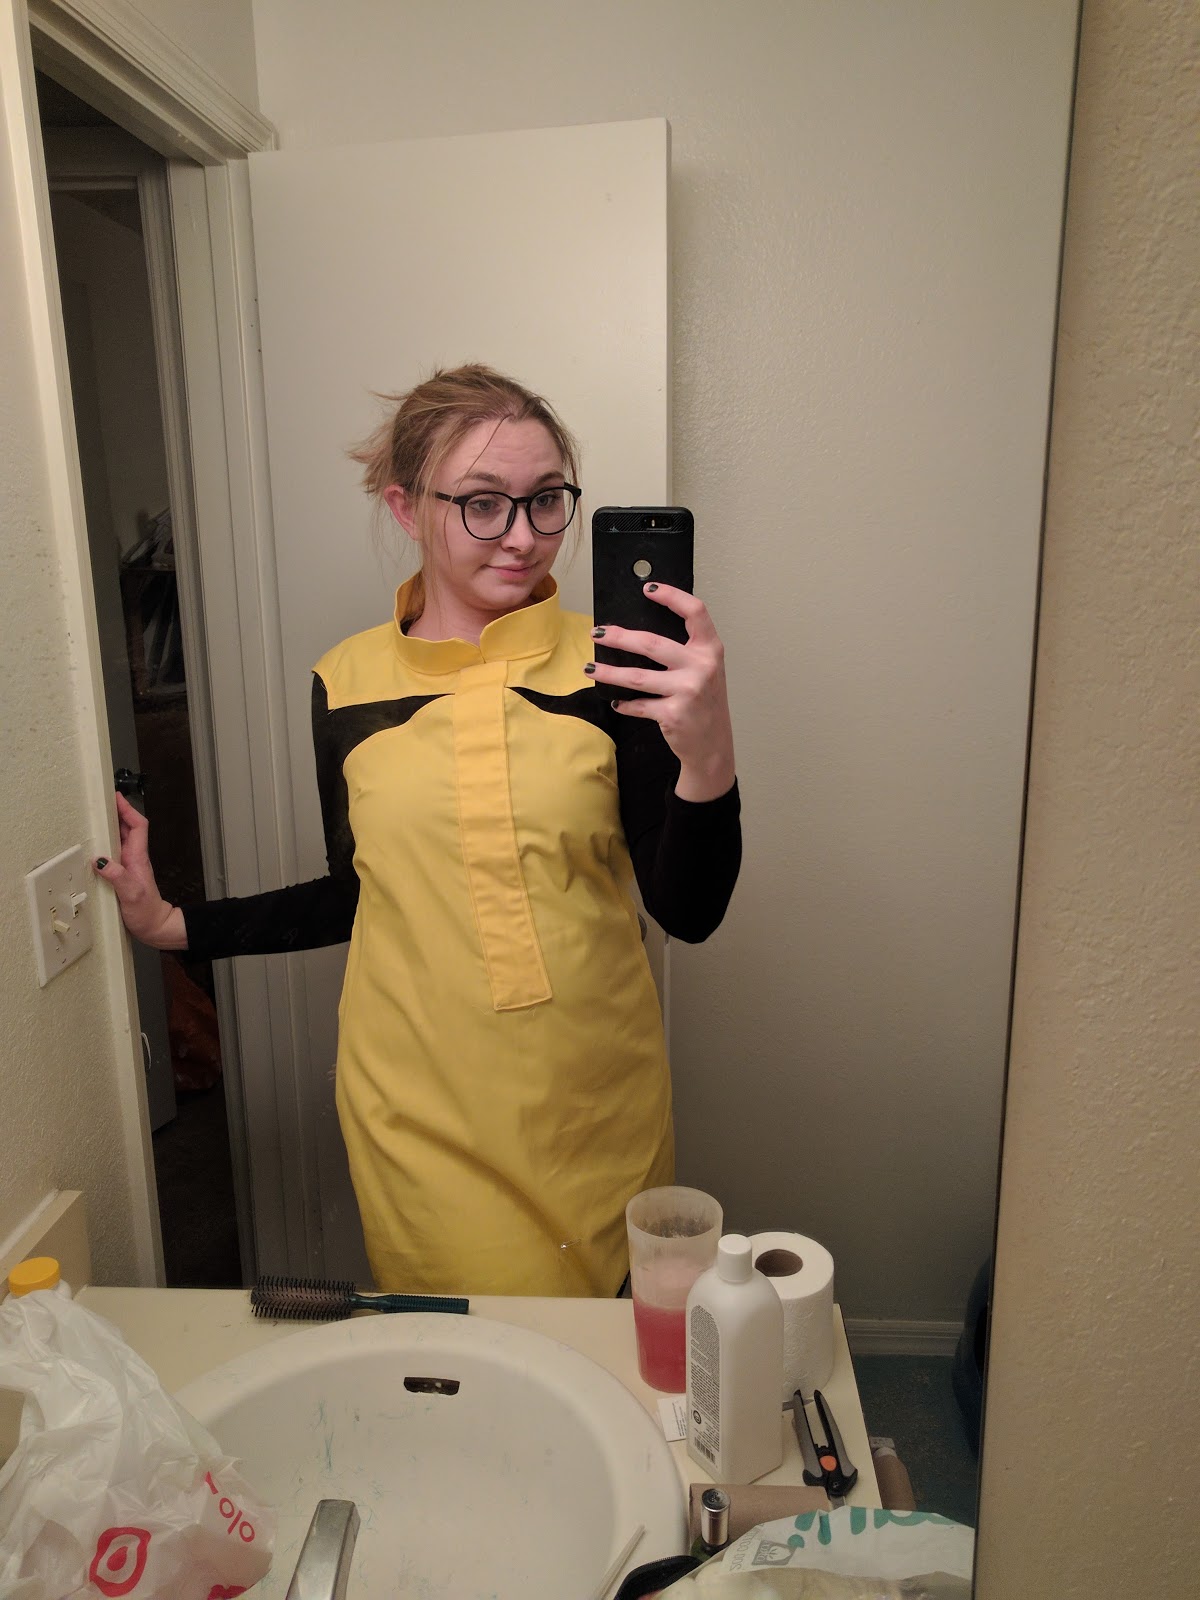
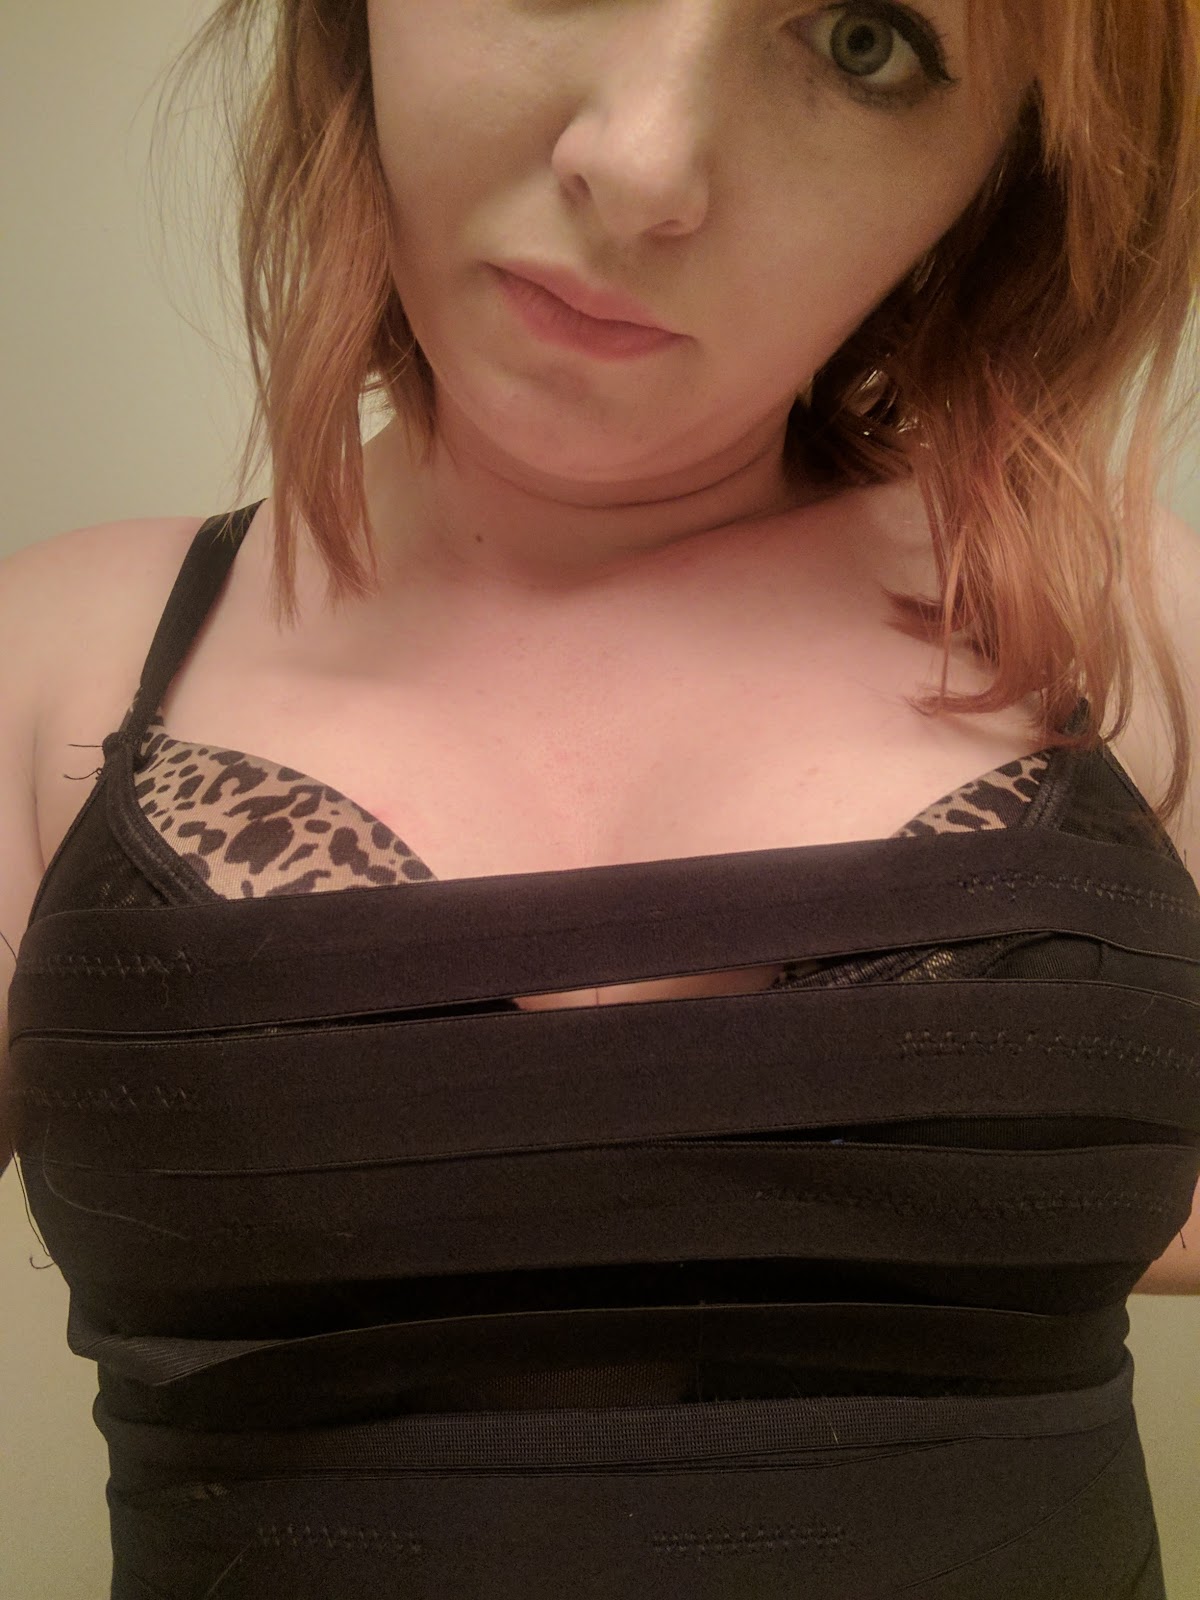
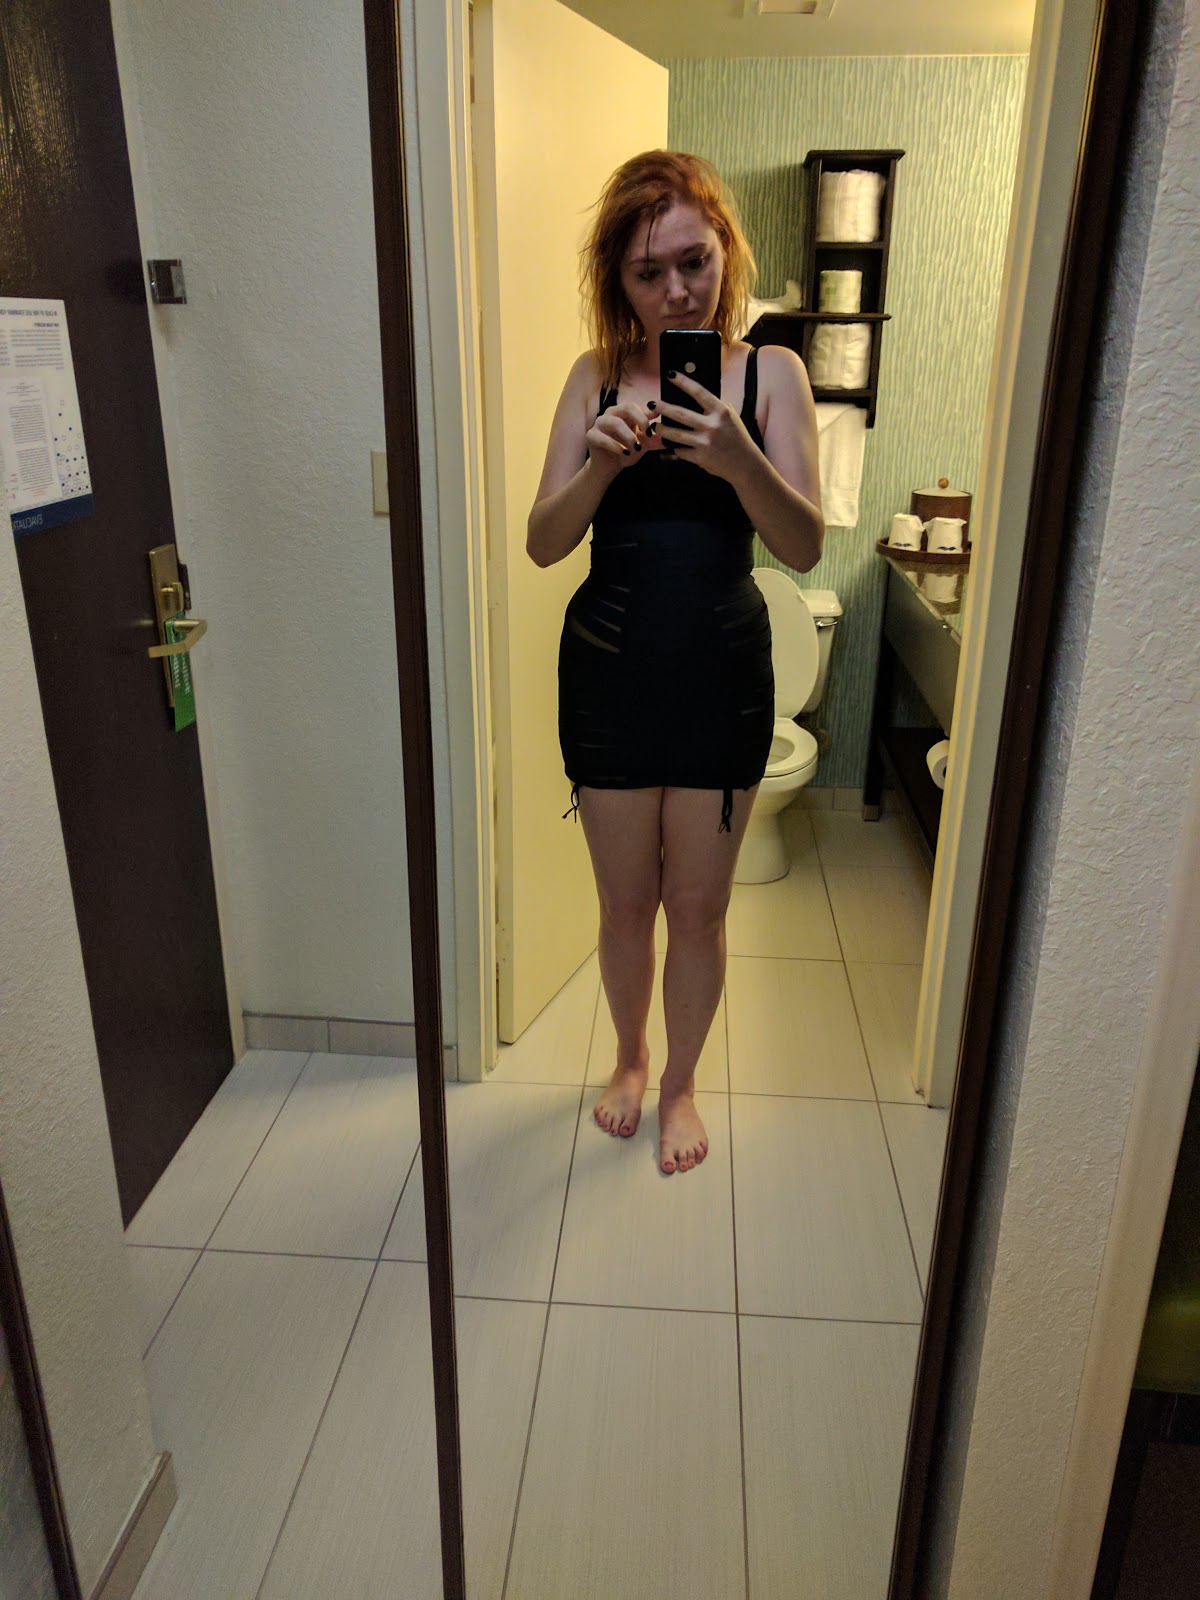
Here is about how it looks at this point.  


When adding in the back zipper, I did take in the neck a bit so that it didn't gape as much. You can see this in the final pictures below.
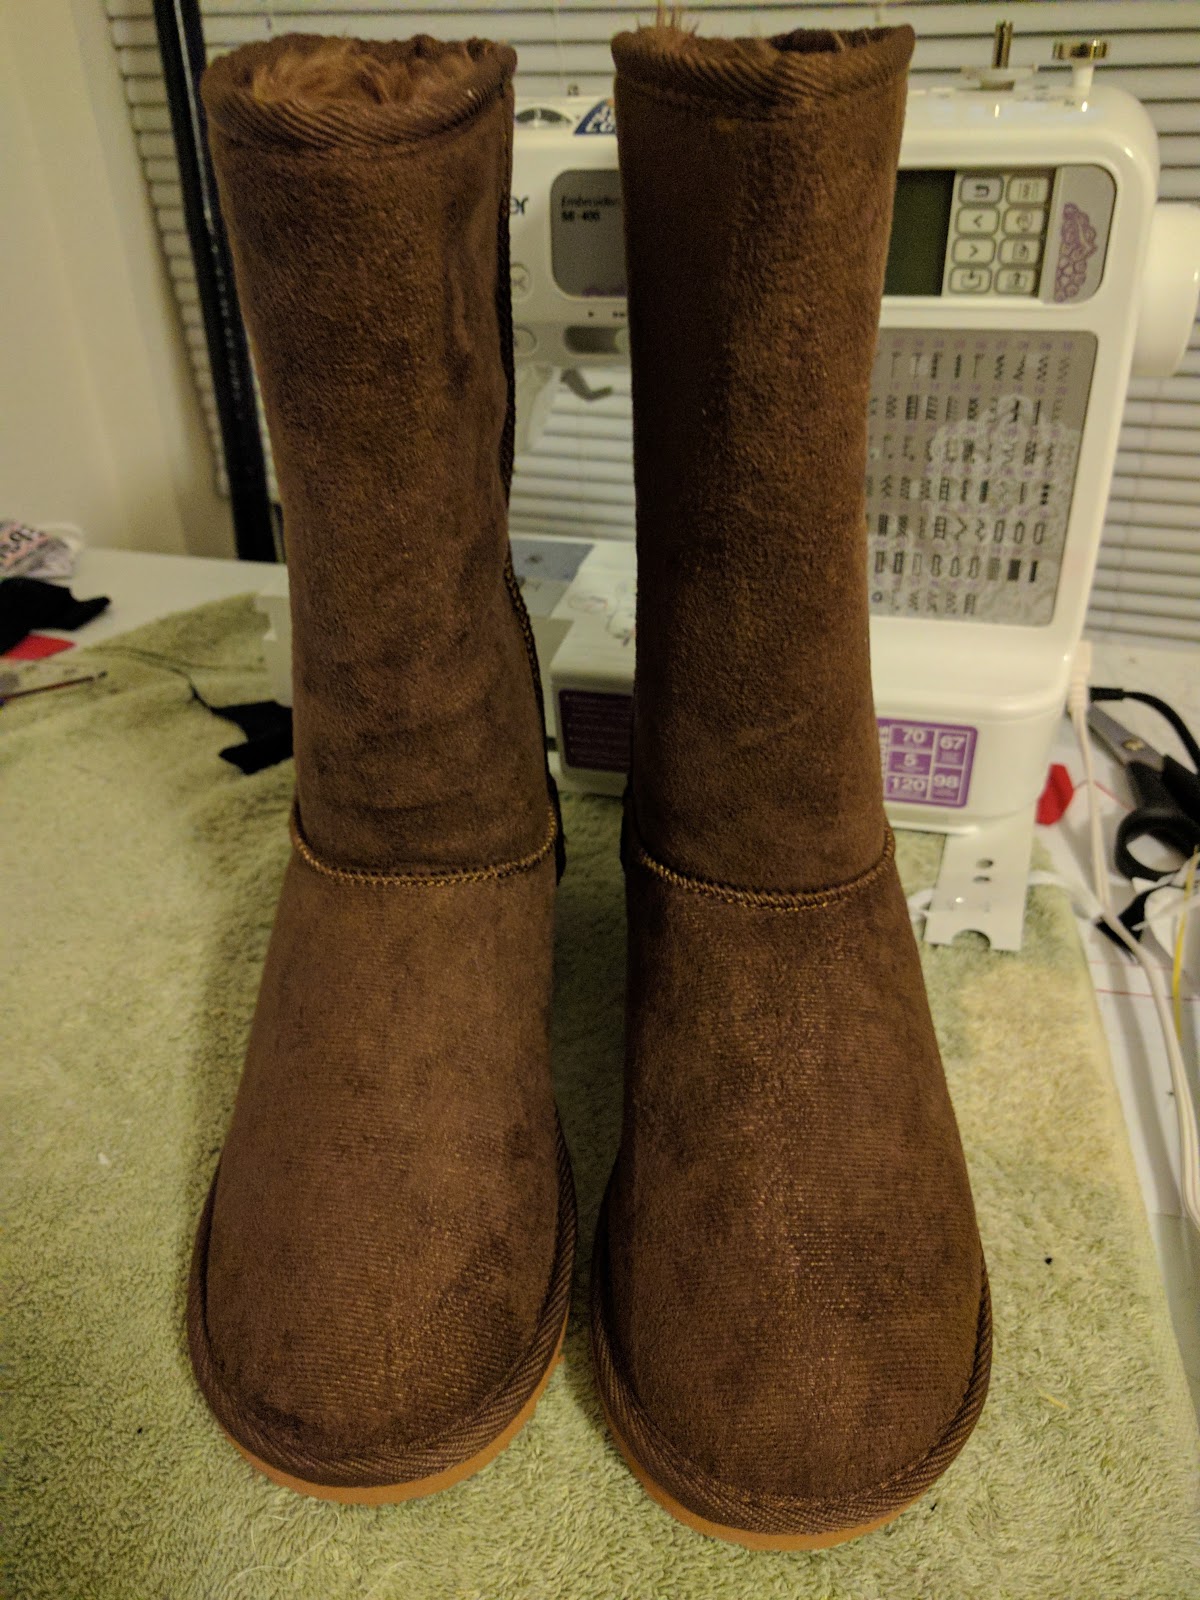
Boots

I make the boots I got used some cheap knock off  Uggs. In reference pictures I saw, sometimes her boots were orange, sometimes they were red, and sometimes they were brown. So, I punted and went with a color I didn't hate: orangey brown.


To finish the boots off, I used masking tape to tape off sections and then painted them black using fabric paint.


And yes, because I suck, I forgot to take pictures of the finish look. I will get better at this one day.
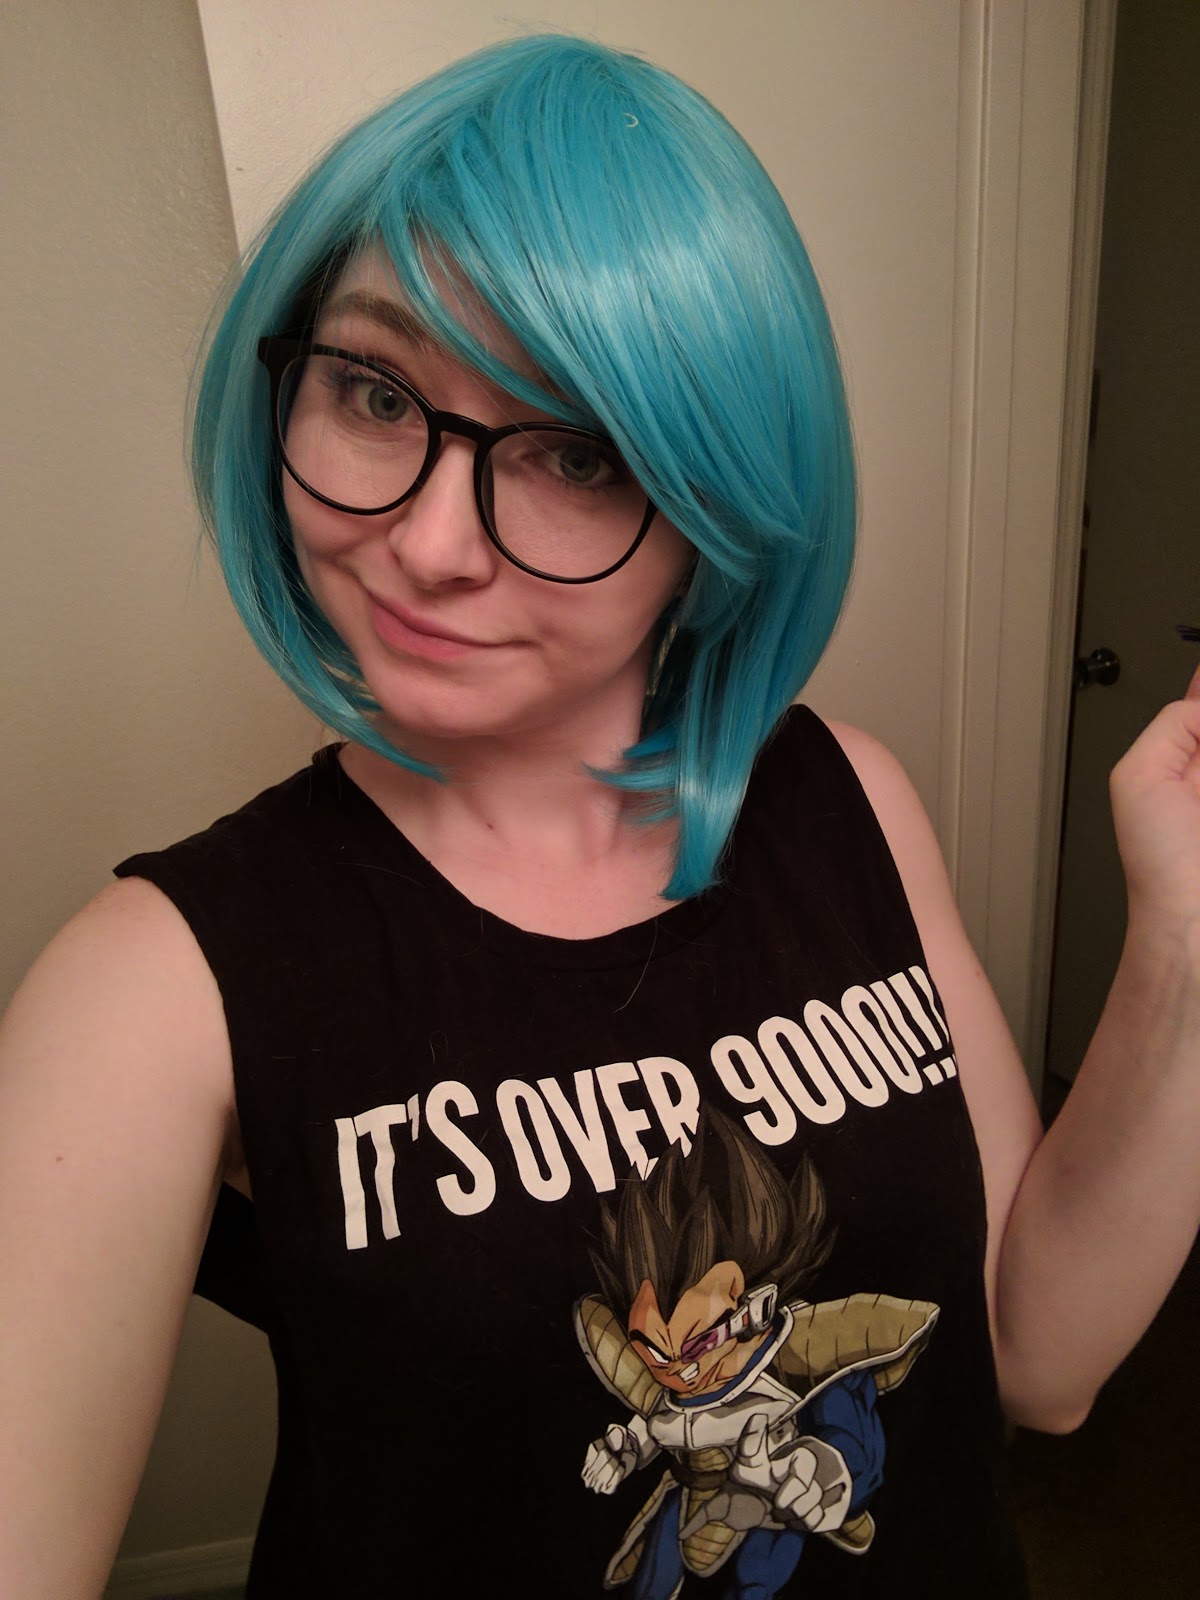
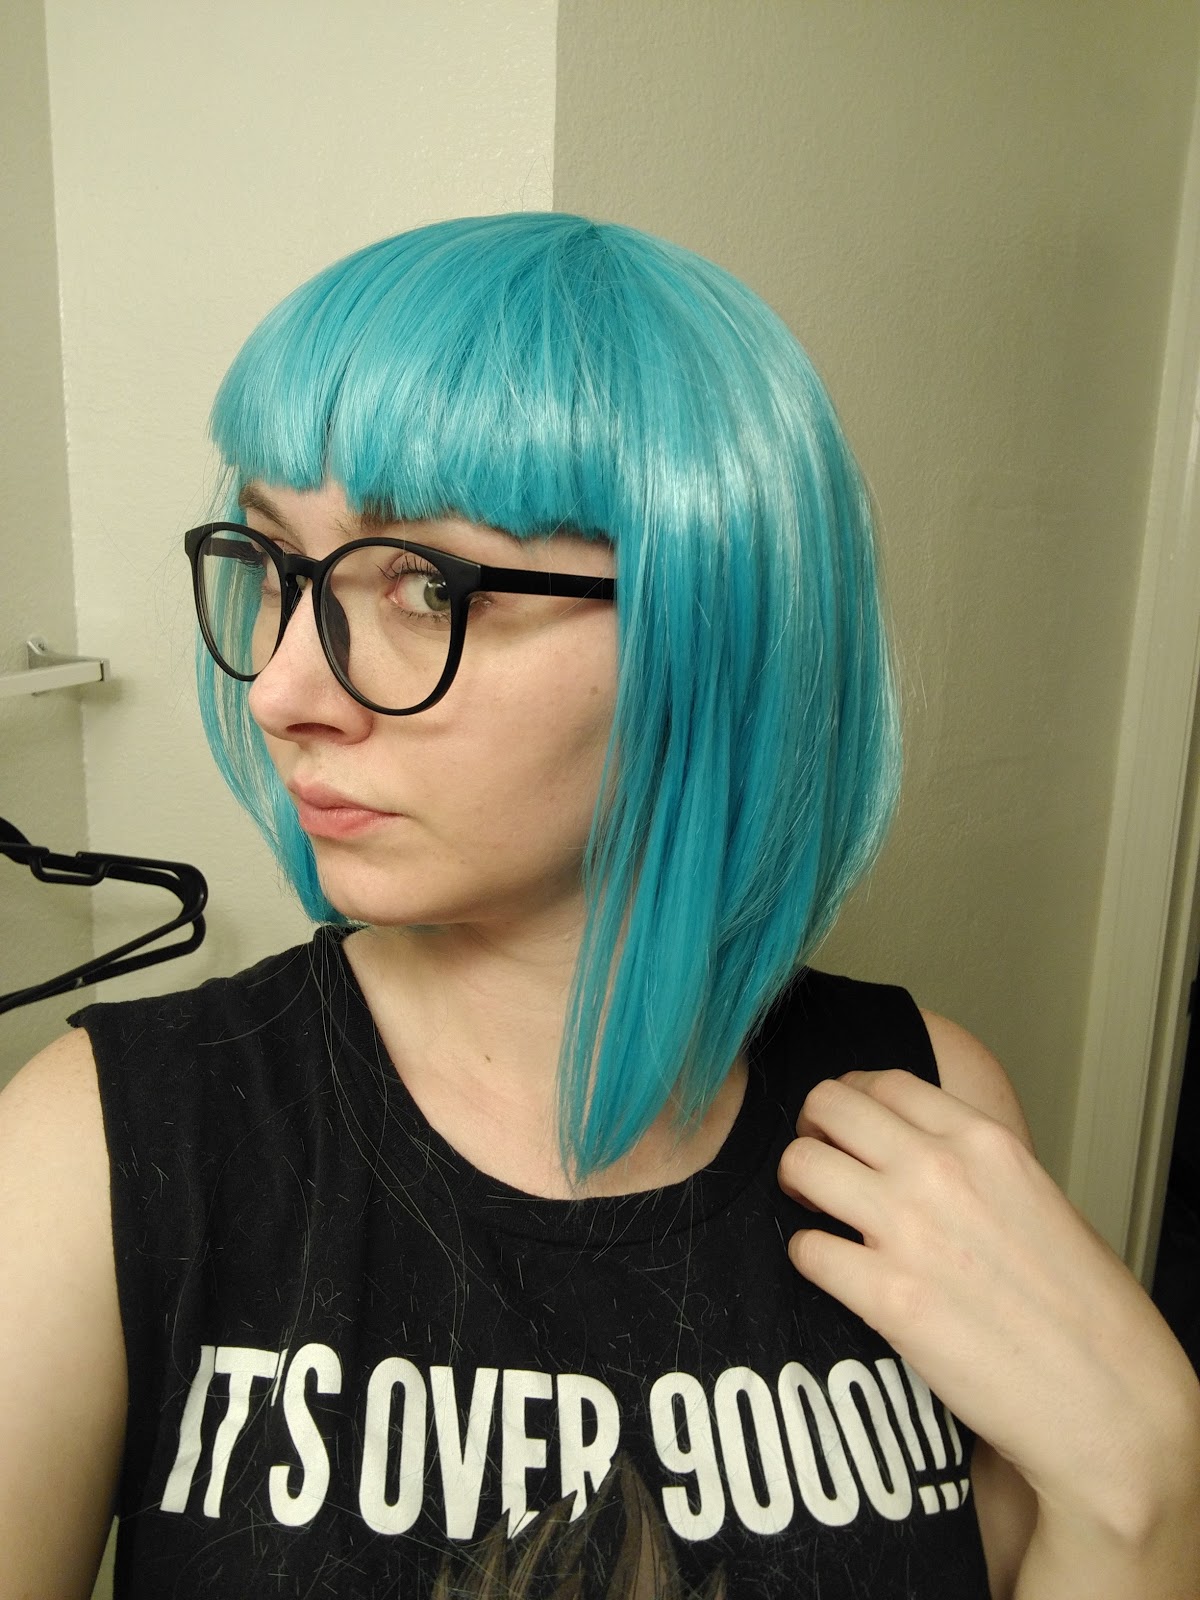
Wig

For the hair, I got a aqua colored bob wig off Amazon. I saw that quite a few people used it for Bulma outfits.


I cut the bangs and straighten the rest of the wig.


Add a pink headband and that's all you need!


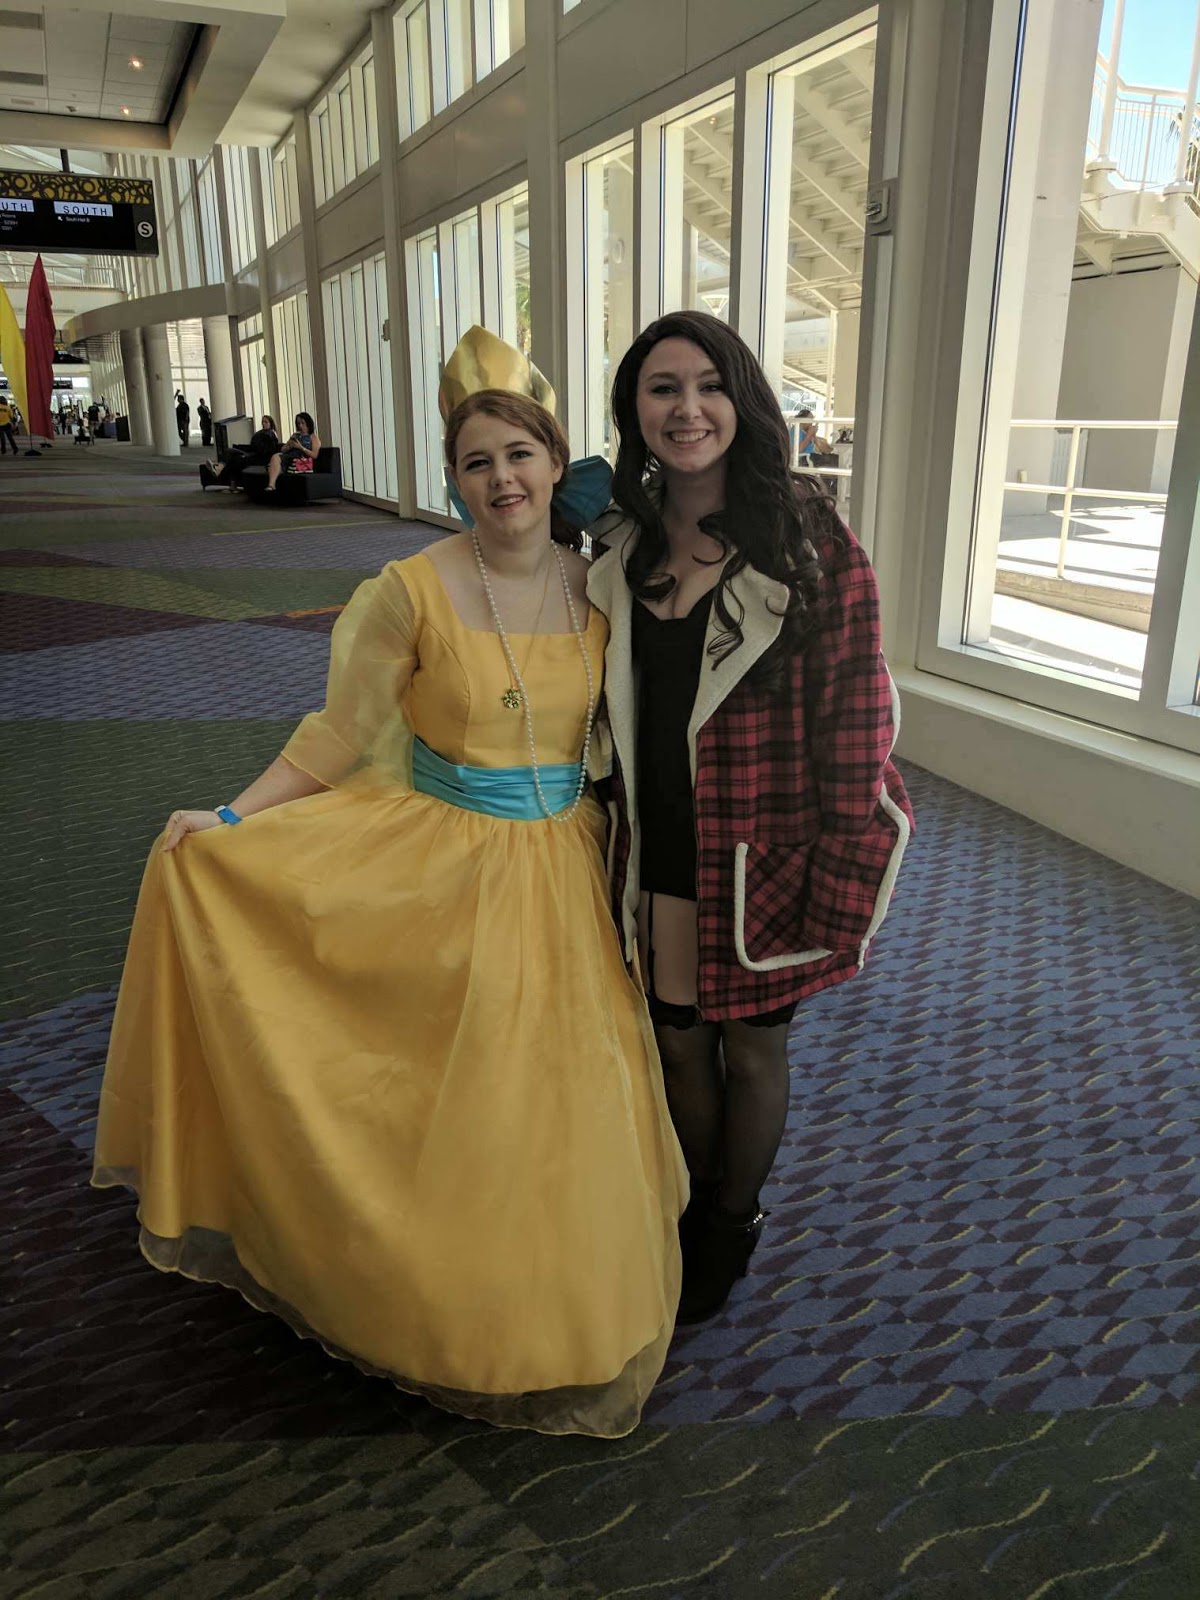
Final look + glasses 


I don't have a final picture of me at FreeCon because I totally blanked on it; however, I will make sure to update this post with a complete look once I wear it to another Con. 

TTFN!


Vanessa Carlysle (Deadpool) Strappy Dress - Part 2 & MegaCon Photos

Vanessa Carlysle (Deadpool) Strappy Dress - Part 2 & MegaCon Photos


After much delay and running around, I have finally written the second part out for my Vanessa dress.

I left off part one talking about fixing the boob area of the dress. Initially, I intended on making cups out of the elastic and attaching them.

So my solution was to sew straps directly across and let my bra work to give the general shape.


I attached the straps in the back with velcro so that they could easily be opened and adjusted up top.


With a black bra, it looks more like a top than just straps. You might say, "hey, but doesn't it go down further in more like a sweetheart/v neck action". Yes it does. And through the power of elastic deciding to do its own thing, it would often do so and drift down exposing the bra more and more.  The bra became much more important than I originally planned for. My boyfriend was on boob watch for the majority of the con so it didn't slip down too far.

 Here is a full body shot of the dress from my hotel room at MegaCon. It isn't the best image, I know, but it shows how things would lay. The straps migrated as I moved so I had to frequently adjust them. If I were to redo this outfit, I would sew the straps down all around the dress instead of in just sections. Although it made it more comfortable to wear, it did require many adjustments throughout the day.


Wig time!


I used a dark brown wavy wig with a clip in blonde extension.


Note: The clip in extension didn't curl for all the tea in China. So it ended up being a piece of straight hair in a wavy wig. It got the point across and worked because I was pinched for time; however, I would suggest going with a different one, preferably pre-curled, instead of the one I used.


You can barely see the extension in the picture below. For future cons, I would want a thicker extension.


Jacket, Heels, Stockings & Garters


I ordered the jacket in XXL so that it would fit my boyfriend as well. I could have gone with a smaller size for sure, but I wanted us both to be able to fit in it. That's what a boyfriend jacket is for anyways.


Mega Con Photos


Yeah, I know I need to take more pictures. I am working on it.

Although there are definitely some things I would change about this outfit,  I feel it was overall successful. I mean, I got to dance to Careless Whisper with a Deadpool Cosplayer so I will call that a win. 


Let me know if you have any comments or questions! TTFN