Dark Sansa Stark Cosplay Progress: Part 7 - Wig Braiding
I personally adore Sophia Turner's red hair. Alas, for this outfit, Sansa is hiding out and has dyed her hair black.

I purchased the following wig online.
Wig Used: 26 inches long wavy black synthetic lace front wig for women (black) from WELLKAGE
Purchased from Amazon.com -> http://www.amazon.com/Inches-Black-Synthetic-Front-Women/dp/B013FUS0TE
Another alternative that I had been considering was Arda's Matilda CLASSIC or Dany CLASSIC. However, they were more expensive than I would have liked and I was able to get the Wellkage wig on sale.
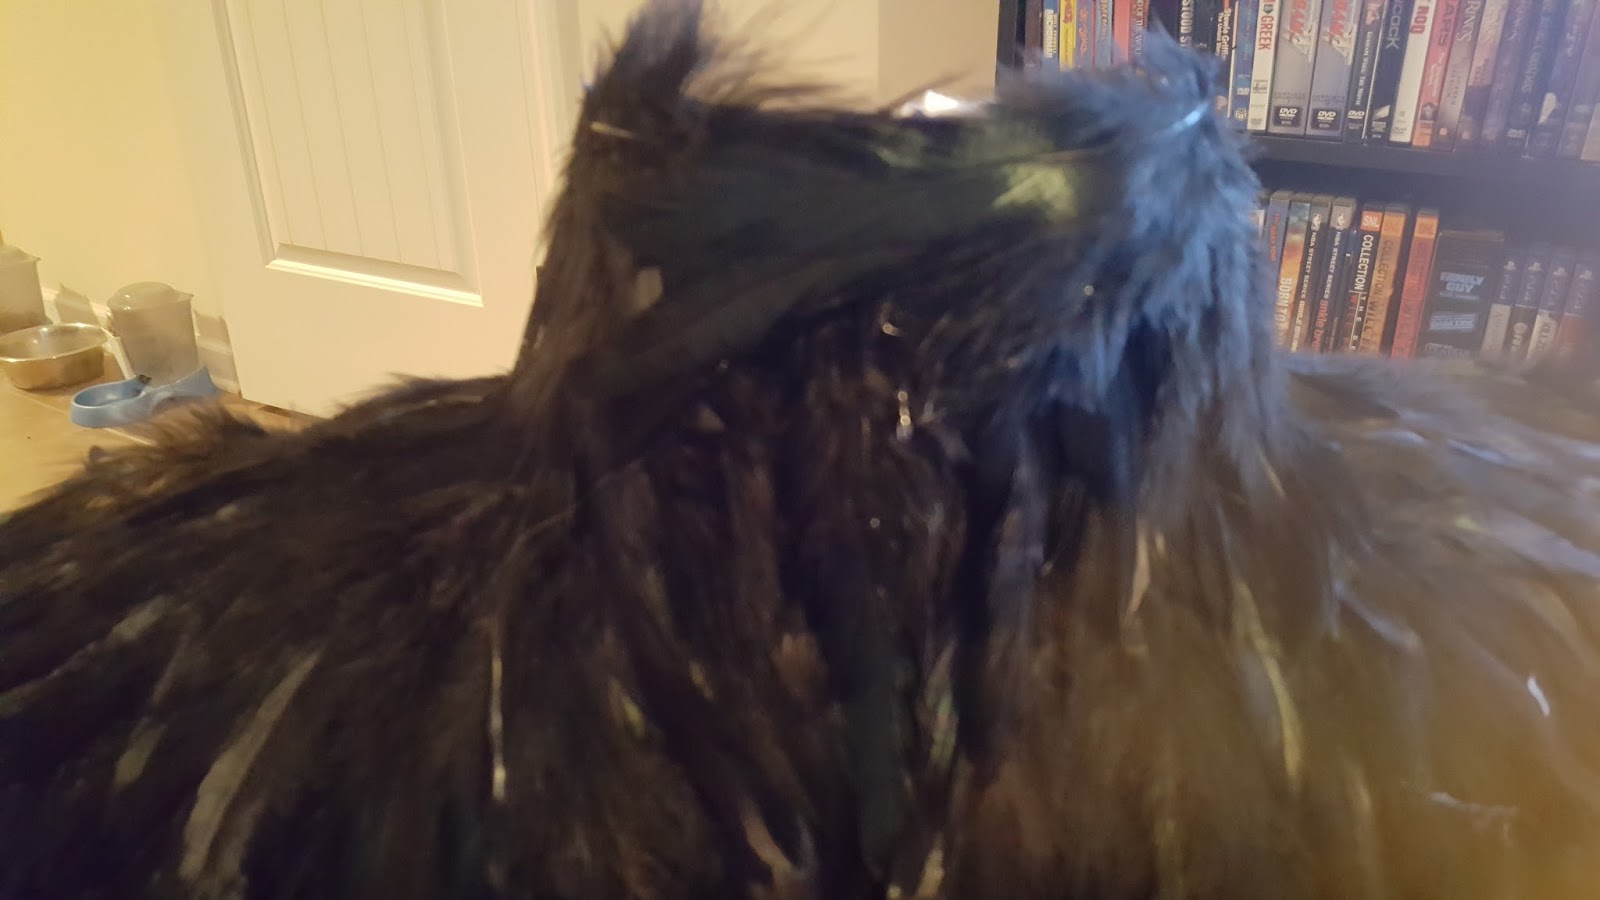
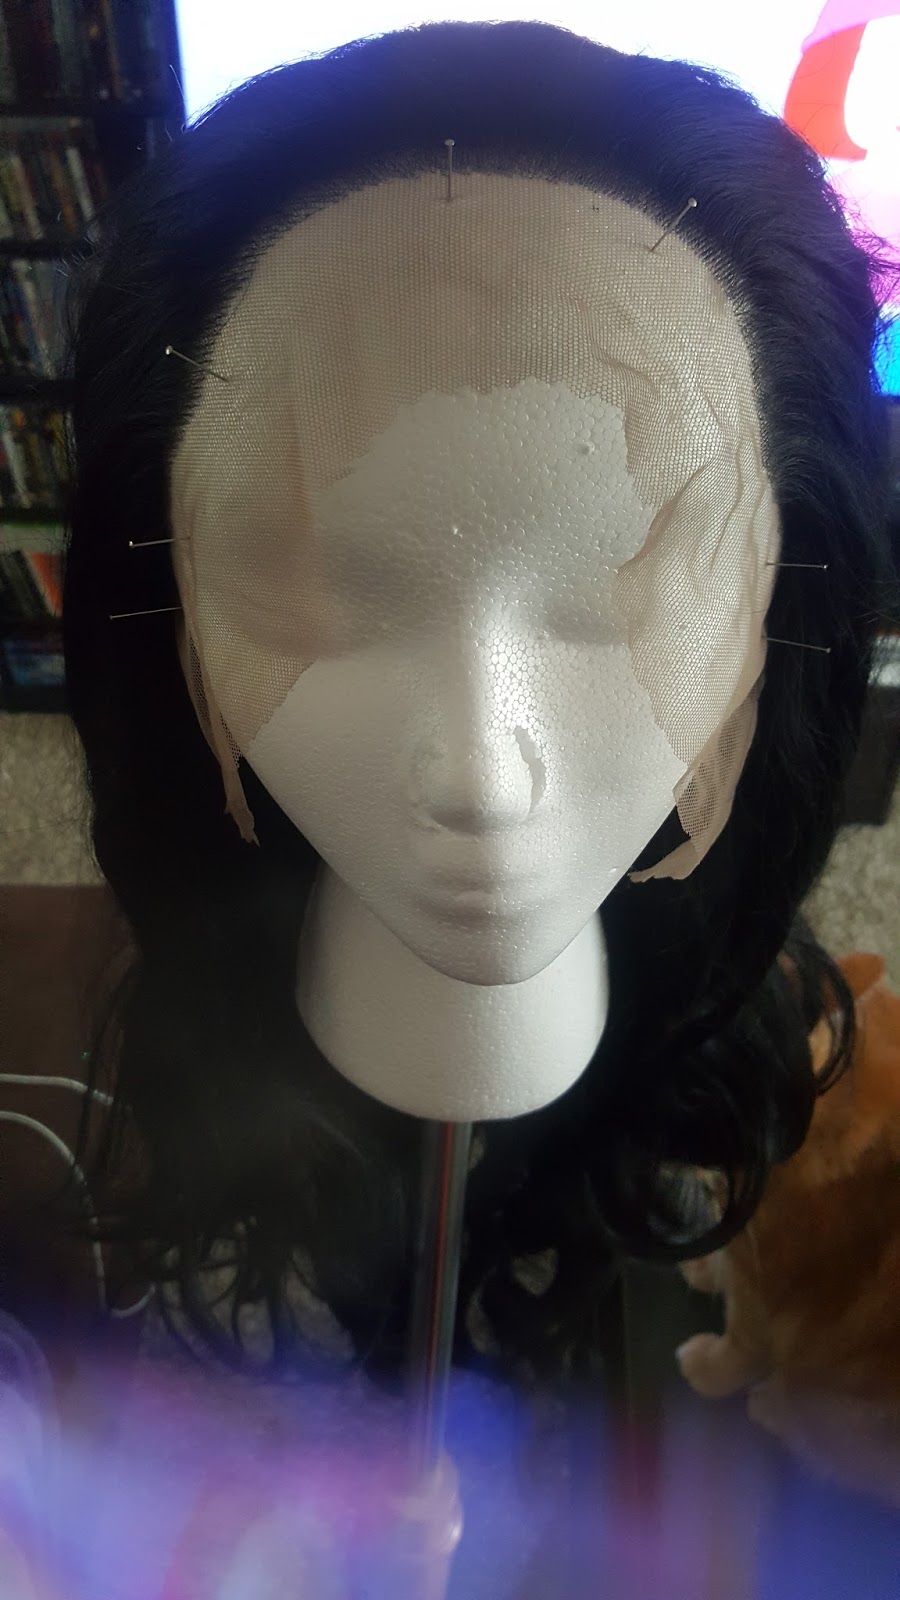
Out of the Box with Lace Front Intact
I haven't cut the lace front yet. This is what the wig looked straight out of the box.


This is a close up of the wig's hairline. Since Sansa's hairstyle is primarily pulled back. The hairline is super important because it will be ridiculously obvious. The top hairline is a little sketchy, but the sides look good.

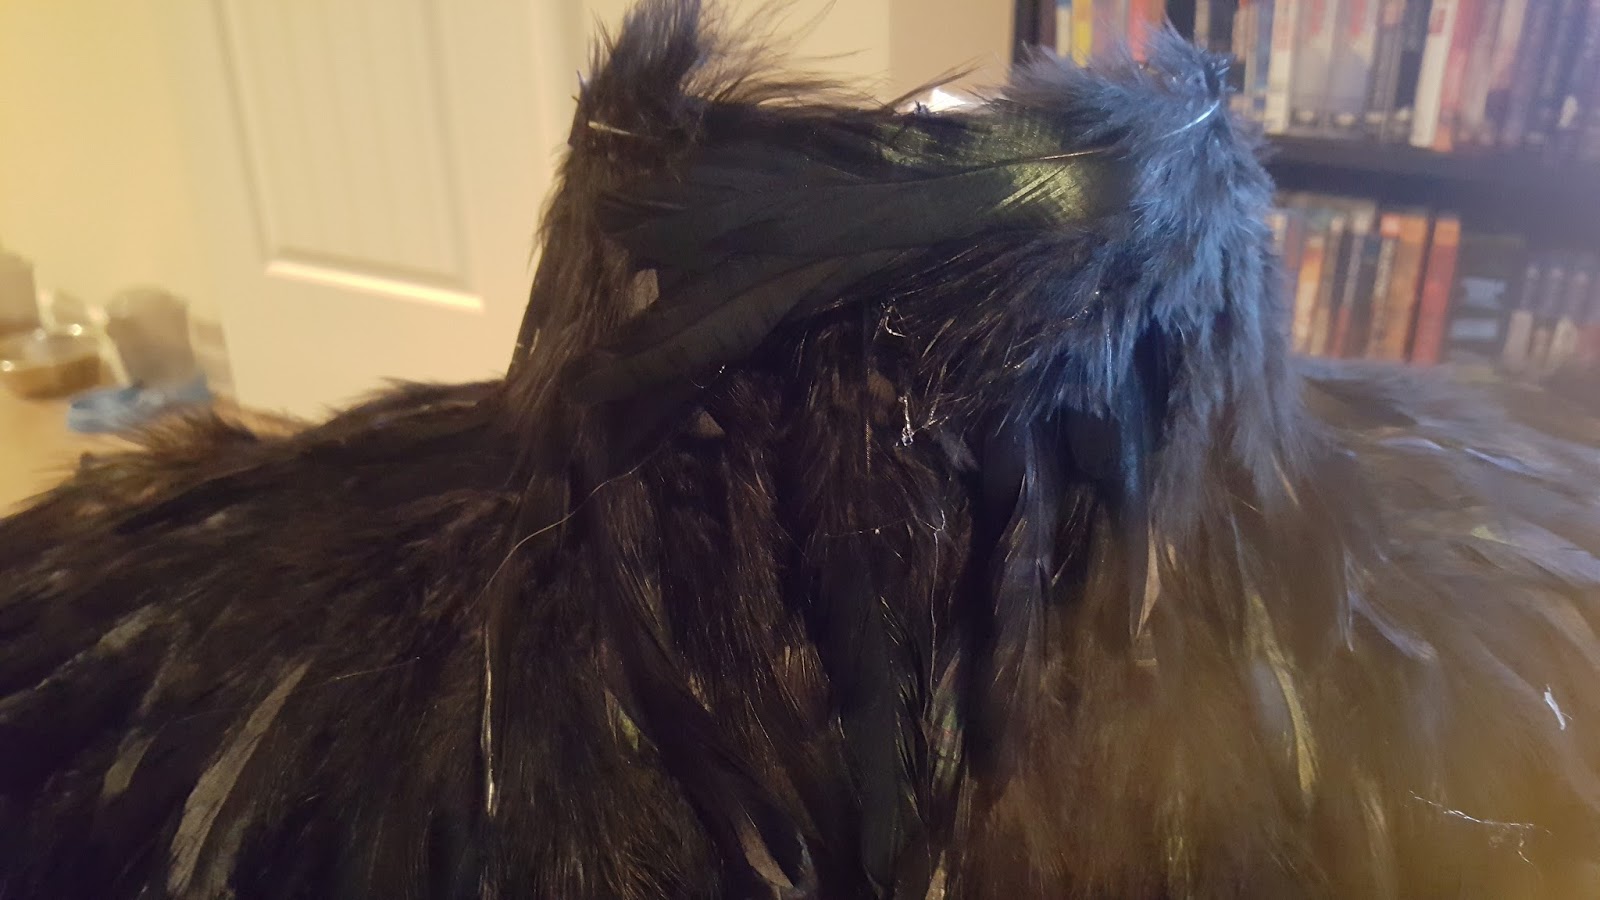
I am keeping the lace on until I have finished styling the wig. I am using it to keep it attached to my foam wig stand.
Braiding Process
I am by no means an expert on braiding. It honestly has been one of the things that I have been dreading most of all about doing a Game of Thrones cosplay. The braids are so intricate and ornate. Fortunately for me, Sansa's hair is more simple in this outfit.
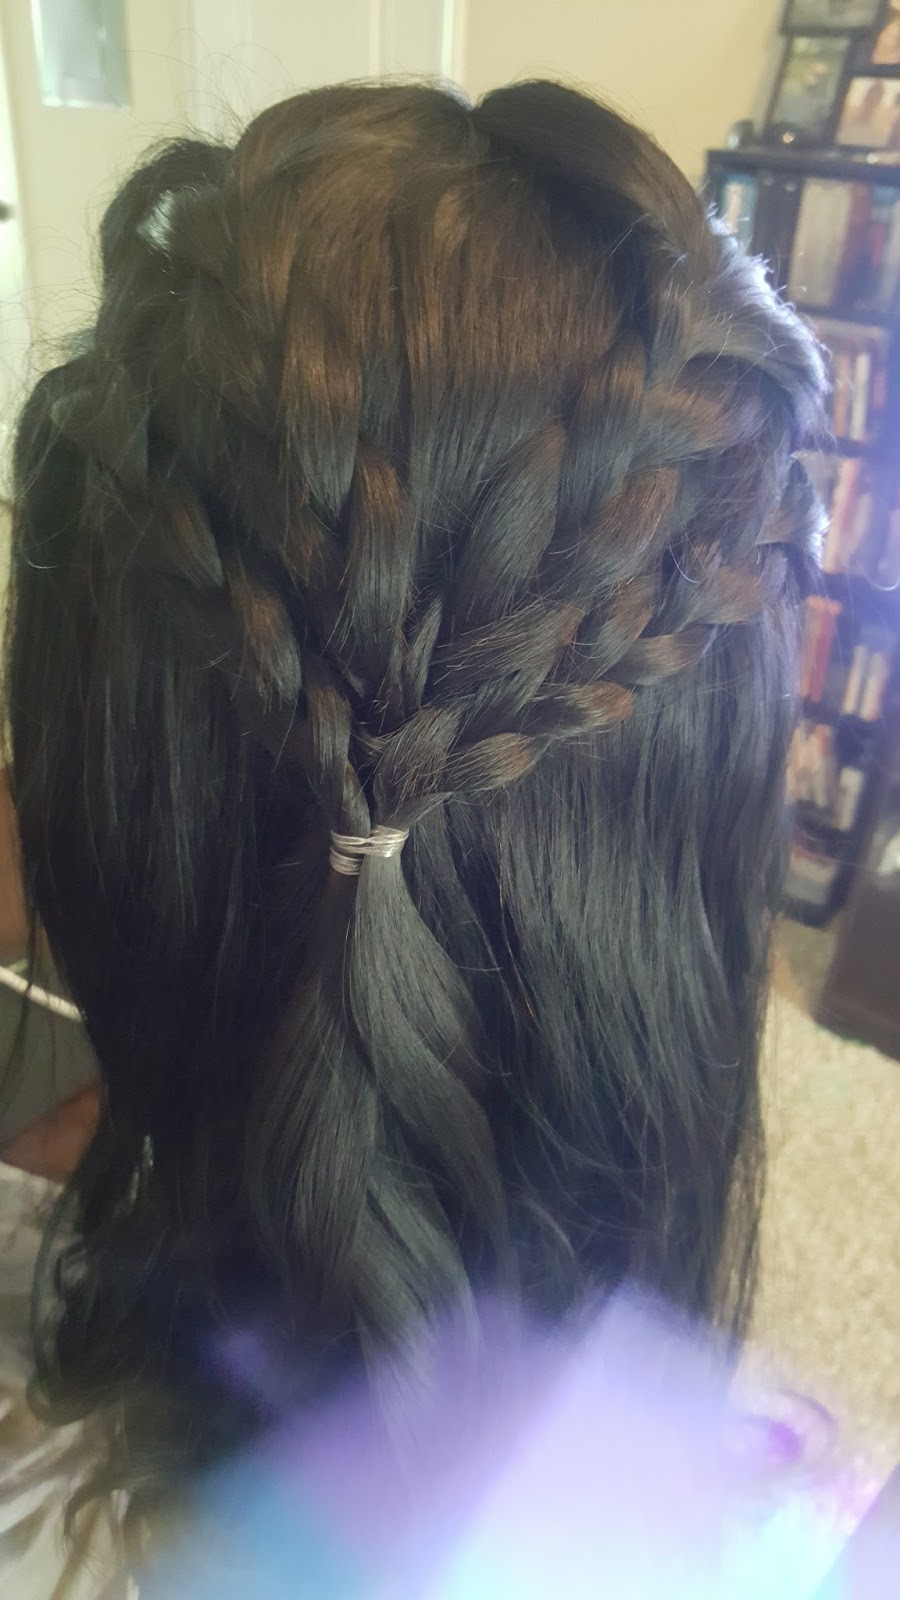
Sansa has her hair pulled back with two sets of braids up top. The rest of her hair is down in waves.

Because of my questionable braiding skills, I chose to braid my hair on a wig stand instead of on my head. I was armed with a brush, small clear hair ties, and a ton of hair spray.
Starting Point:

Super Awesome Center Part:

Top Braids:
I made my two side braids...
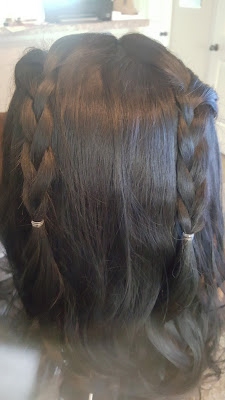
...and connected them.

Bottom Braids:

Trying to take a picture of the side of the hair, but I couldn't get a good shot.


And a shot of the length.

Starting Point:
Super Awesome Center Part:

Top Braids:
I made my two side braids...


Bottom Braids:
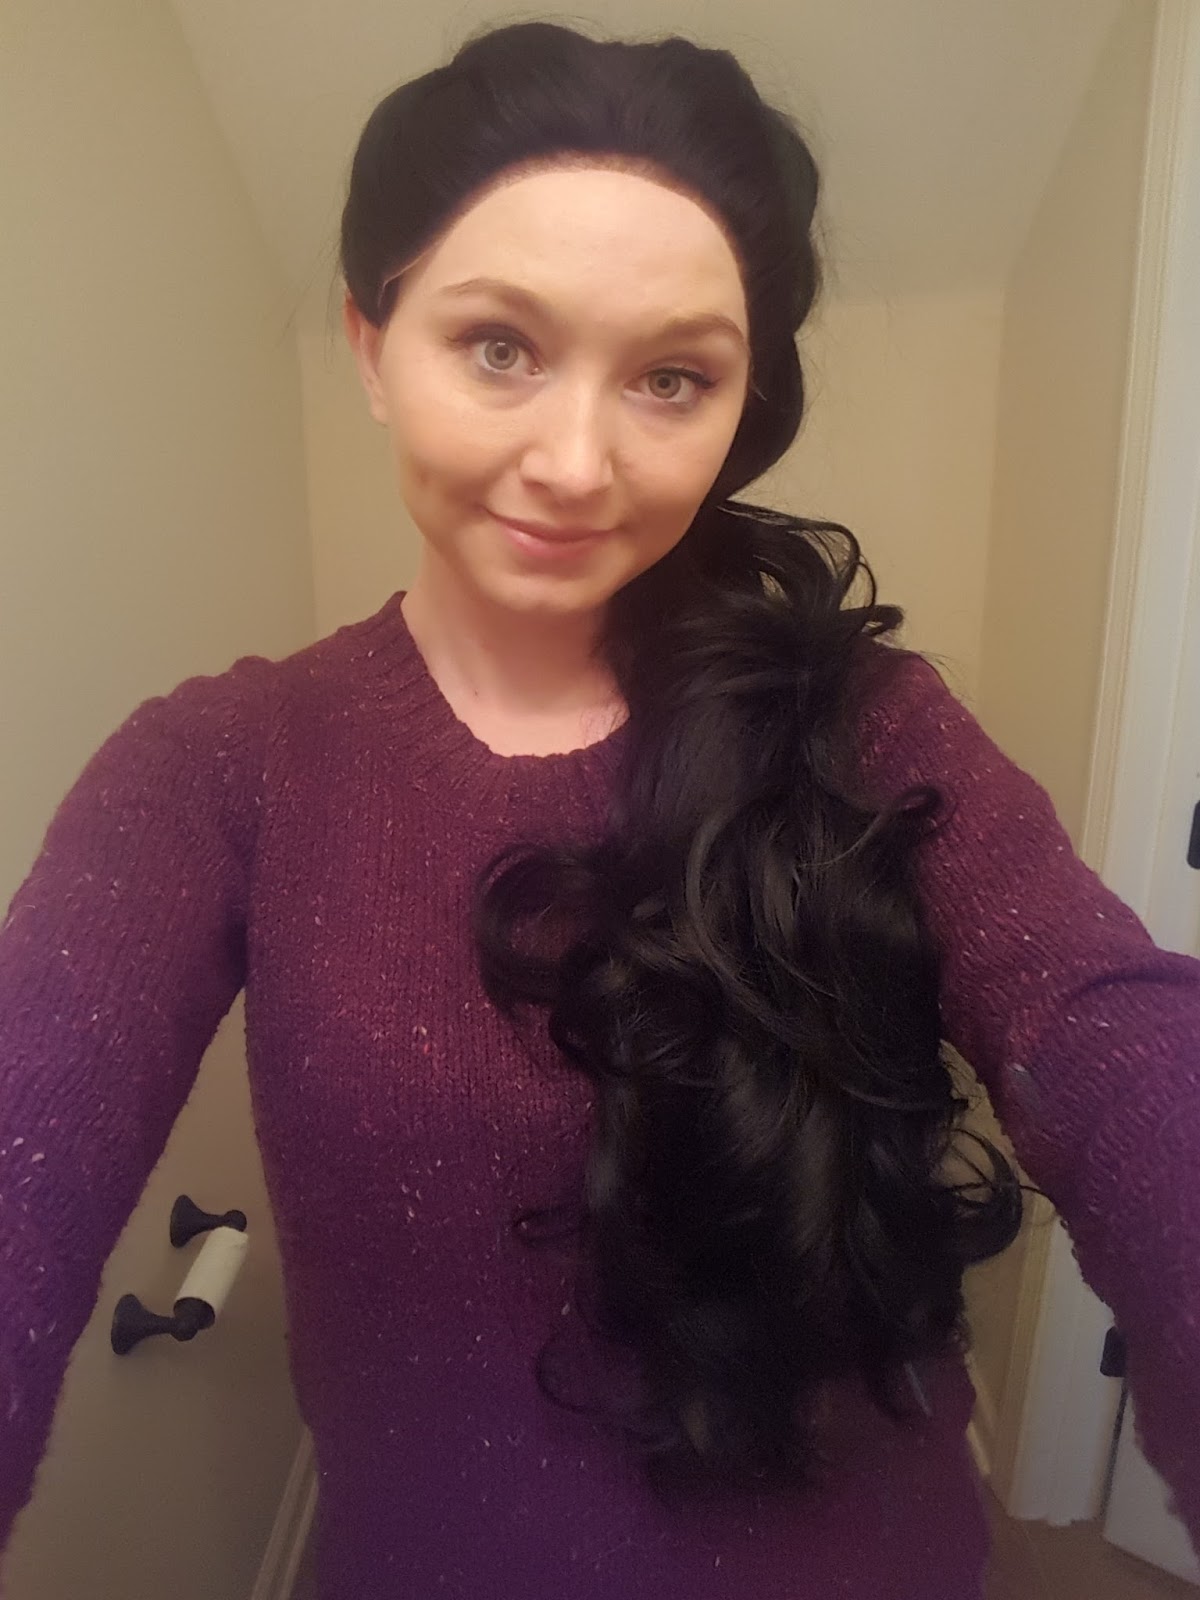
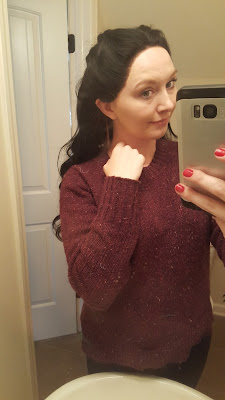
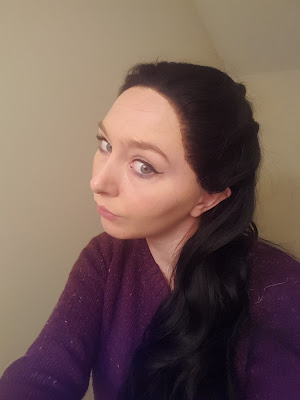
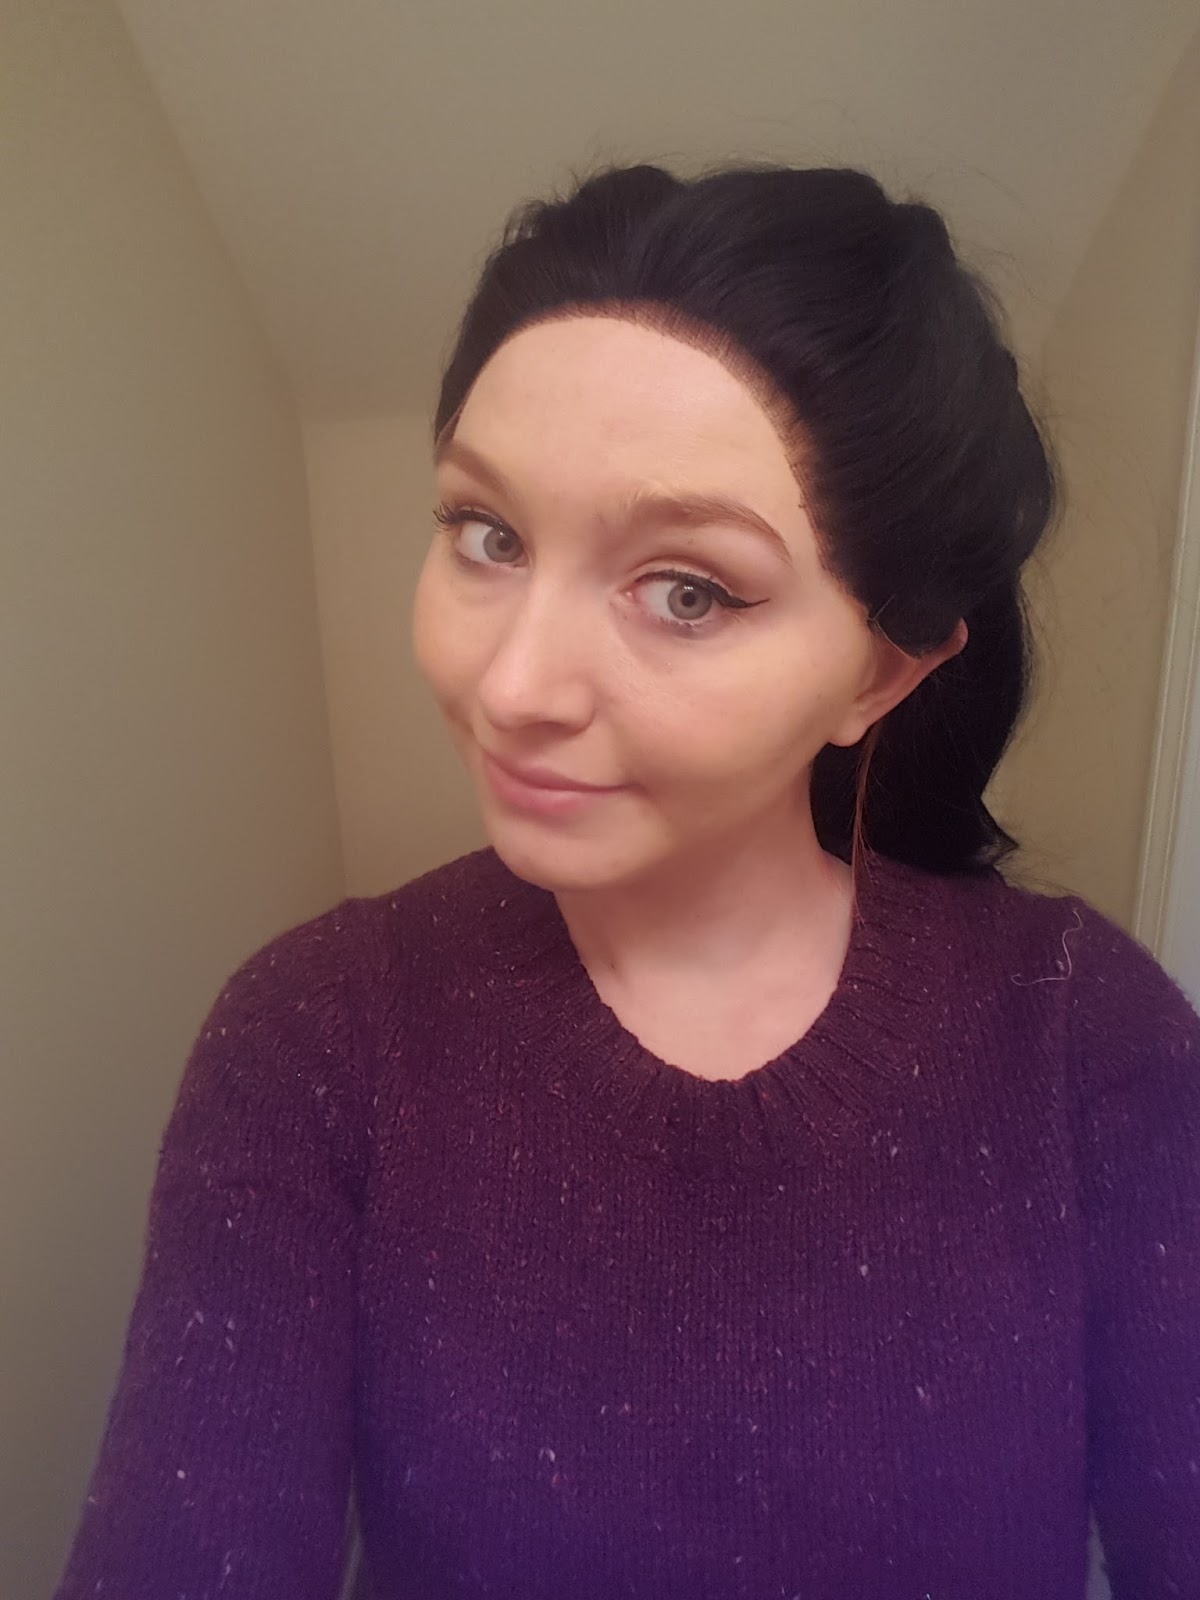
Finished Look:
The wig isn't taped down for these images so the sides come up a bit, but you get the idea.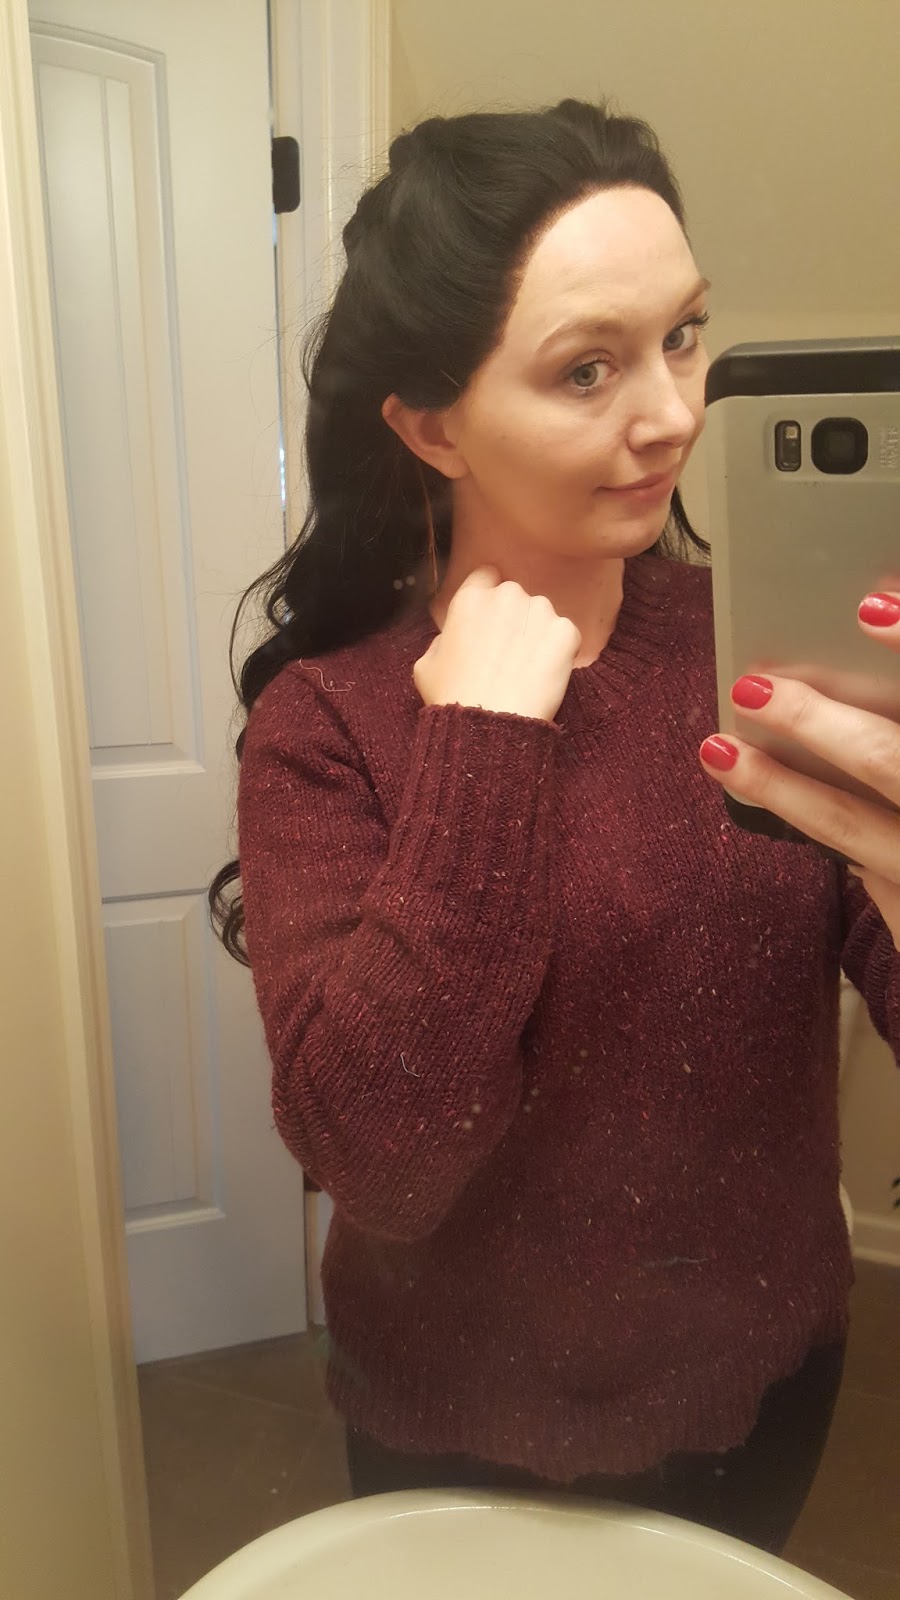
Trying to take a picture of the side of the hair, but I couldn't get a good shot.


And a shot of the length.