Saturday, January 28, 2017

Fandomonium Prize Construction: Part Two - Poké Ball Pillow

Fandomonium Prize Construction: Part Two - Poké Ball Pillow


For Fandomonium, I was approved to make a Poké Ball Pillow, Wolverine Claws, and a Comic Book Themed Bag. I am going to go through how I made the pillow.
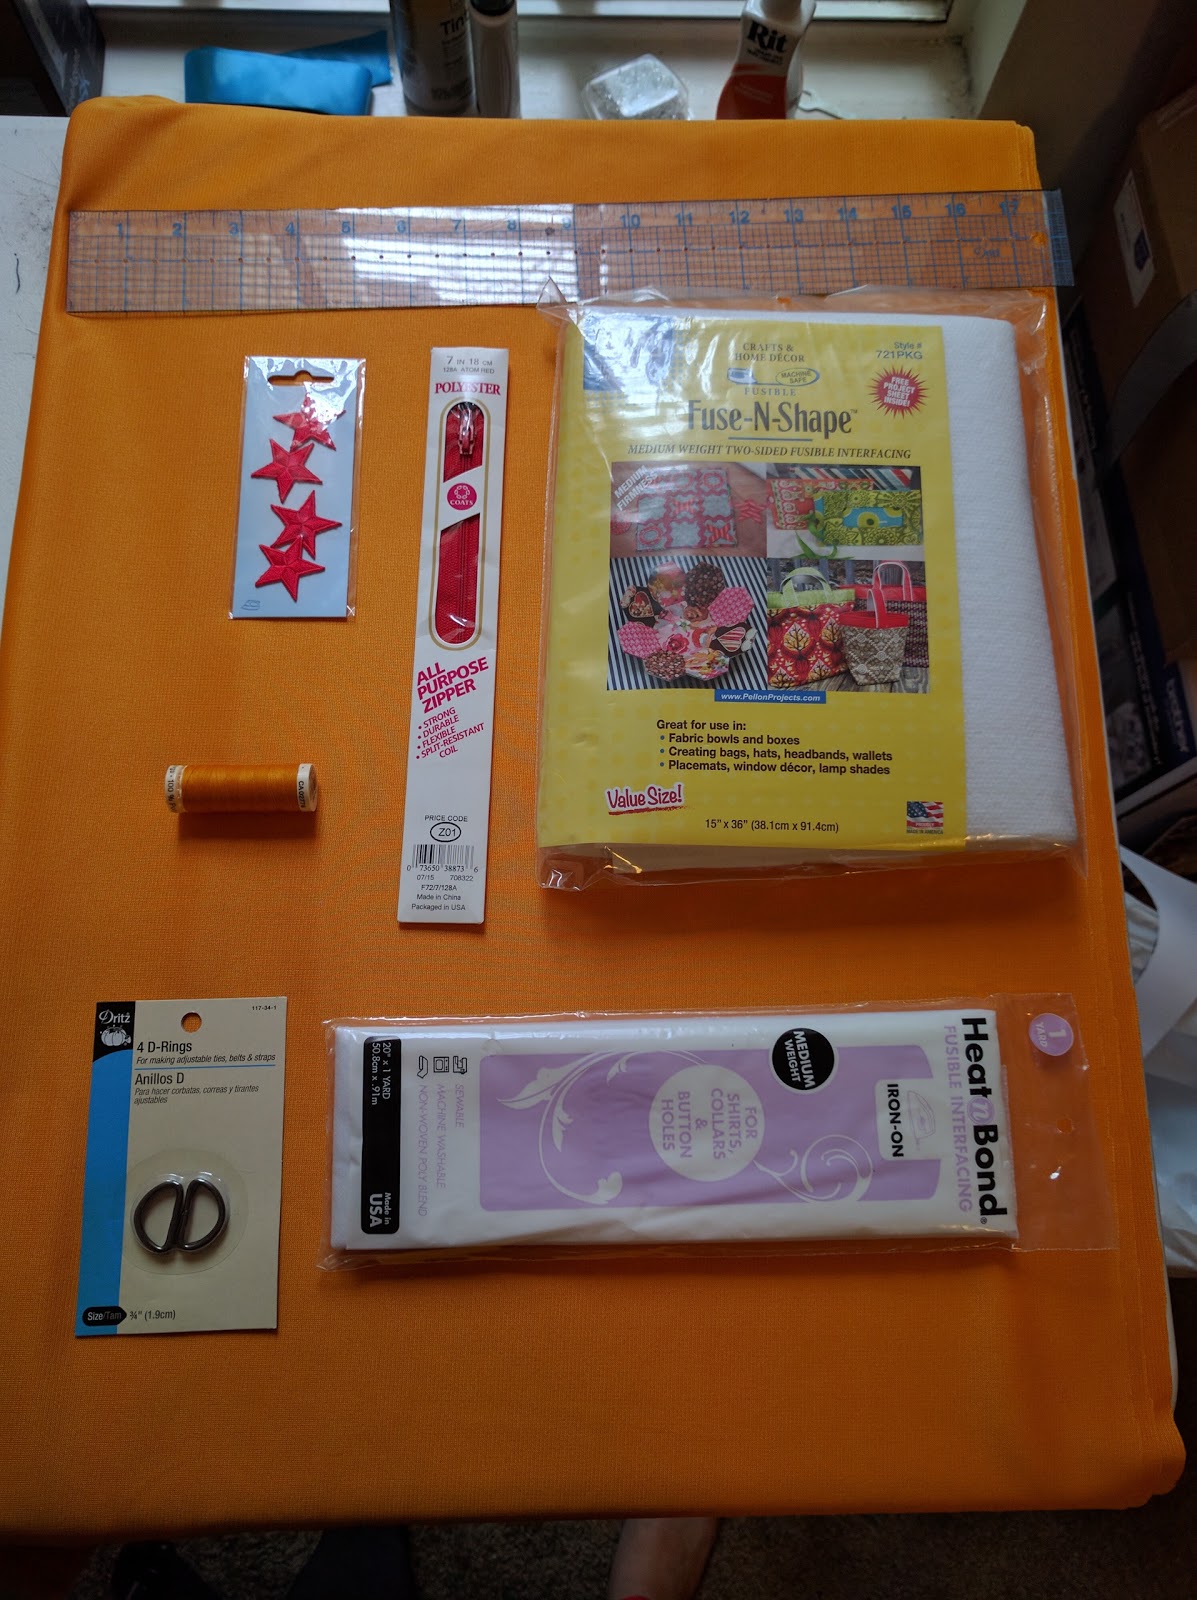


Supplies Needed

I used:

  • half of a yard of red and white flannel
  • quarter of a yard of black flannel
  • pillow fluff (Poly Fil)
  • fusible webbing (optional)
  • hem tape (optional)
  • black thread
  • scissors
  • iron
  • lint roller (my house is run by kitties)
  • paper and tape (for making a circle pattern)
  • ruler
  • pencil/sharpie


Process

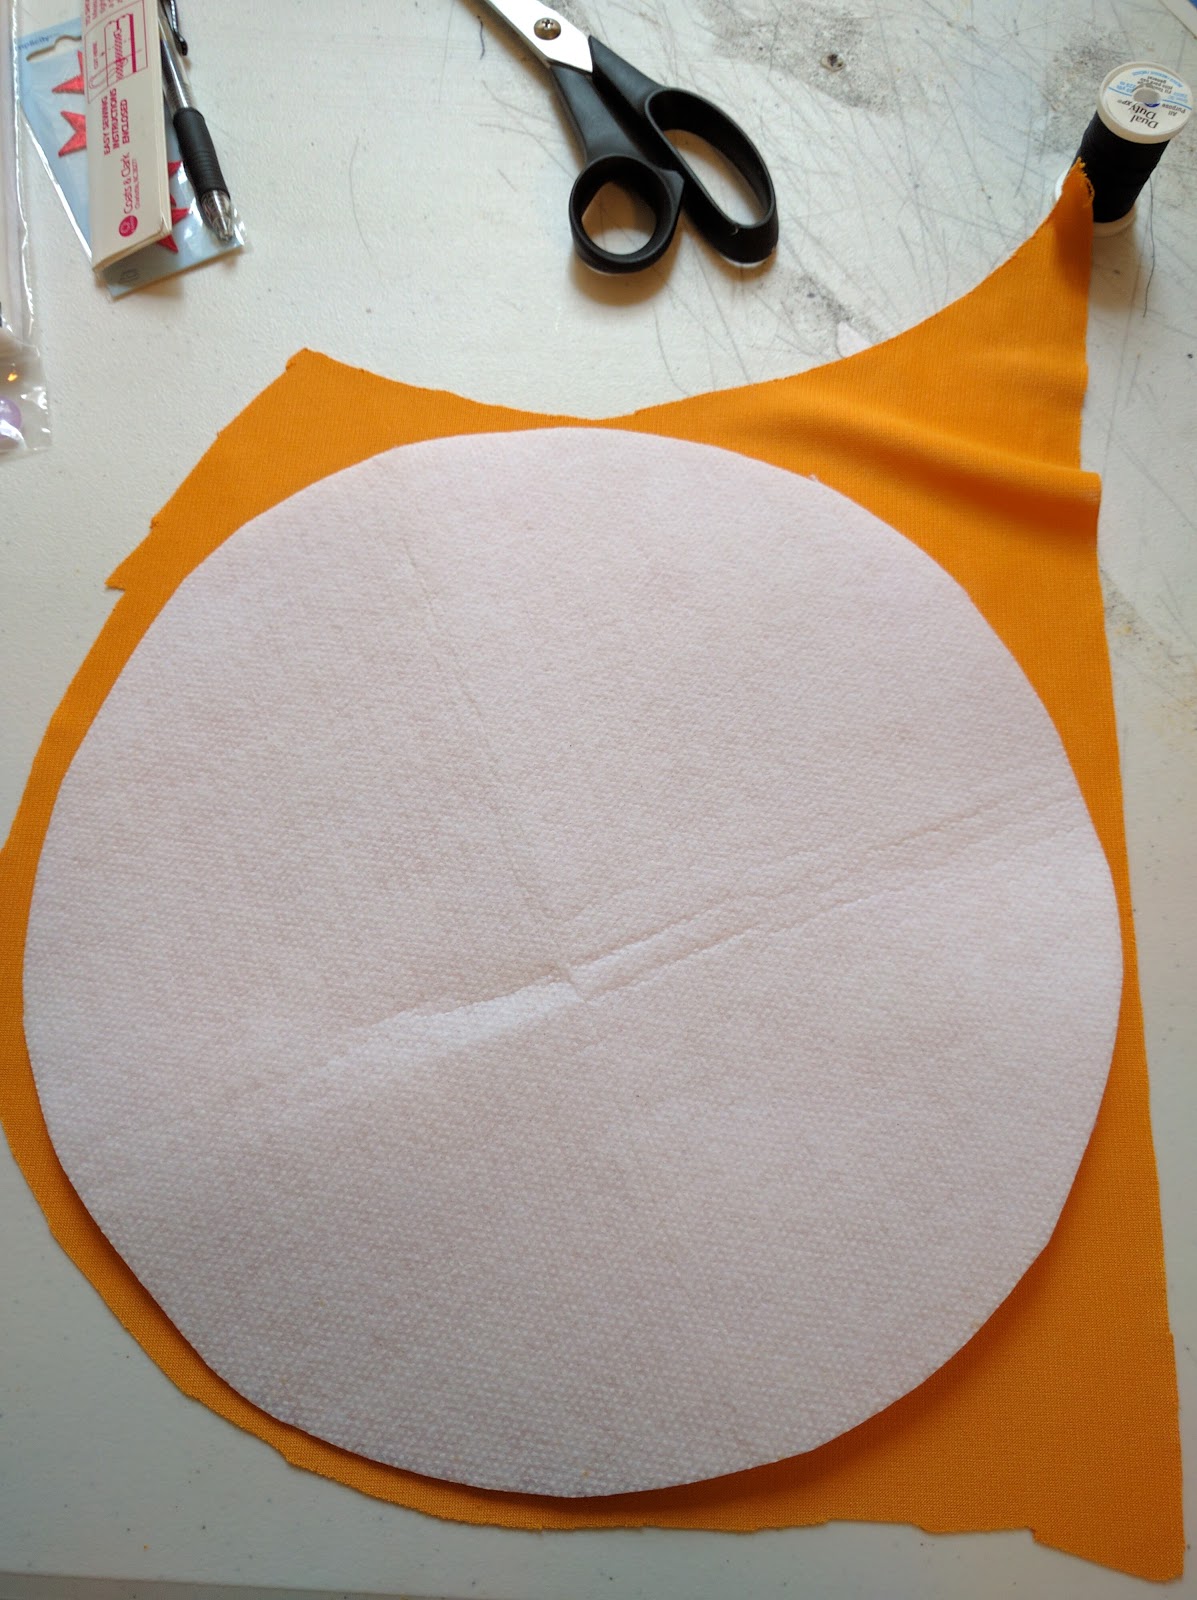
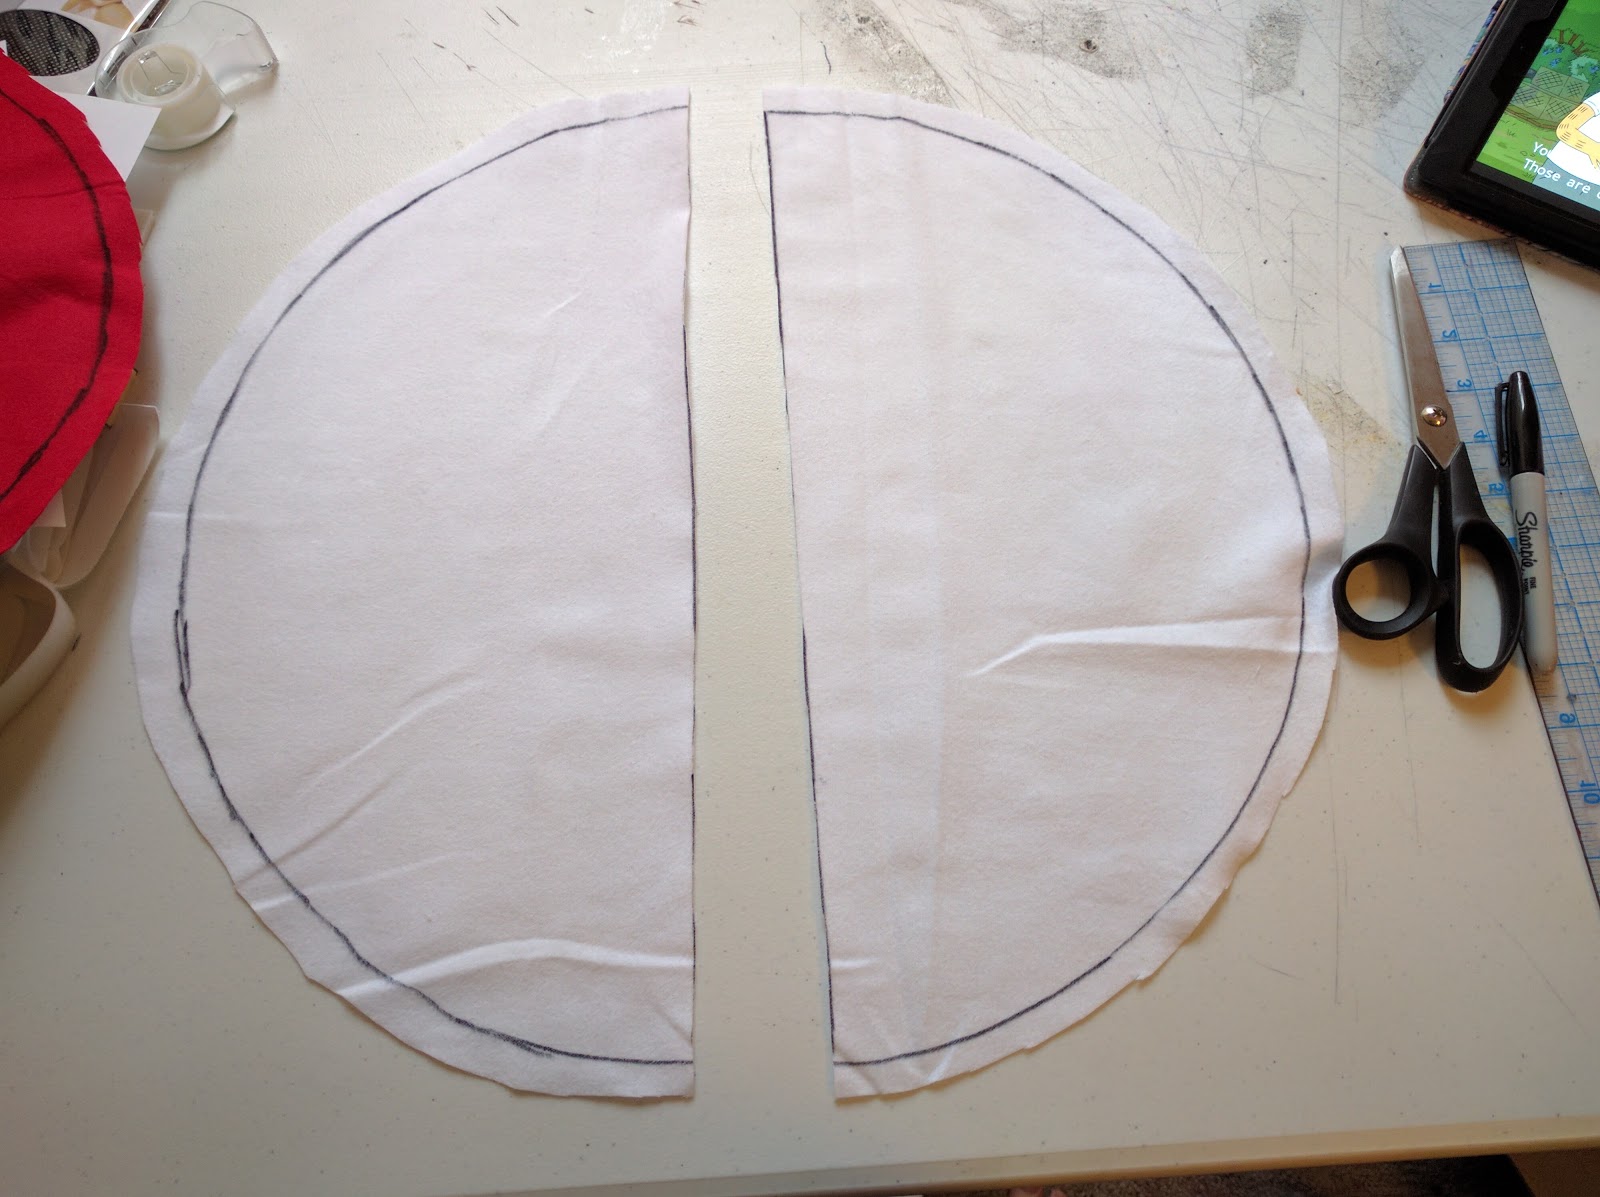
First, I made my circle pattern. I made it with a 8.5" radius.


Next, I made circles on my red flannel.


When I cut it out, I gave myself approximately 1/2" of extra for the hem allowance.

I also divided the circle in half and marked it.


I repeated these steps for the white flannel.


Afterwards, I cut both the red and white circles in half.


I placed the red and white circles together and figured out the size of the black center strip.


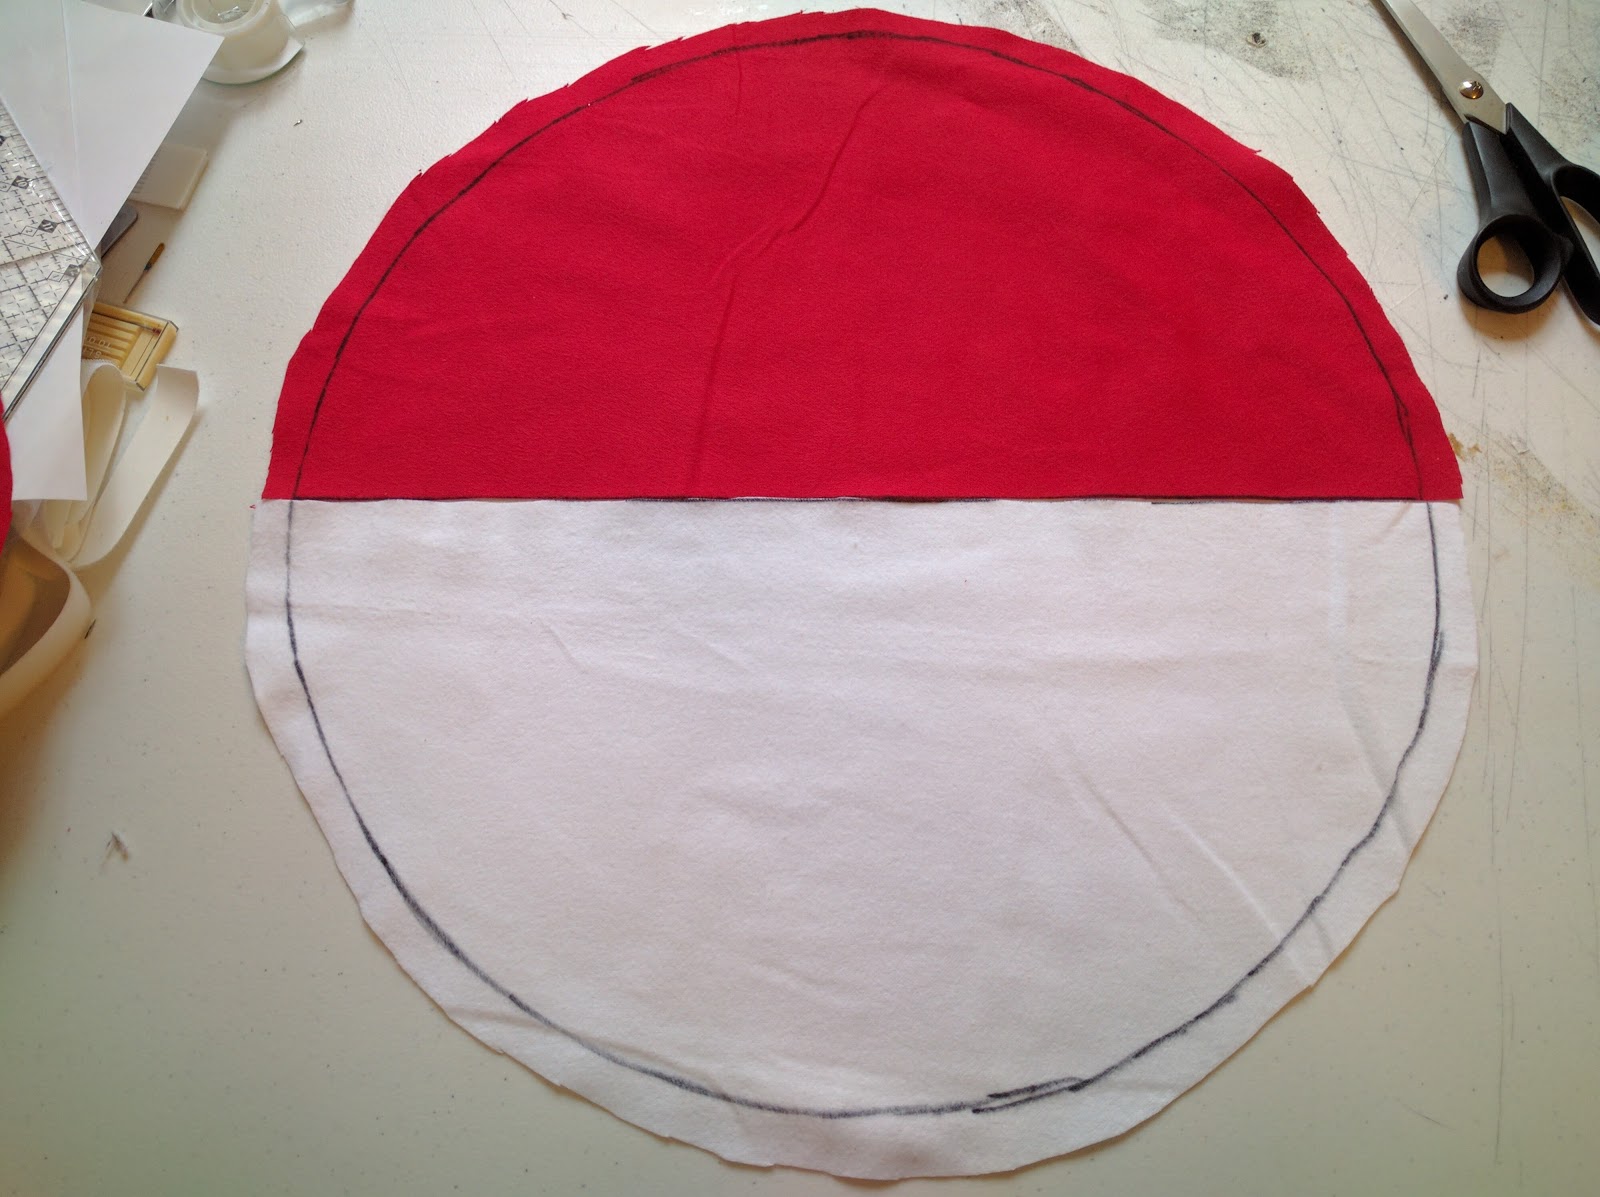
I ended up cutting out two rectangles that measured 18" in length and 5 " in width.


I next hemmed the edges of the black rectangles so that the length post-hemming was 3.5".


Note: Make sure that your ends of the black rectangles match up. Otherwise they won't be the same when the two circle sides are sewn together.


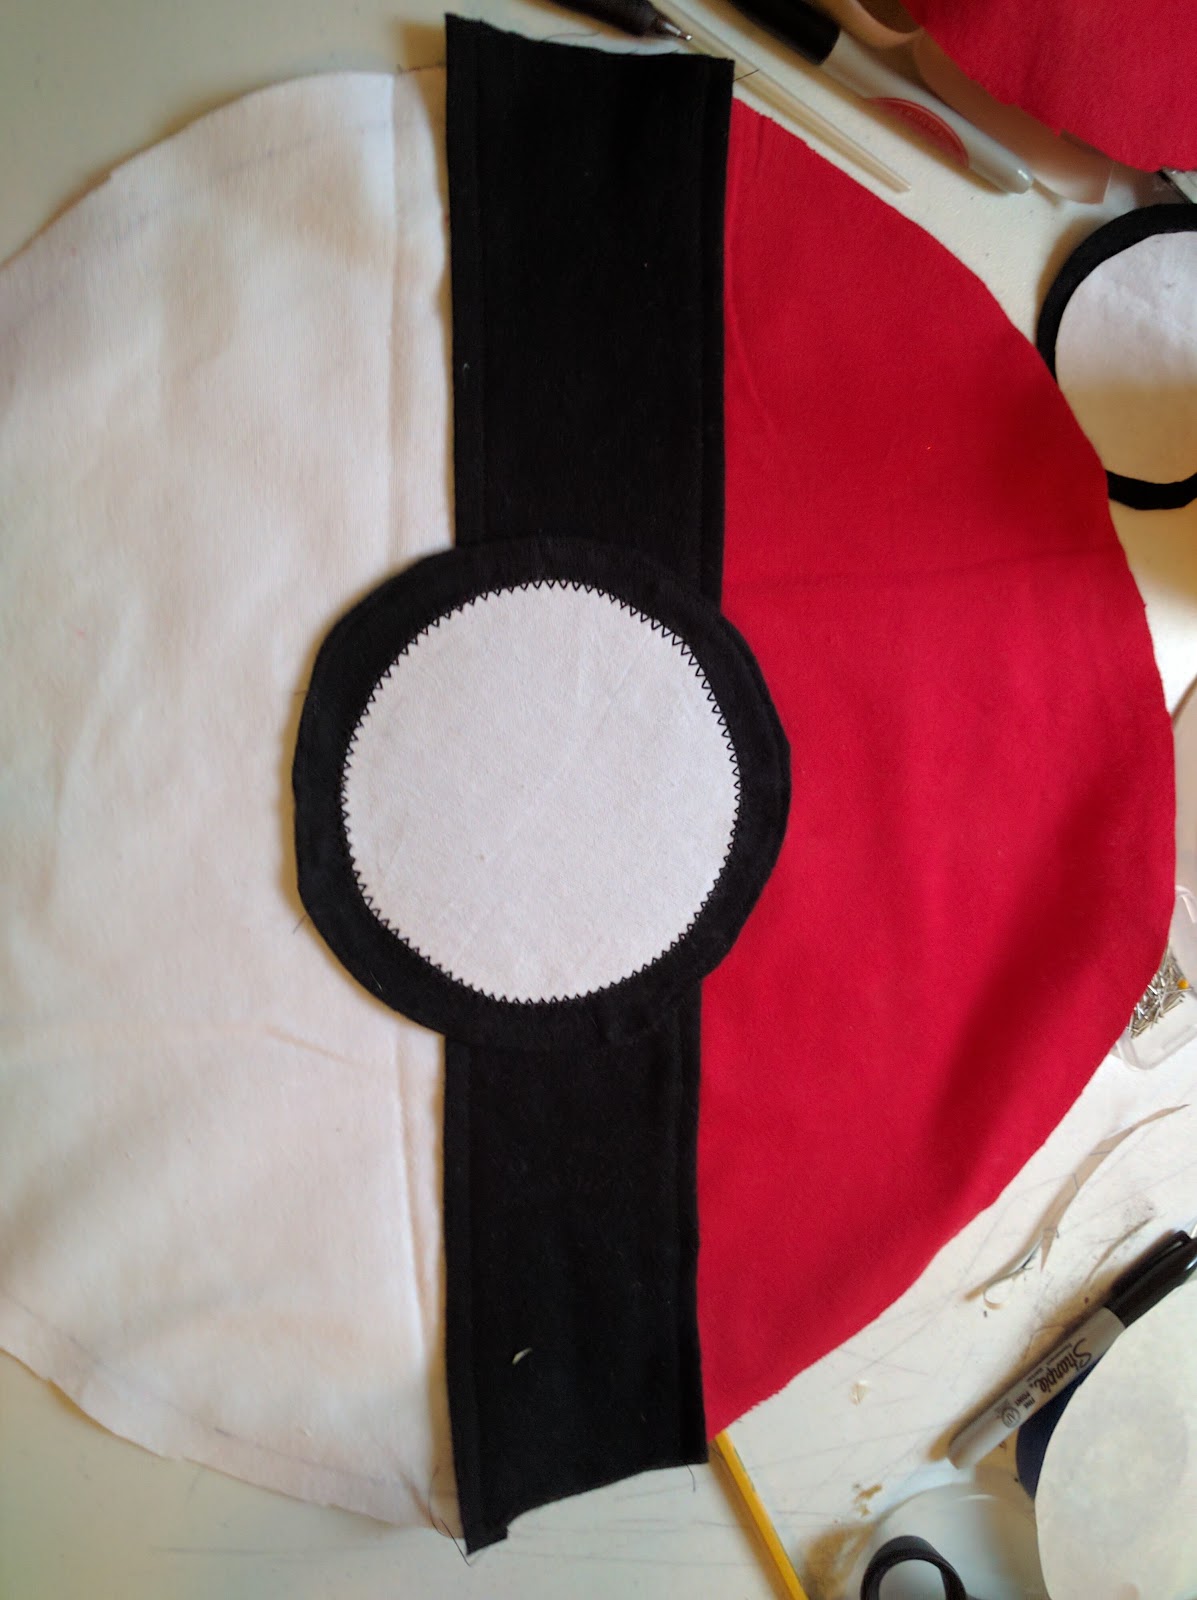
After that, I sewed the black strips onto the center.


After the strips were sewn on, I used hem tape on the inside of the circles so that the excess fabric wouldn't get all screwy on the inside. This is not mandatory, but helps keep everything laying flat.


Now we have a completed side.


I made two of these. Again, make sure the black strips line up before you sew them down or the sides will be funky in the end.


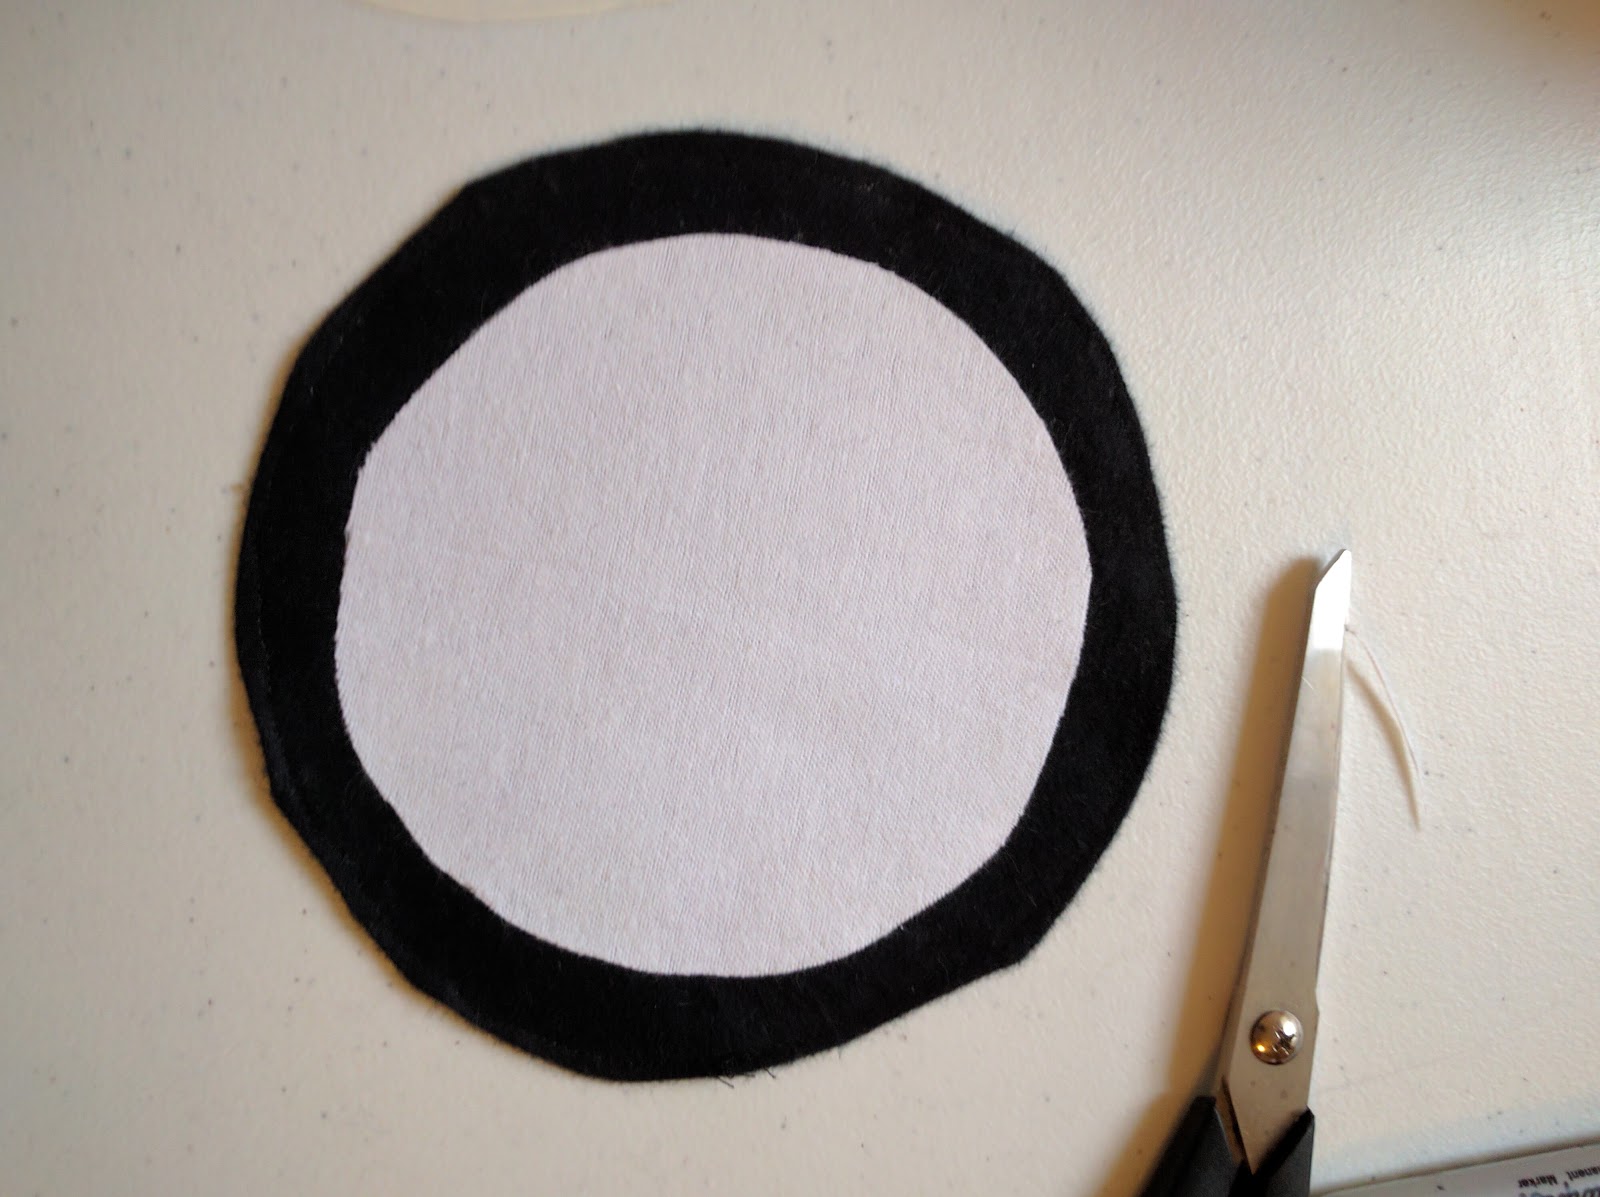
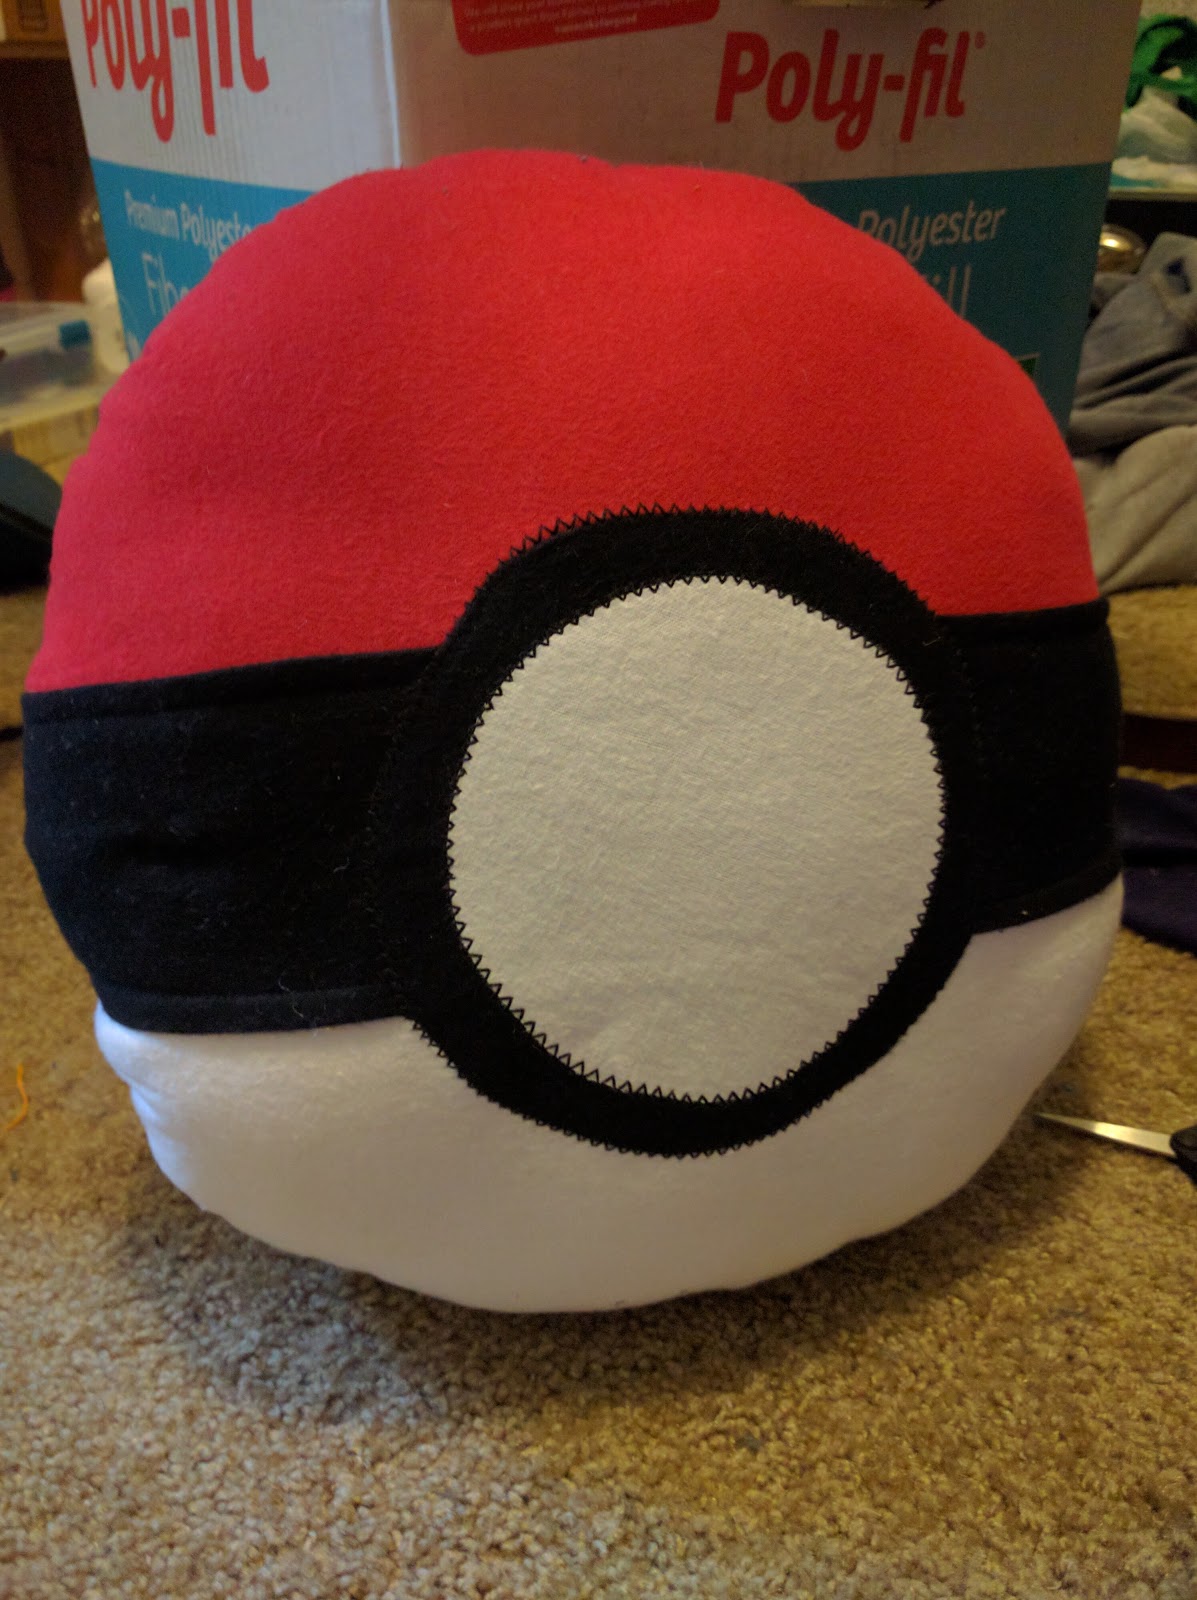
Next, I moved onto the button. 

I used a plate to get the shape of the button. It measured 7.25" in diameter.


Then I cut that out of black flannel and hemmed the edge. It was a very narrow hem.


Then I cut out the white center. I used the fusible webbing to attach the white circle to the black circle. You can skip this and simply sew it to the black circle, but I wanted to make sure it stayed centered.


Next, I used a zig-zag stitch around the edges.


I did the same thing (fusible webbing then zig-zag stitch) to add the button to the front circle.


I sewed the two circles together with the wrong sides out, but left a small gap not sewed so that I could add in stuffing.

Afterward, I flipped the pillow inside out so that the right side of the pillow were facing out.


I went on to stuff the pillow with pillow filler and hand stitched the gap shut.
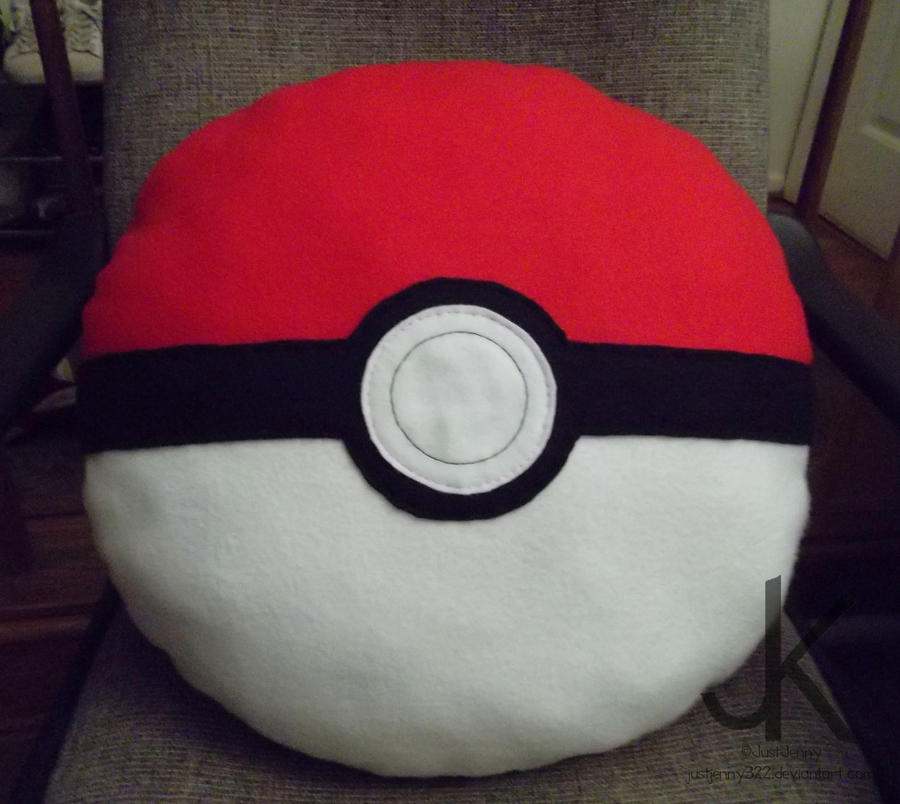
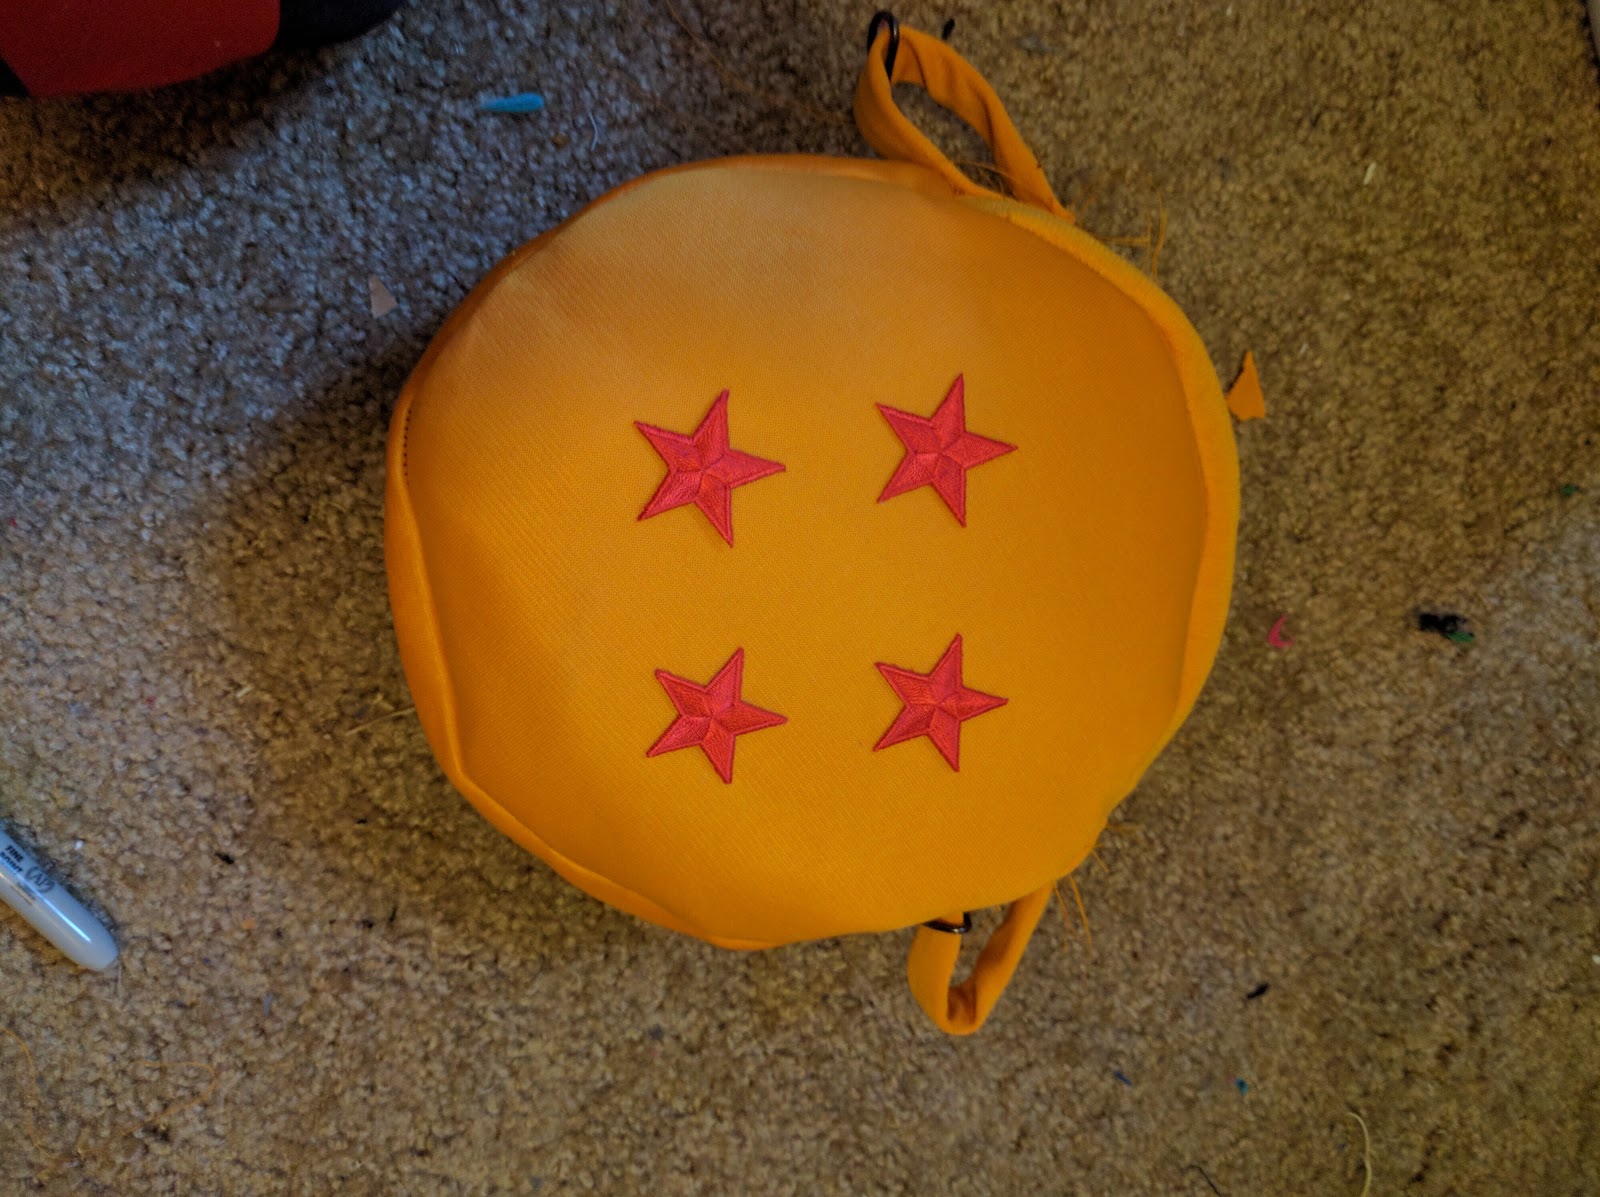
Final Result:


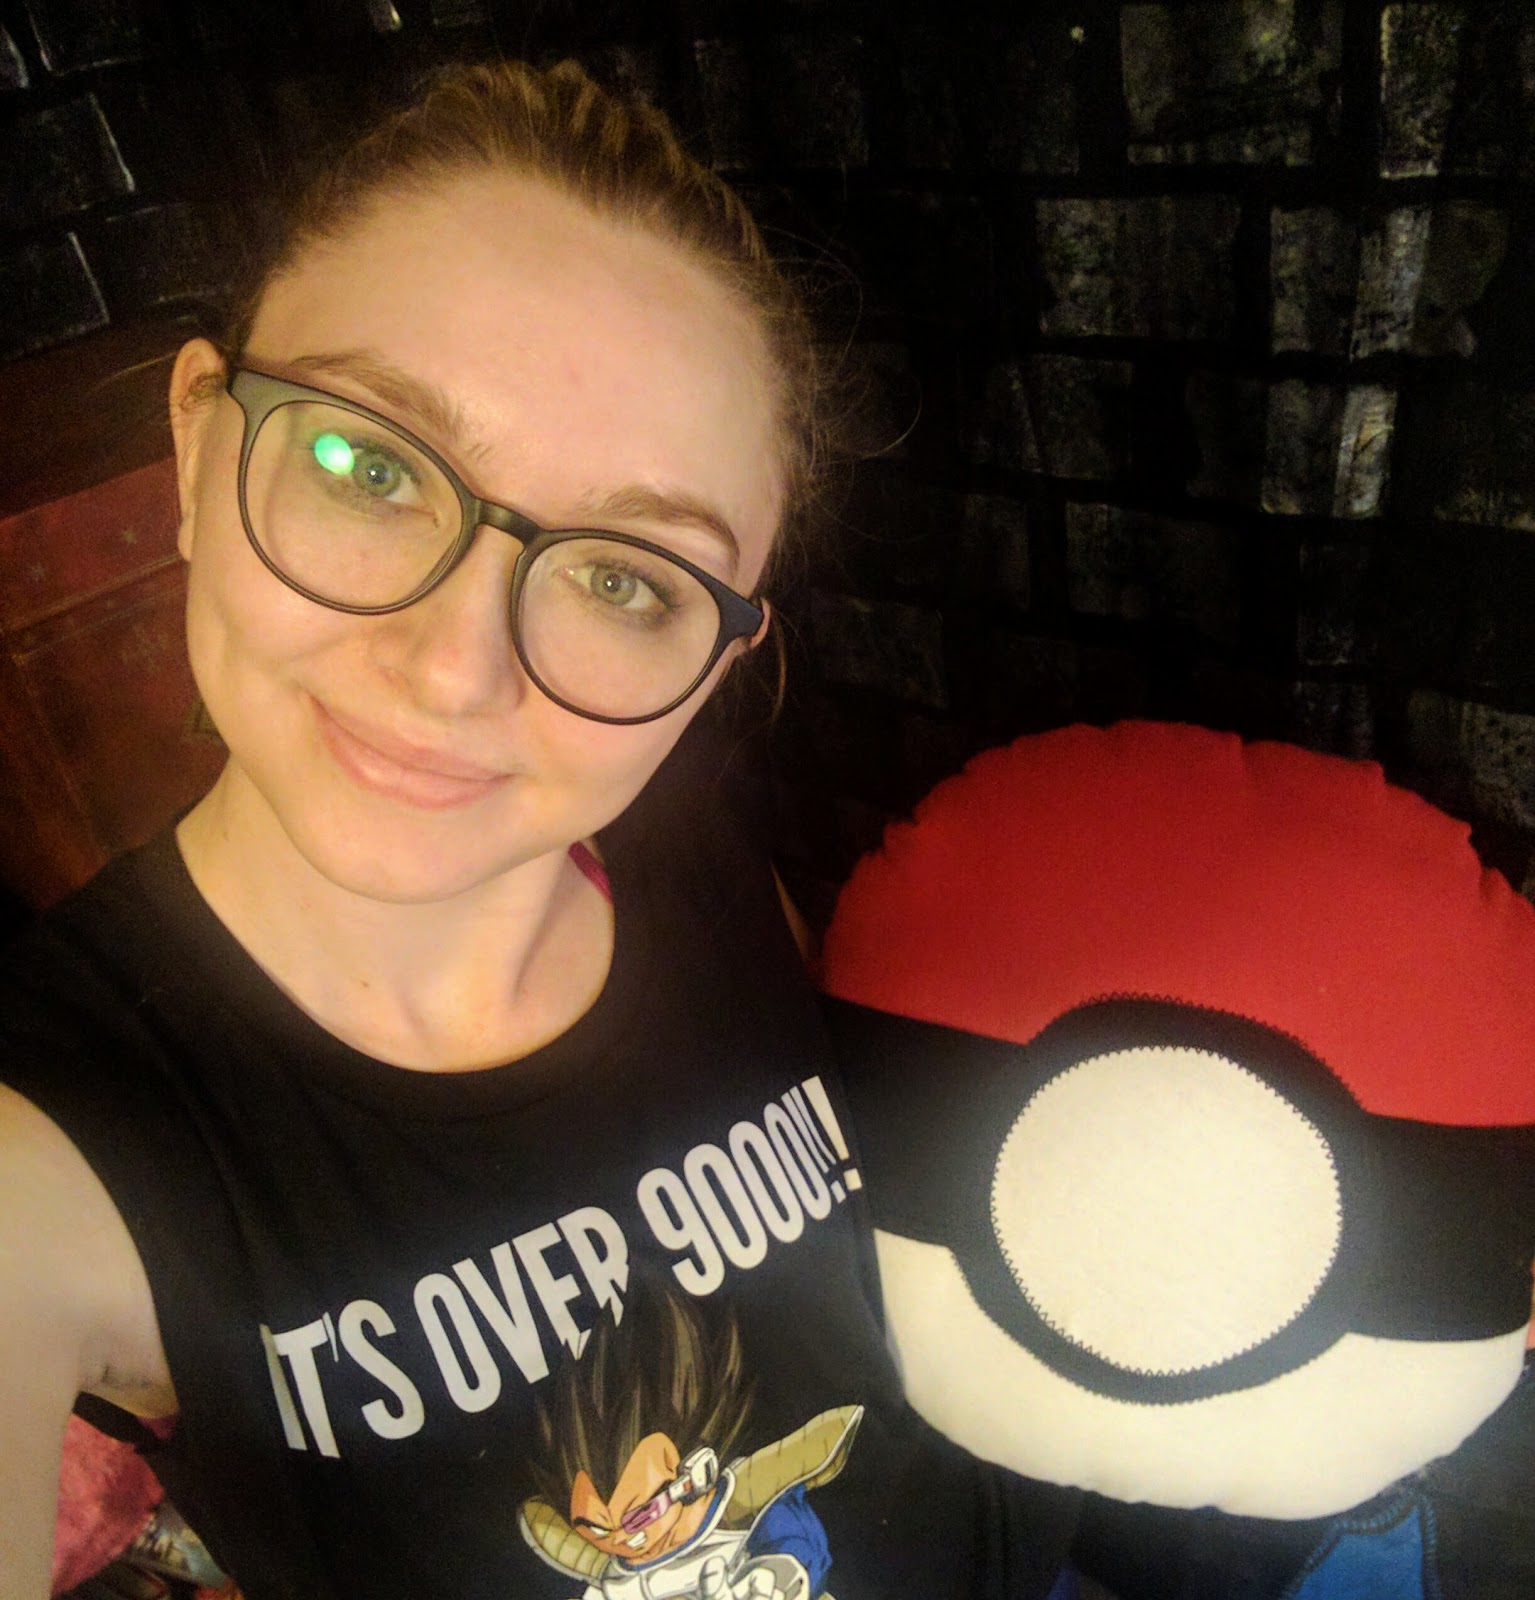
Hopefully you like it! For those interested in one (but don't want to make it), give me a shout at fangirlingoutcosplay@gmail.com or attend Alachua County Library's Fandomonium in April to win it yourself!

TTFN!


Sunday, January 22, 2017

Fandomonium Prize Construction - Part One: Planning Phase

Fandomonium Prize Construction - Part One: Planning Phase

The Alachua County Library District hosts a Con called Fandomonium (https://www.aclib.us/con). This year it will take place on April 8, 2017. Because I am new to the area and want to be evolved in as many of the local cons as I can, I volunteered to make a few of the prizes for the Con. I am pretty darn excited about them, so I am going to be showing off how to make the prizes as I go along.

My contact in Youth Services has given me a lot of freedom on the what items I can make, so I put together a list of ideas on what I might do. On Monday, January 23rd, I am going to submit my ideas to her and she will select which items she wants for Fandomonium. After that I will be starting my construction and will create posts as I make them.

If you have any comments or suggestions, go ahead and let me know. Thanks!

Ideas So Far :

The images below are not mine, but are visualizations of what I want to do.

Wolverine Claws (goes along with the upcoming "Logan" movie)

Image result for hogsmeade jars

Giant D20 Bookends (image source: http://ournerdhome.com/diy-d20/) - I would actually be using this tutorial as well


Sailor Scout Tiara (image source: http://poro-poro.com/journal/?p=116)


That's all for now. TTFN!

Four Star Dragon Ball (Sushinchu) Purse Construction

Four Star Dragon Ball (Sushinchu) Purse Construction

I have recently been rereading the Dragon Ball manga, so I am in a bit of an obsession mode. As a way of channeling that obsession for the good of man-kind, I decided to make a dragon ball purse to accompany my current and future Dragon Ball themed cosplay and outfits. Of course, the four star dragon ball, Sushinchu aka Grampa Gohan, was the obvious choice.

I have laid it all out for you, so that you may make your own. Or, if you are lazy/don't sew/want me to do if for you, you can always contact me (fangirlingoutcosplay@gmail.com) about it and I can make you one.

ANYWAYS, below are my construction notes and tid-bits on my dragon ball purse.

Step One: Gather The Supplies


I got everything at Joann Fabrics for under $20. 

Supplies Needed:
Gold Ponte Fabric - 1 yard
Red Zipper
Red Iron On Stars - 4
Gold Thread
Small D rings - 4
Black straps - Not pictured
Fuse N Shape Craft Interfacing
Medium Weight Head Bond Interfacing

Step Two: Cut Out The Pieces

I used Patter Pile's Circle Purse Tutorial for my pattern pieces. 

Turns out they got it from Alejandra’s Styles, who made a lovely YouTube video about constructing it.

 I used her video for helping me put this all together, so I would very much suggest you watch the video.

Anyways, I made a pattern out of some paper (pictured below). It consisted of: two 10.5" x 1.5" rectangles (base A); one 15" x 3" rectangle (base B); two 2" x 3" rectangles (loops)*; and two circles with a diameter of 12".

*note: I had to extend these loops to work for me, so I actually used 2.5"x 6" rectangles for the loops. I will touch on it later as well.


Step Three: Apply Interfacing to EVERYTHING


The Fuse N Shape has two sided fusibility so I simply iron it on to the fabric. I used the gold fabric on both sides. 


I also sewed all the edges for good measure.


For the two 10.5" x 1.5" rectangles, I wrapped the edges when I sewed them down so that the edges wouldn't be exposed when I installed the zipper. You can see a better picture in the zipper step.


Boom, all the pieces done. 


For the 2" x 3" rectangles, I used the medium weight fusible interfacing. They ended up being too short for my construction, so I extended them to 2.5" x 6" rectangles.


Step 4: Install Zipper


Between the two 10.5" x 1.5" rectangles, I installed the zipper.


Step 5: Sew Straps On

I sewed the 2.5" x 6" rectangles into tubes.


I made sure they were thin enough to fit on the D-Rings.


Then I sewed them to cover the caps between the 10.5" x 1.5" rectangles.


Then looped it back on itself and sewed it down.


Step 6: Sew Everything Else Together

I attached the other base piece to the sides of the zipper block, so I had a lovely loop


My circles ended up being way too large, so I ended up having to trim it down by quite a bit until it fit in my loop.


I sewed the circles in, making sure to open the zipper before both sides were attached.


Then I flipped it out to expose my bag.

Step 7: Iron On The Stars


The stars were easily attached with an iron. It was just press and hold.


Step 8: Add Straps


I added black straps to the bag and used the D-Rings to make it adjustable.

Step 9: Gloat 

Now I have a pretty, pretty bag. Yay me!


The whole project took me roughly two hours max. I would definitely say it was worth it.

If you have any questions, let me know. TTFN!