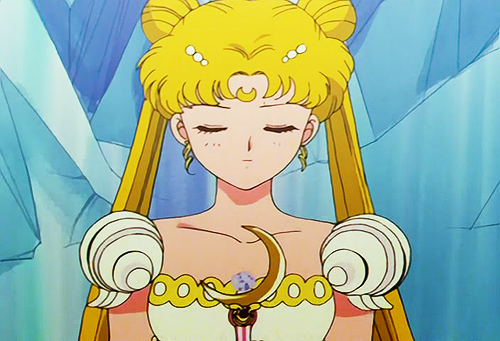
One Week Cosplay: Princess Serenity - Day 3 through 7 - Beading, Wig & Accessories
I got busy and rushed around so I didn't have a chance to post until now. This wraps up my one week cosplay of Princess Serenity.
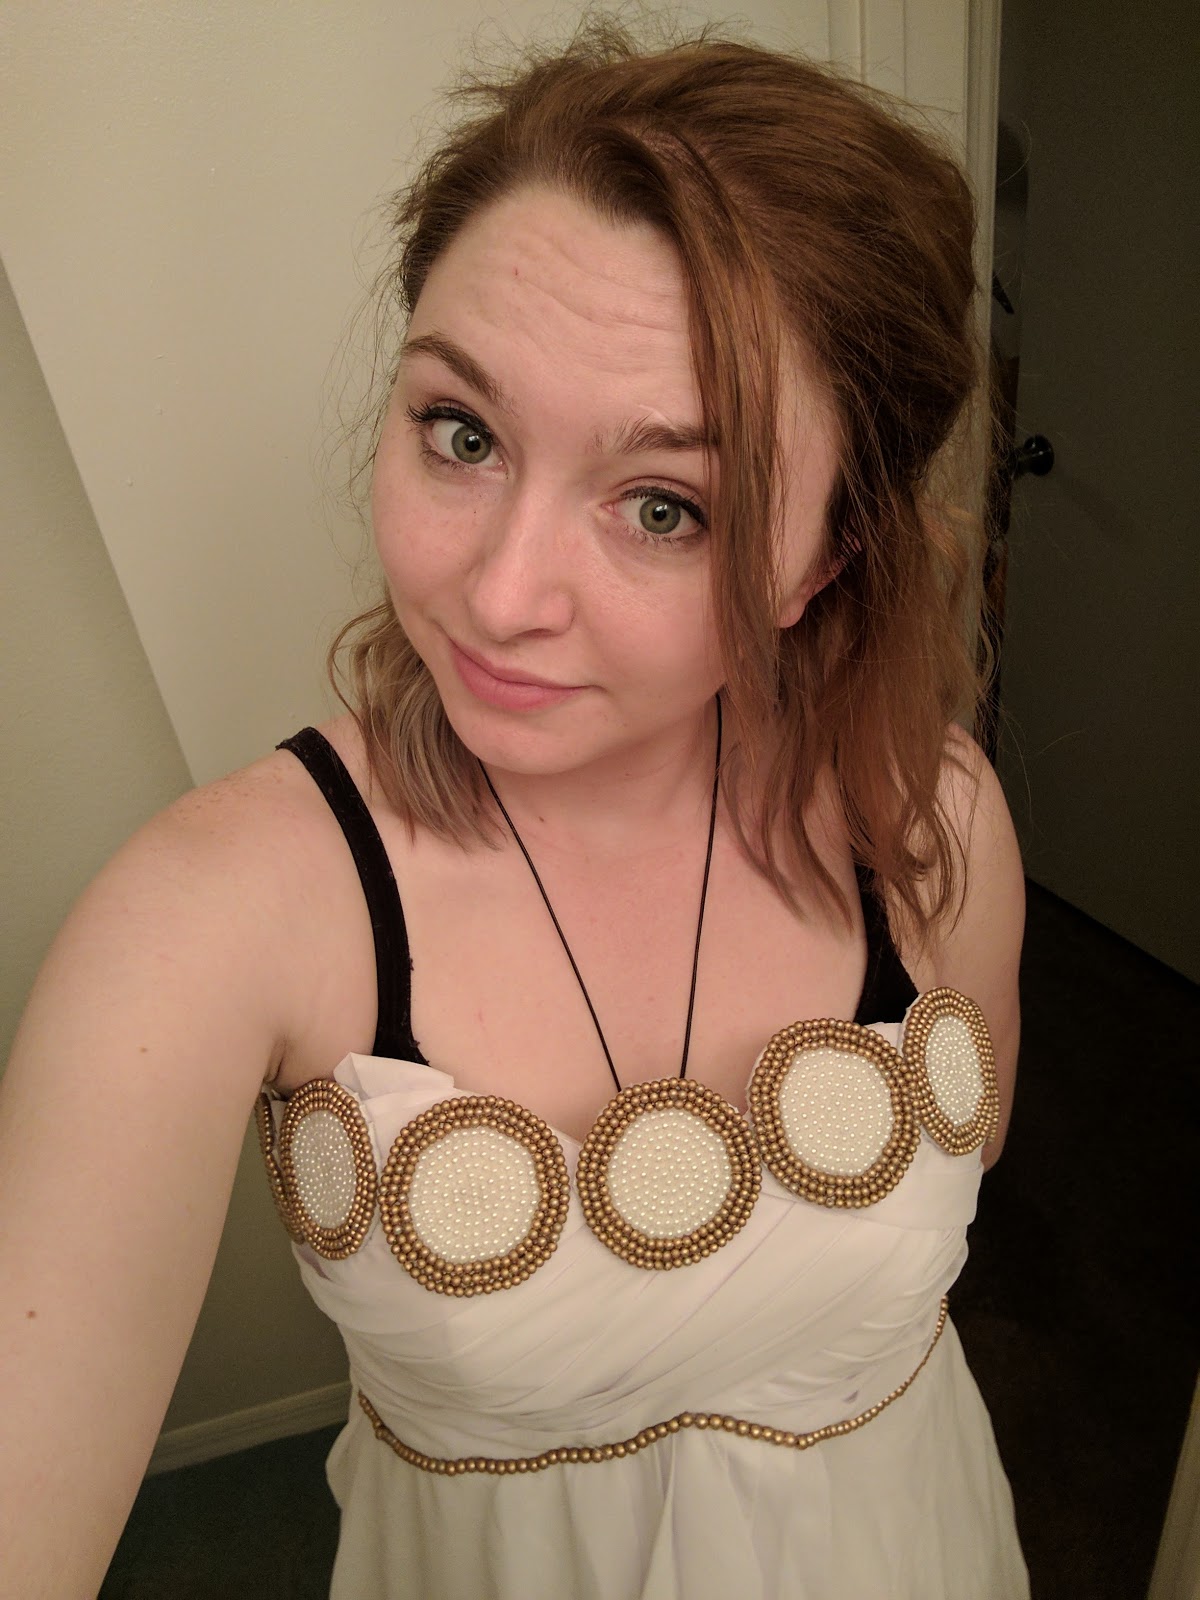
Beading Along the Bust
For the bust beading, I decided to go along with the shape of the pre-fabed dress instead of going straight across. I did this because (1) it was more flattering and (2) I struggle to make straight lines and I didn't want to thoroughly destroy it.
Initially, I tried to hand stitch the beads. I had less than stellar results.
Look at the wonky line. No fun.
So I switched to the glue method. I took my medium beads, spray painted them gold and then used E600 glue to attach them. E600 glue is the real MVP of this outfit. I don't have a image of the glue line solo, but you can see it in later images.
Gold Circles
With my gold circles, which I did a previous post about, I lined the top edge of the dress. I went straight across instead of going along the sweetheart neckline.
I pinned them out on my dress to figure out the placement.
I attach the circles I used E600 glue again. This was the most time consuming part of the dress because I had to use clamps and allow for dry time between each circle.
Additional Beading
Initially, I was going to try to do scallop beading along the bodice too; however, it turned not so awesome and I liked the simple look so I didn't bother. If you can make it look good, more power to ya.
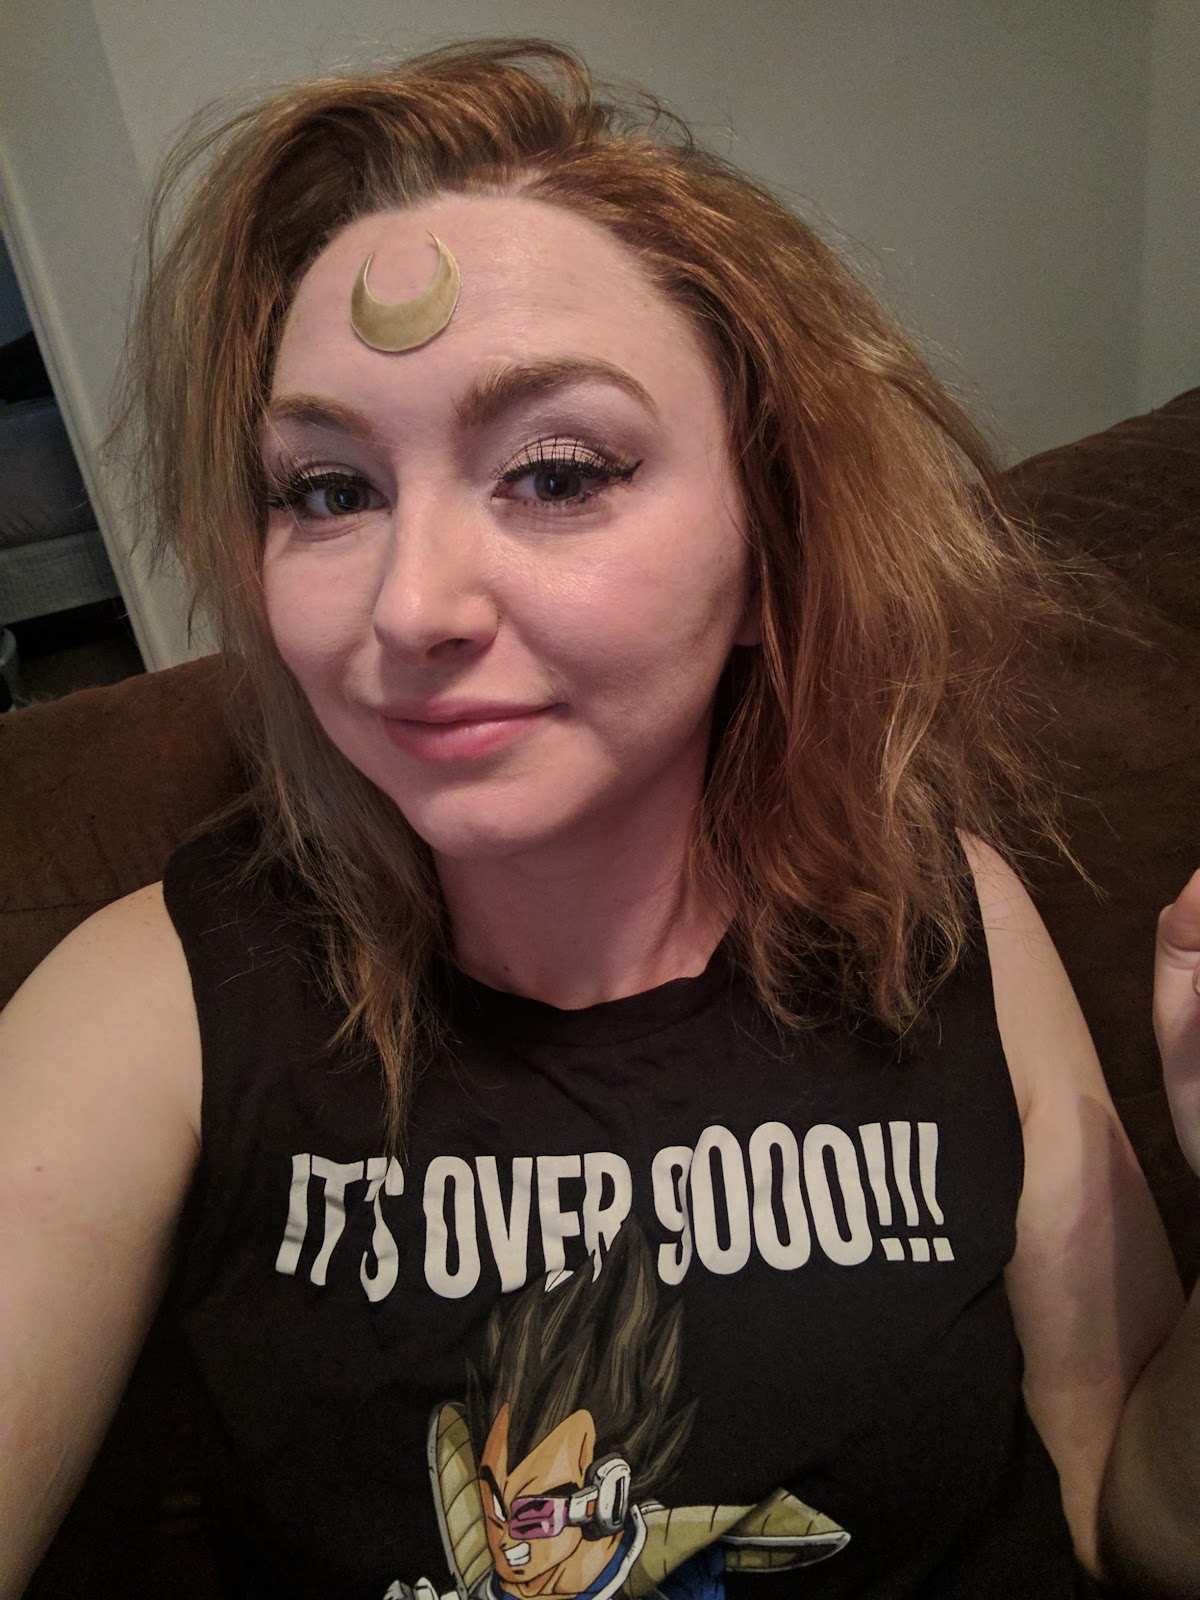
Forehead Crescent
For the crescent, I used a paint bottle as the guide for my moon and then used the top to cut out the center part.
It was a bit too big, so I trimmed it down.
I finished it up by stray painting it gold.
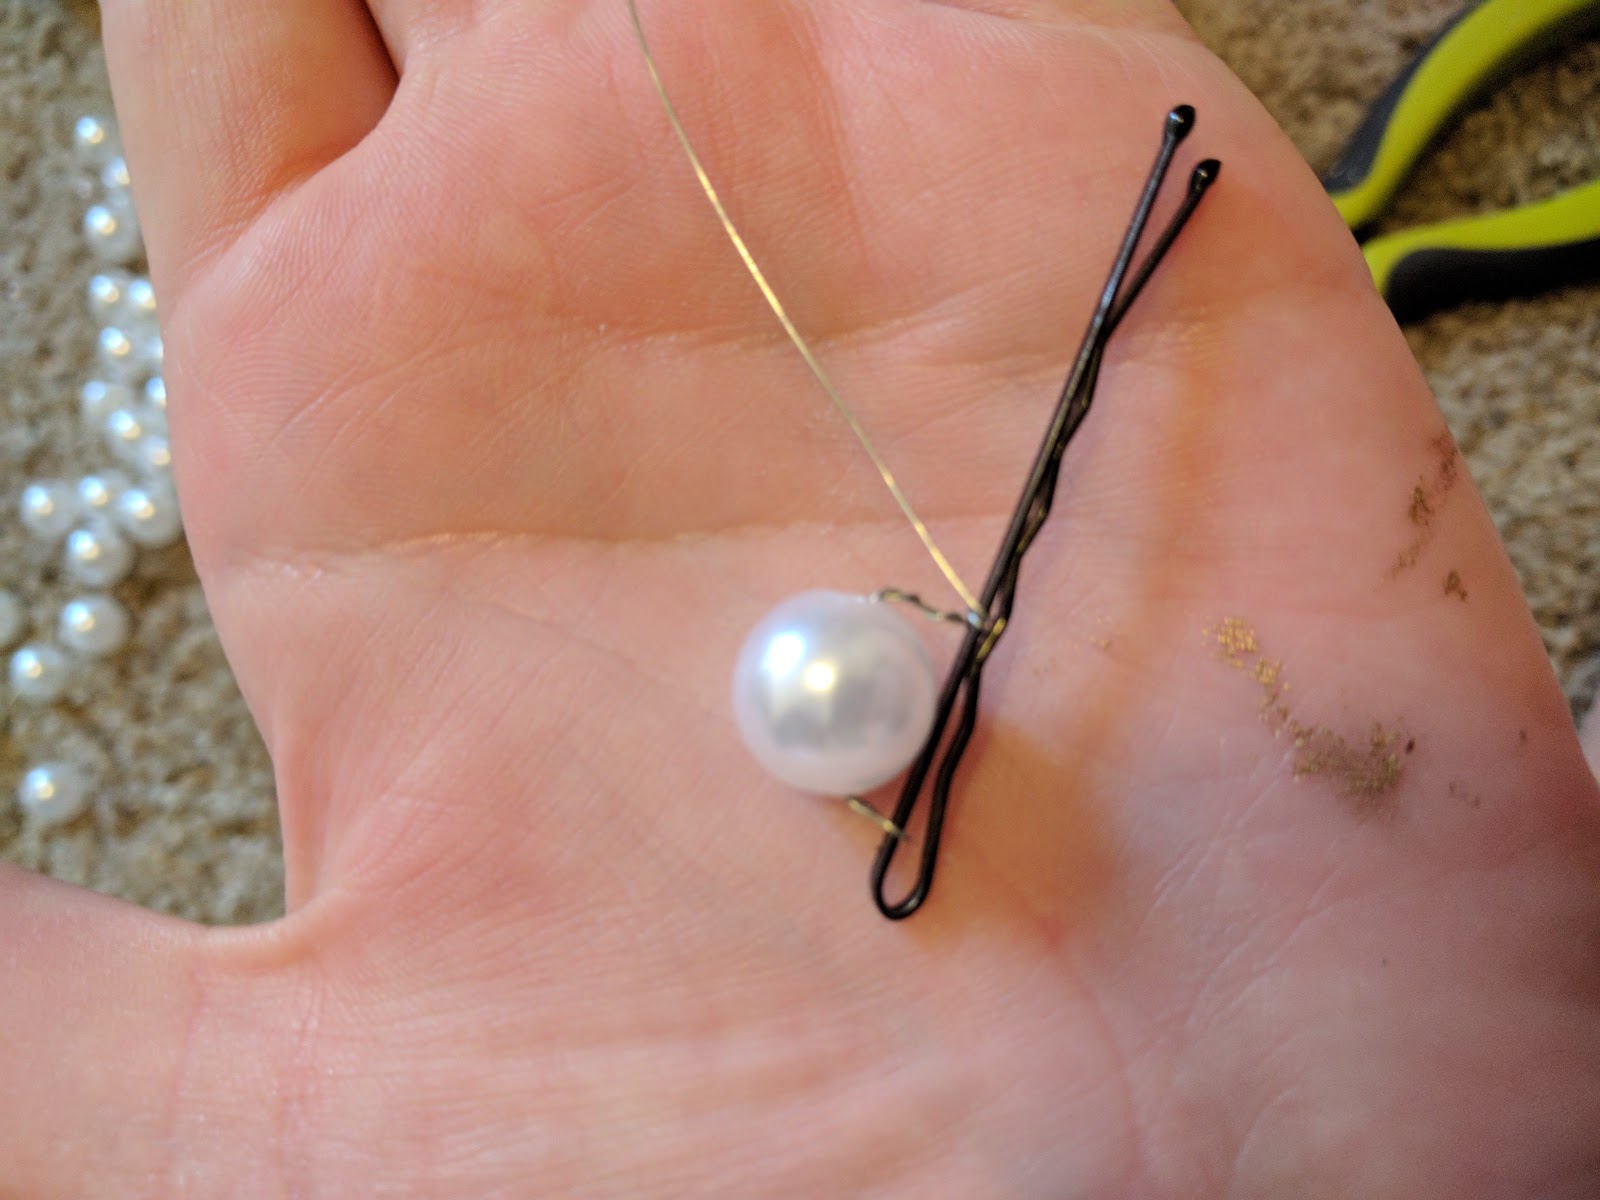
Pearl Hair Pins
I got a bag of large pearls from JoAnn Fabrics for the hair pins.
To make the pins, I took a bobby pin and wrapped some wire around the end.
Then one at a time, I threaded a pearl bead onto the wire. I made sure to secure the wire to the bobby pin between each bead so it wouldn't slide all around.
I finished it off by twisting the wire around the bobby pin and trimmed any excess.
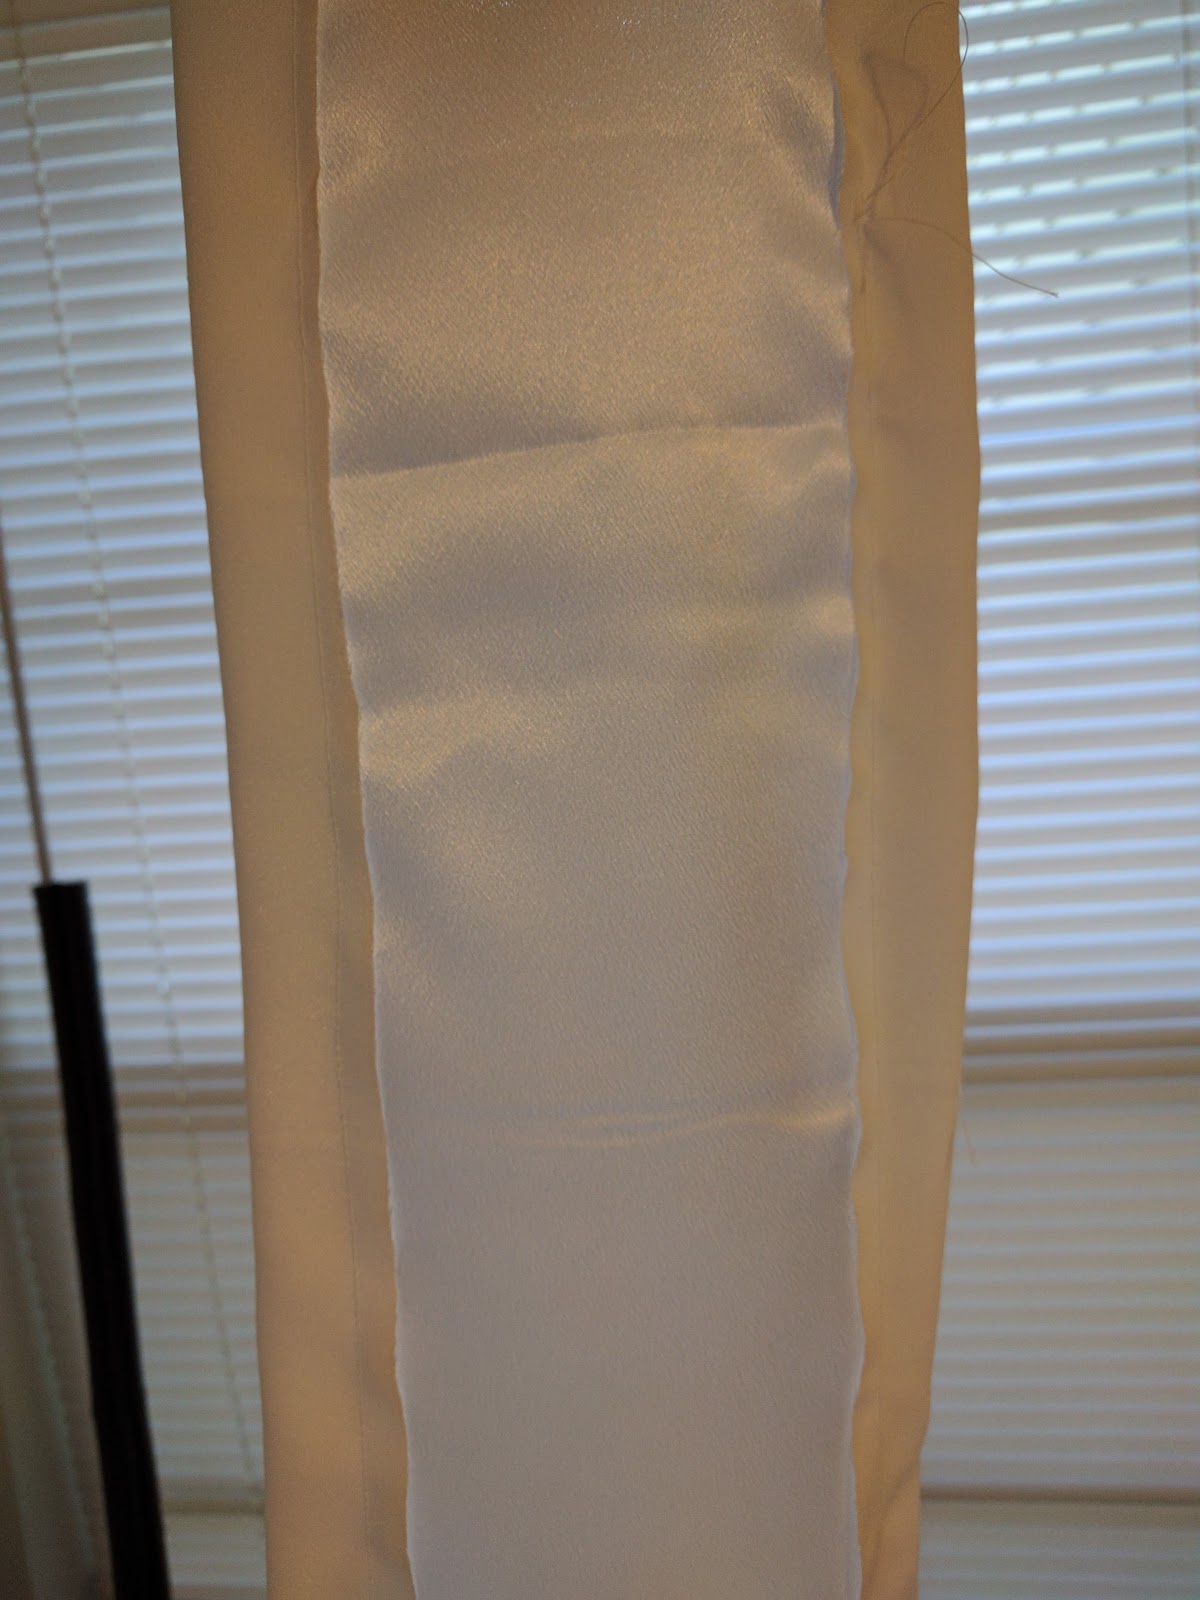
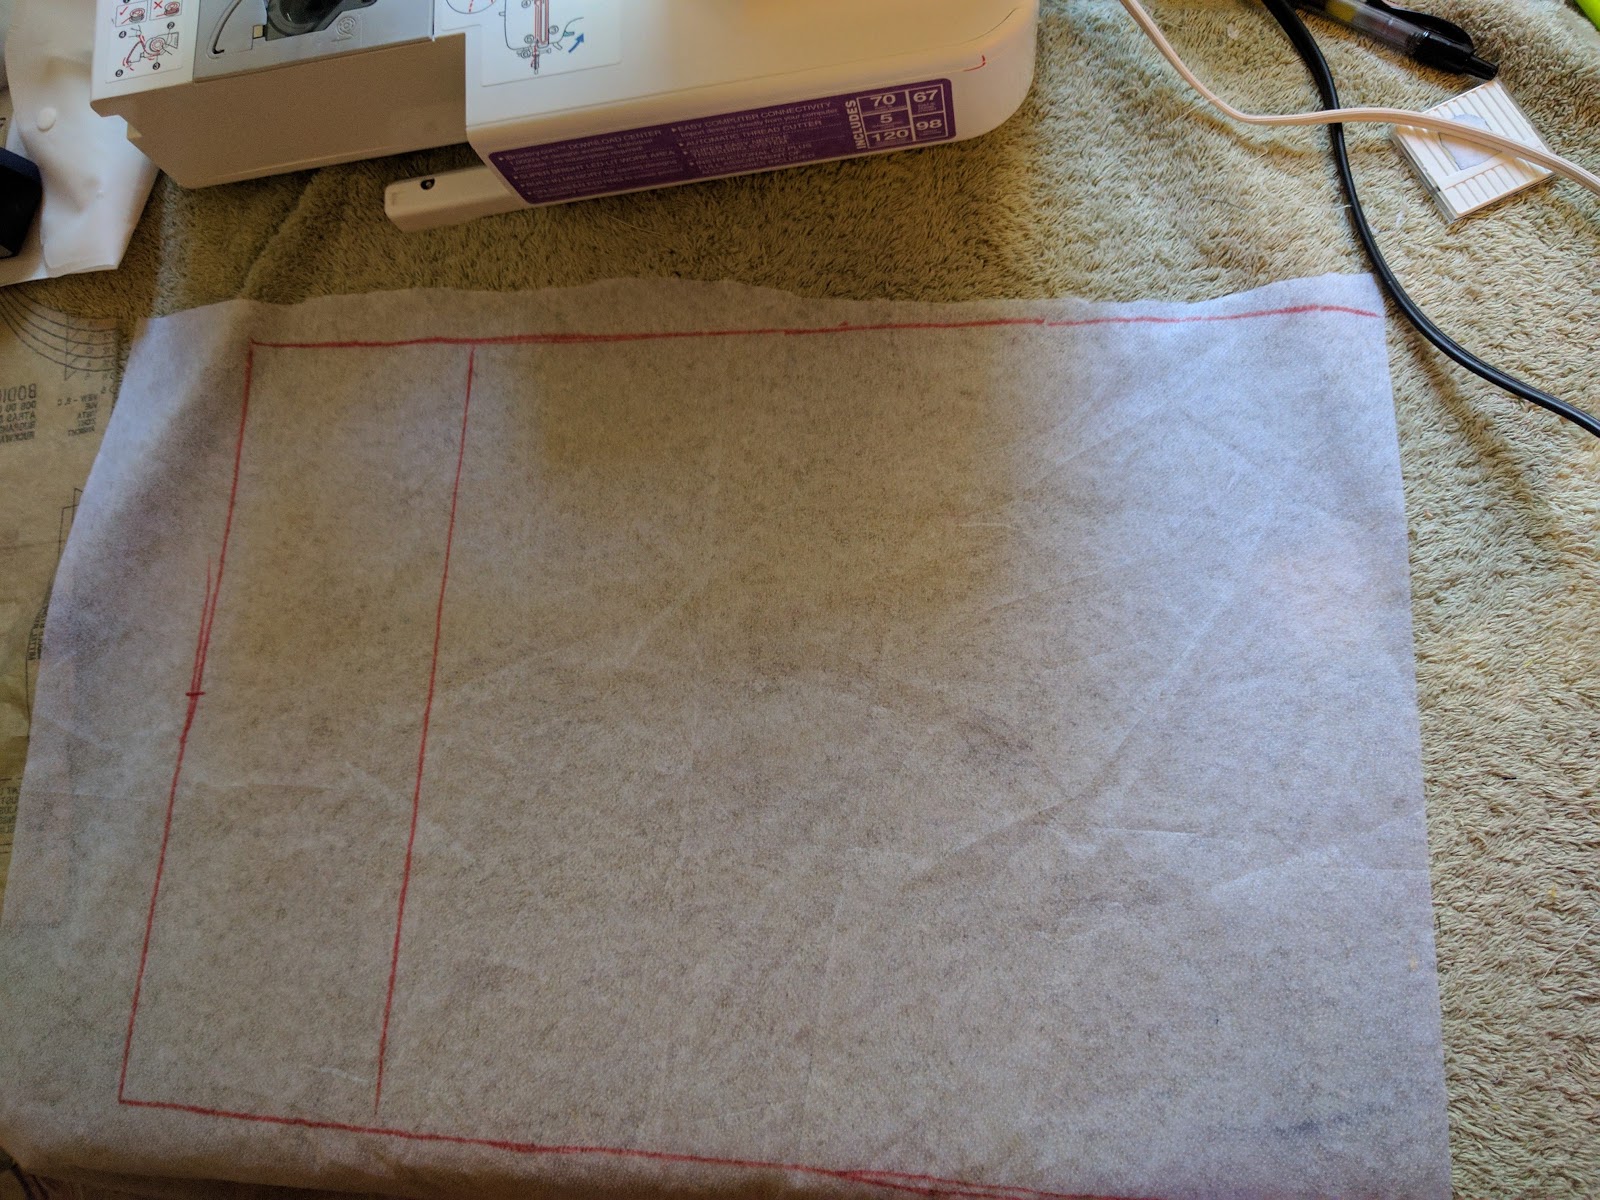
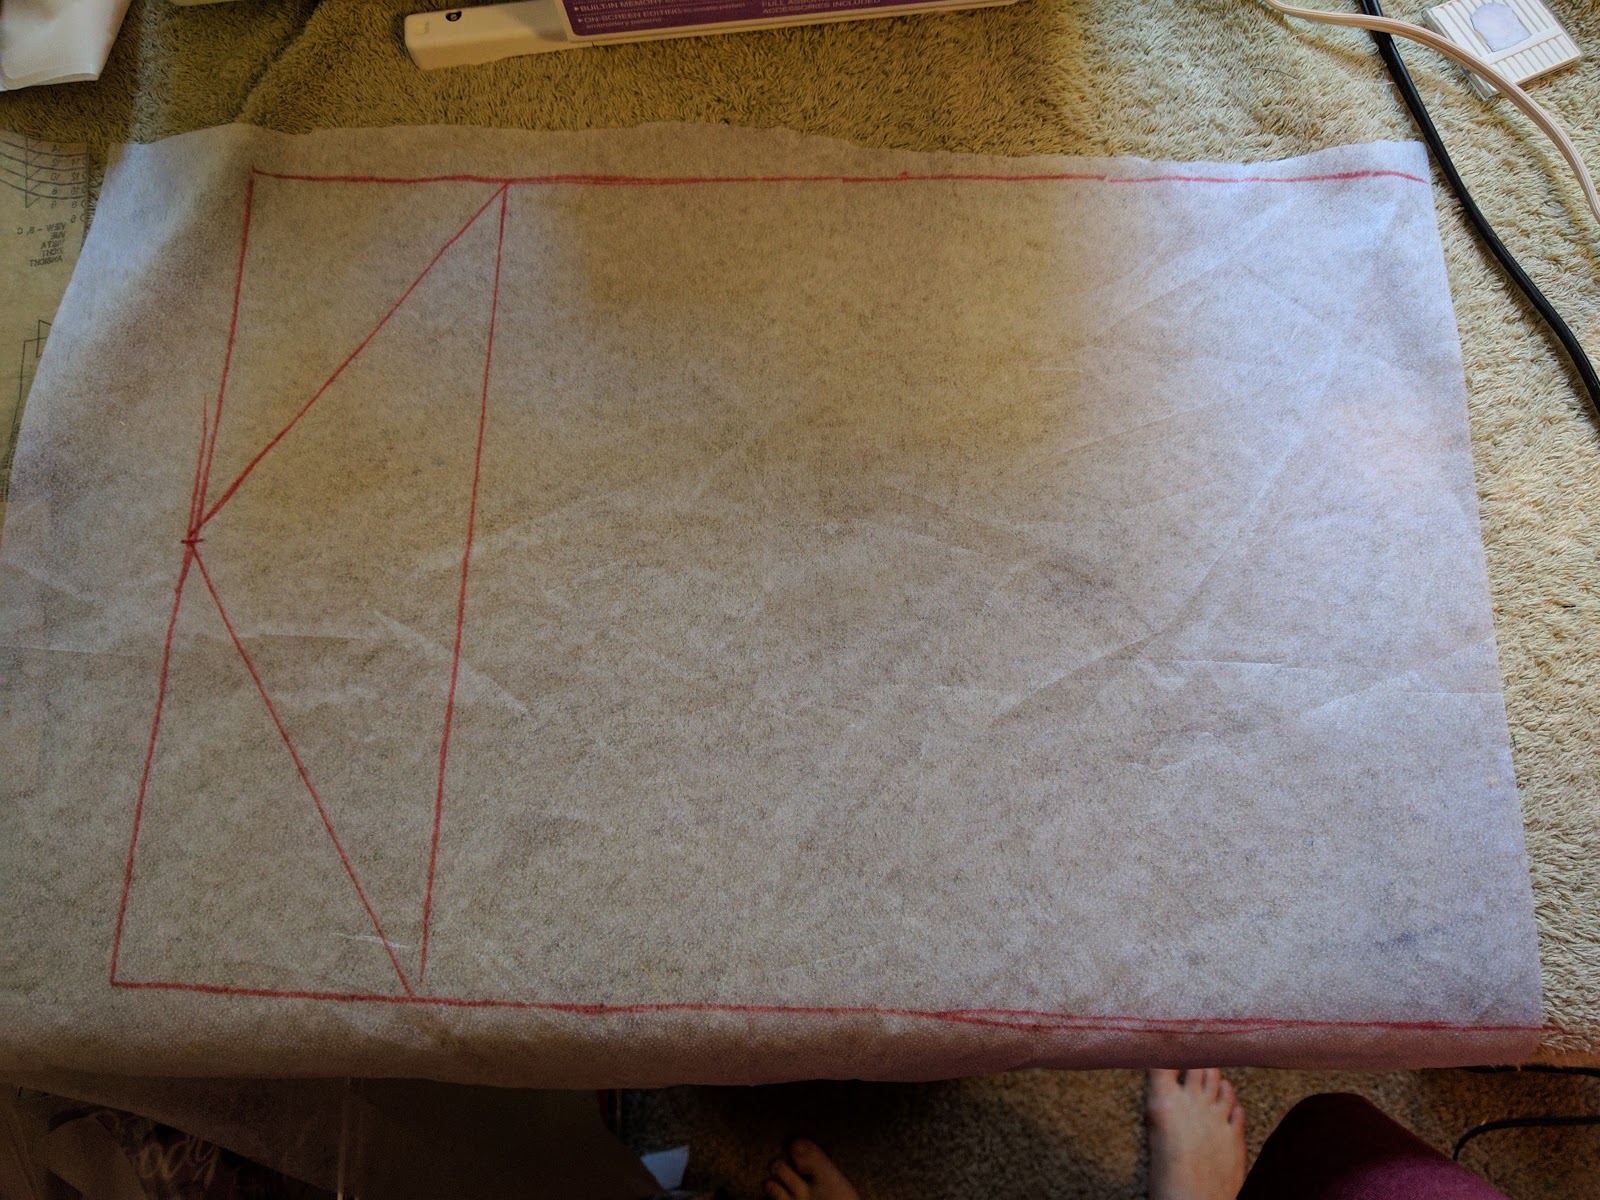
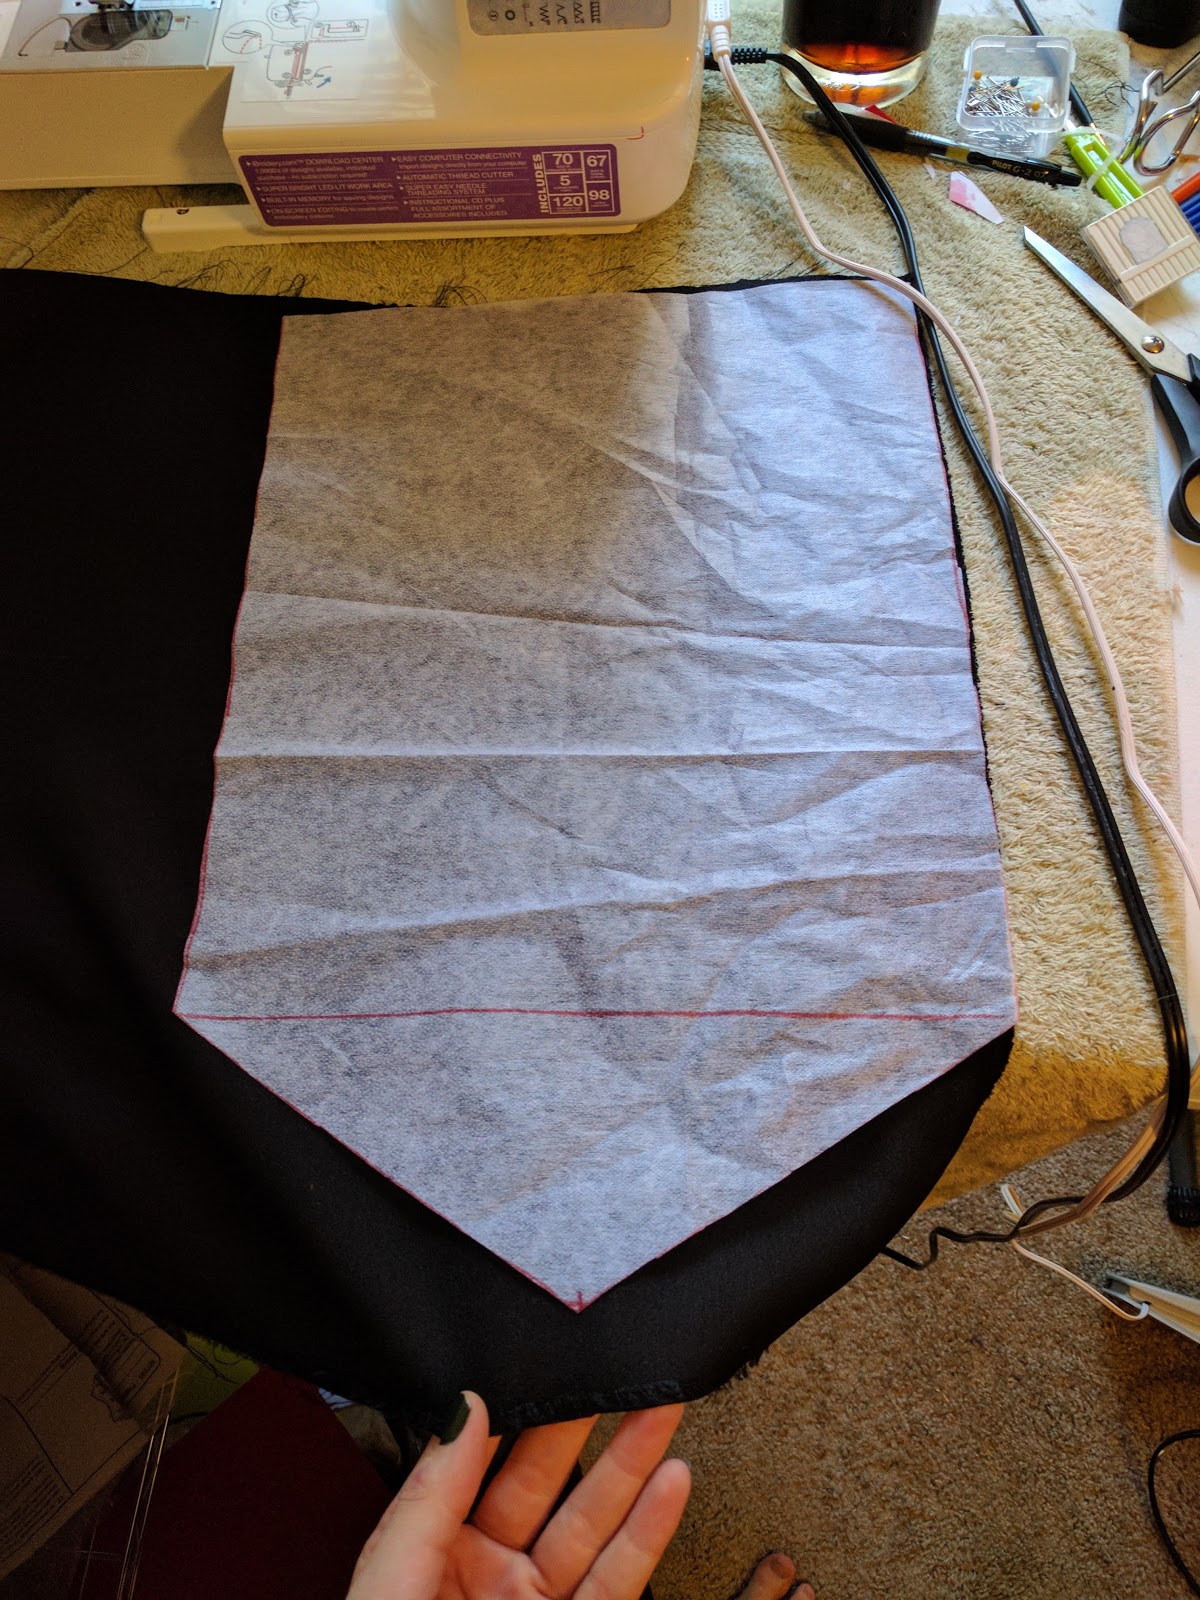
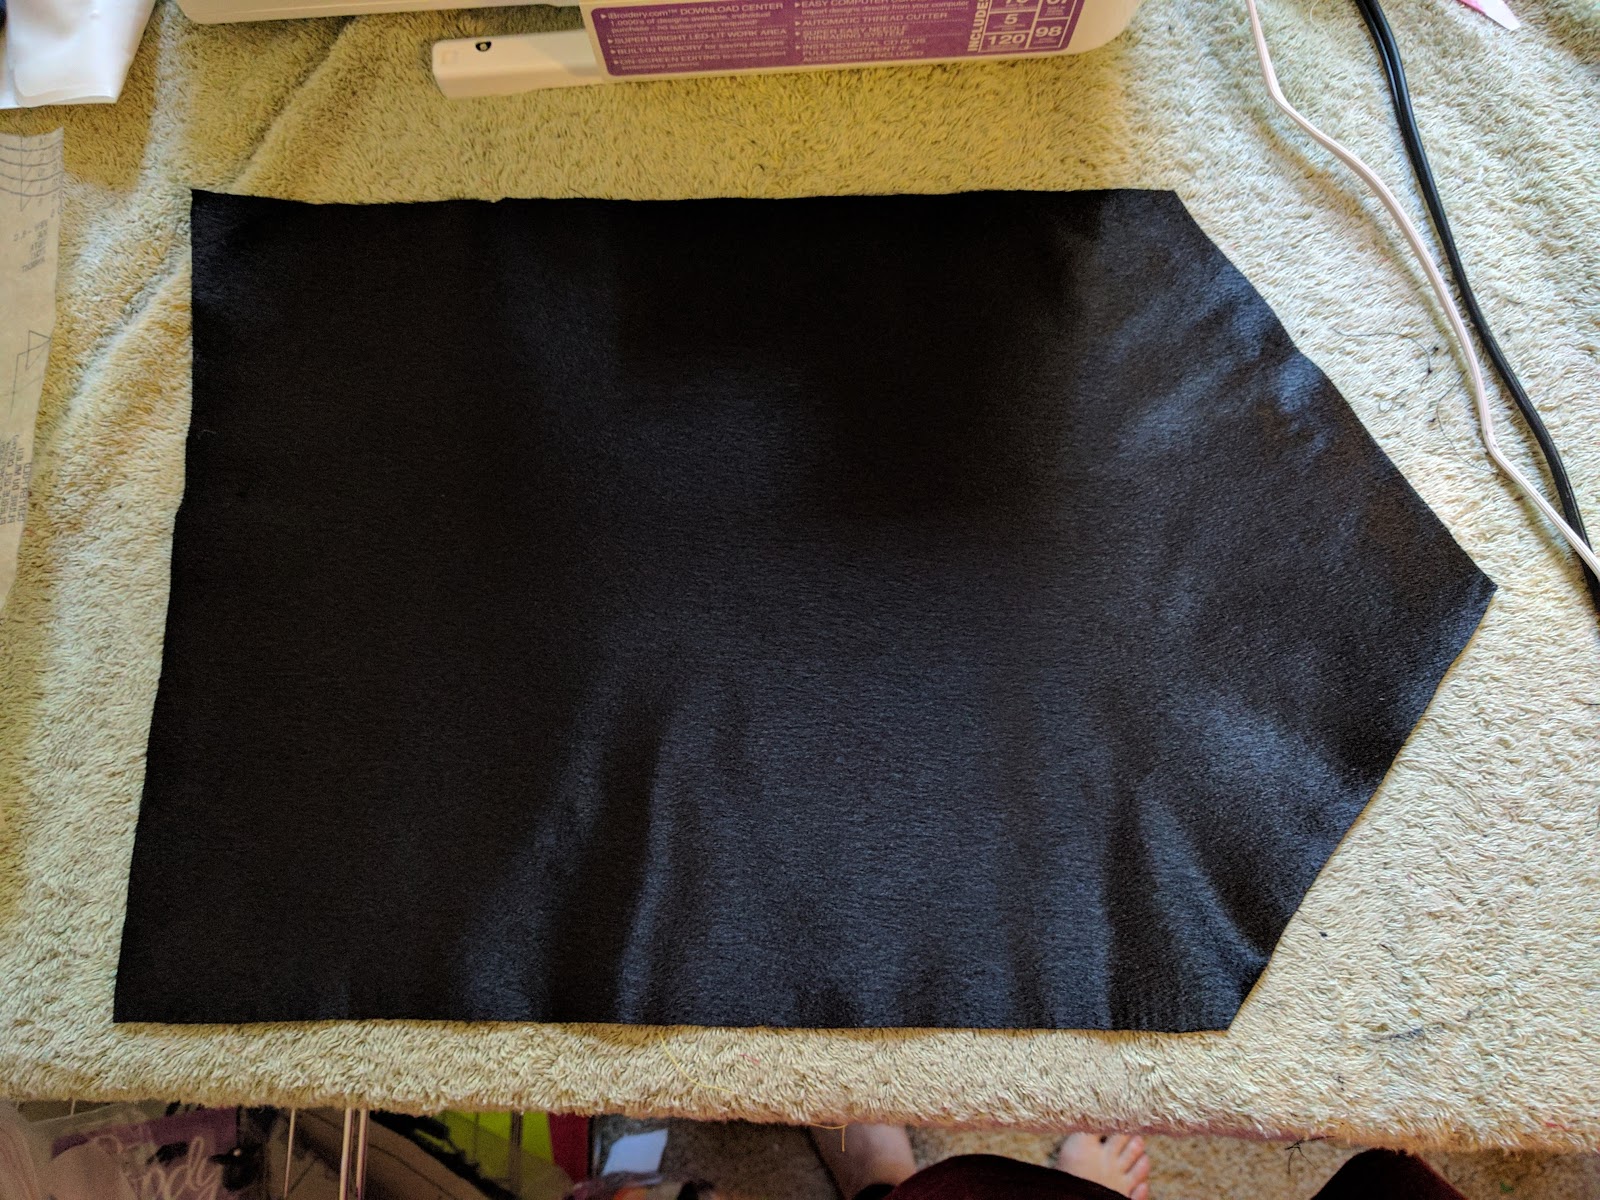
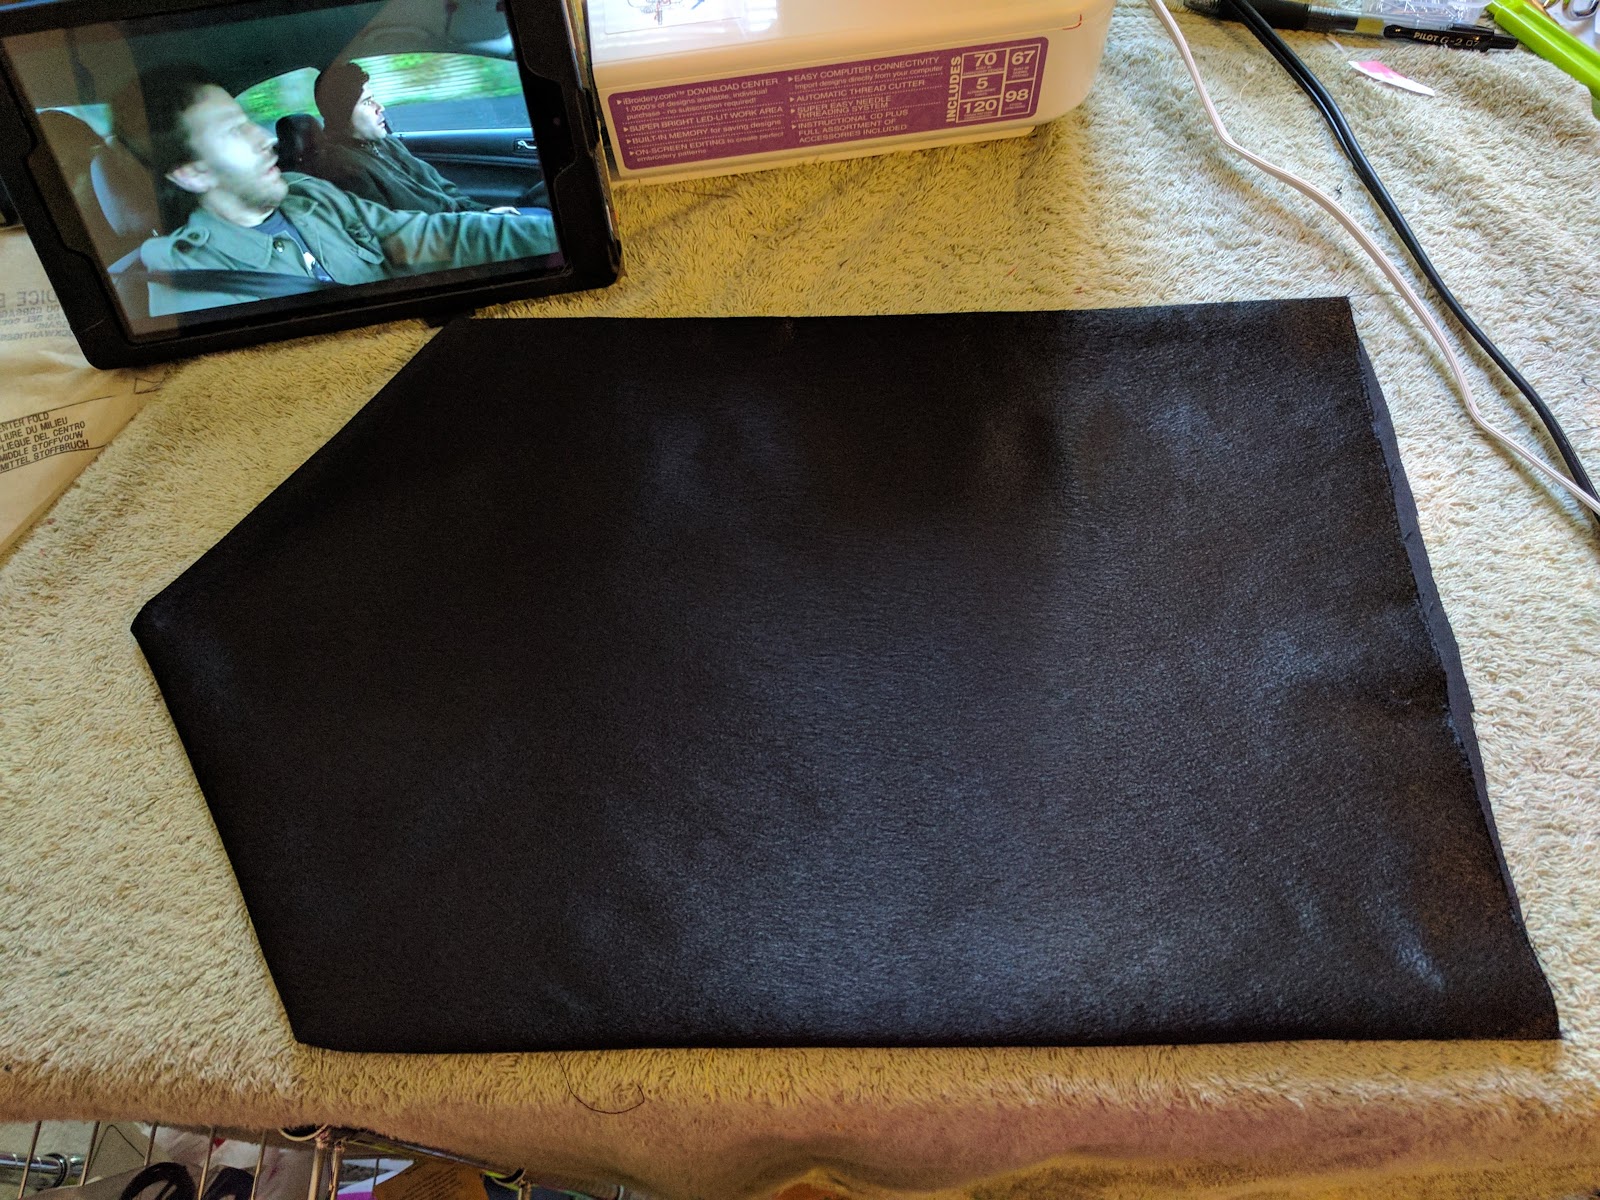
Arm Puffs
For the arm puffs, I took a strip of white satin (the shiny part will be inside). The strip was about 44" x 8". The size will be determined by your arm and your desired puff amount.
I sewed an inch channel on each end.
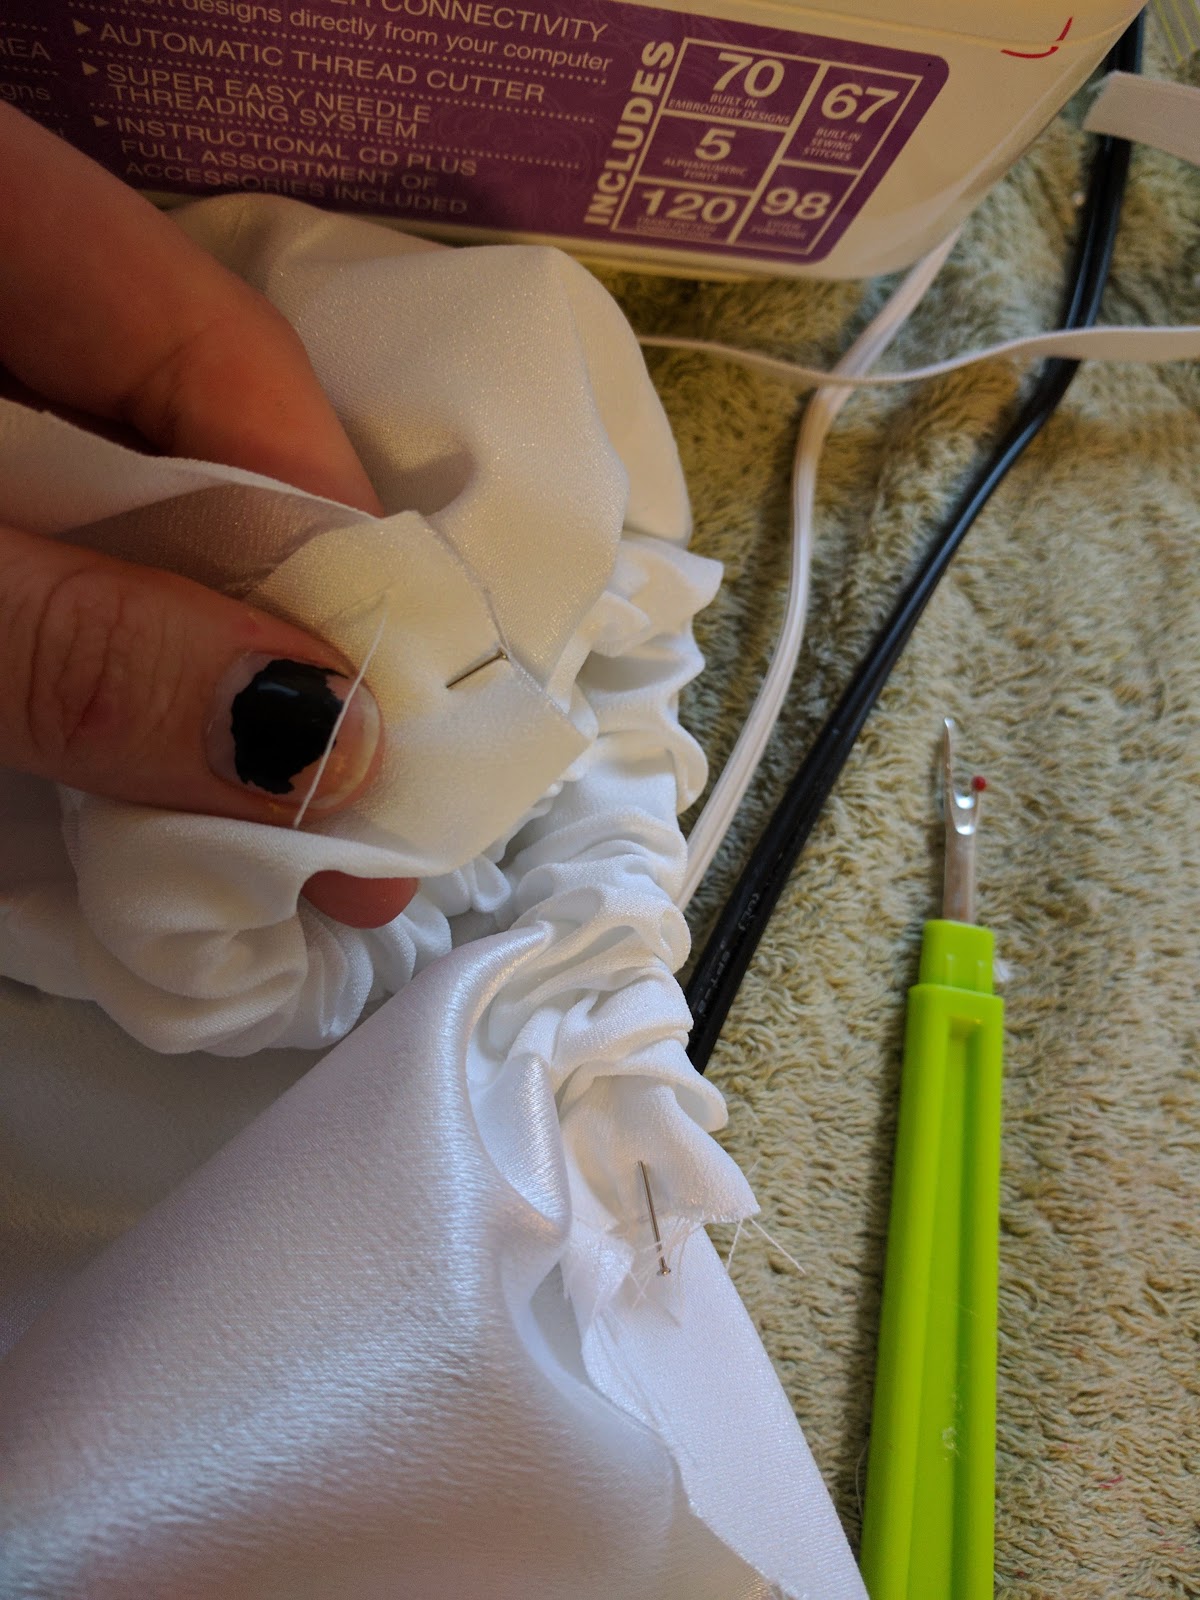
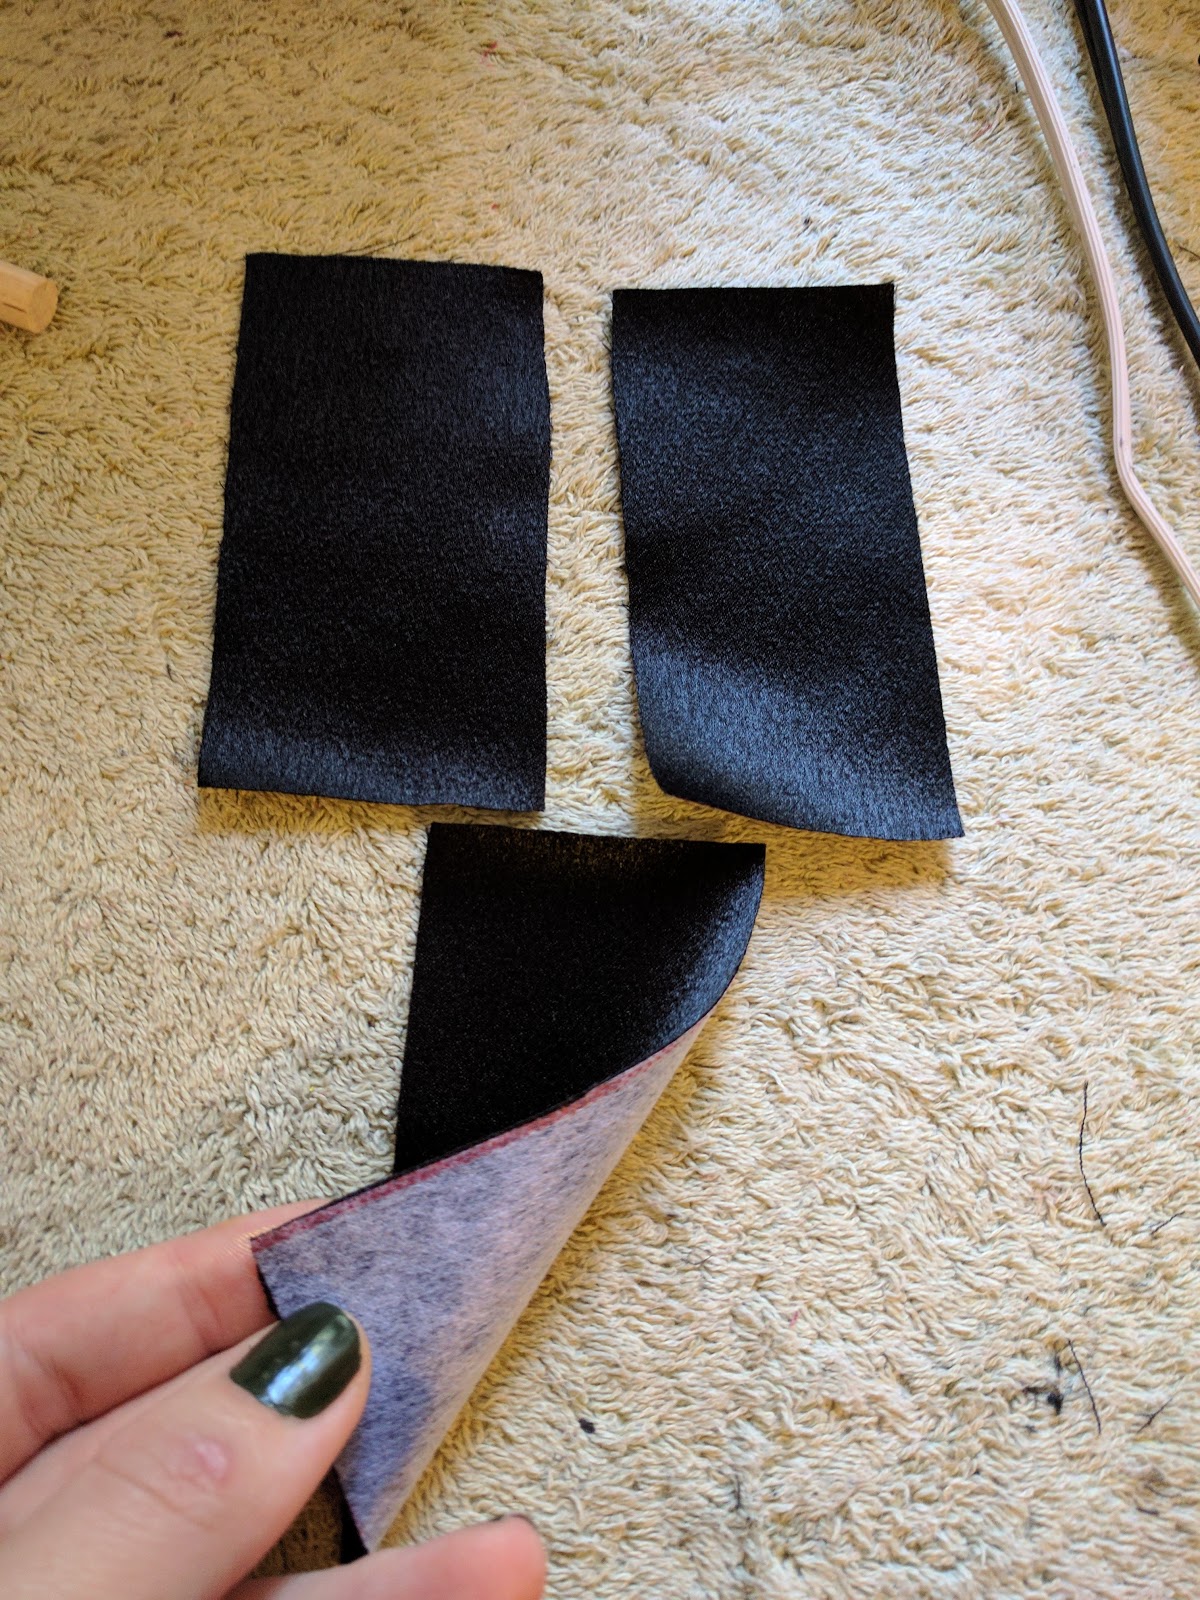
Then I cut elastic strips (3/4" elastic) that fit around my arms.
I pinned one end of an elastic strip to the end of the cloth tube and feed the rest of the elastic through the channel.
The I pinned the other end of elastic to the end of the channel once I got it threaded through.
Once I threaded both pieces of elastic through, I pinned the edges together and sewed them.
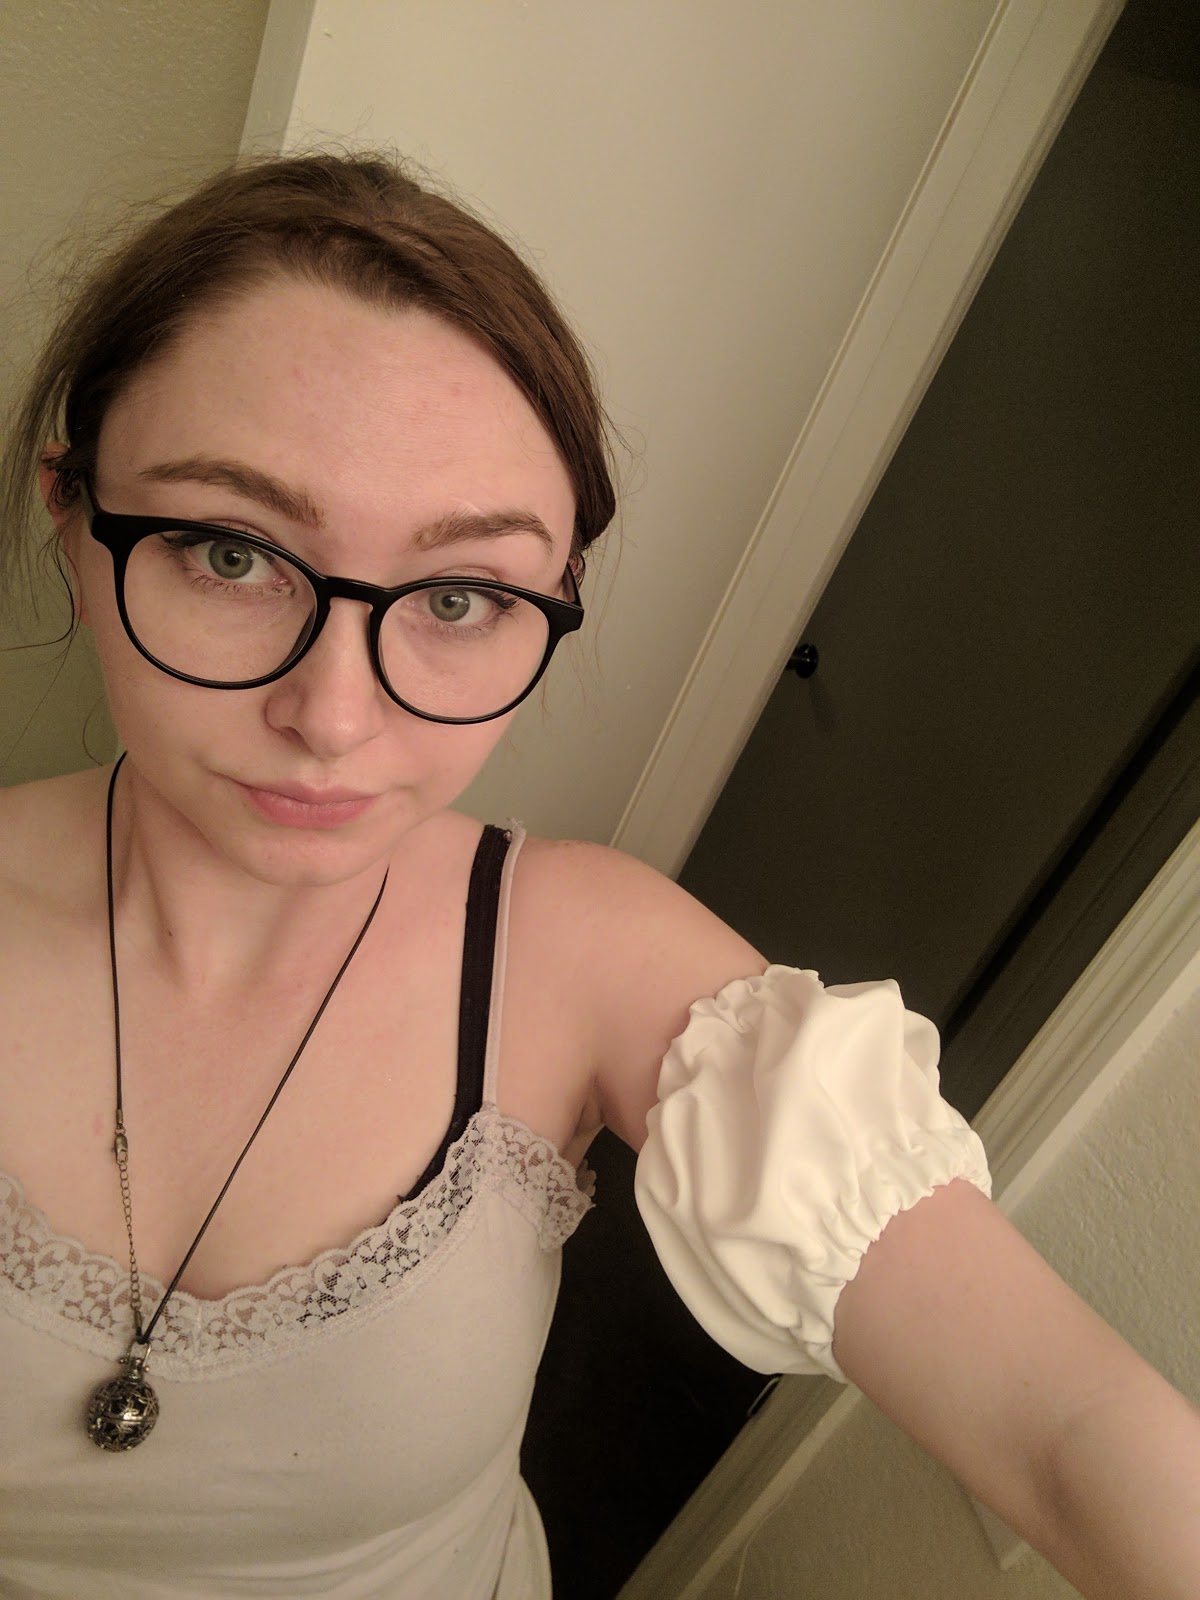
An arm puff!
Repeat the process for second arm puff.
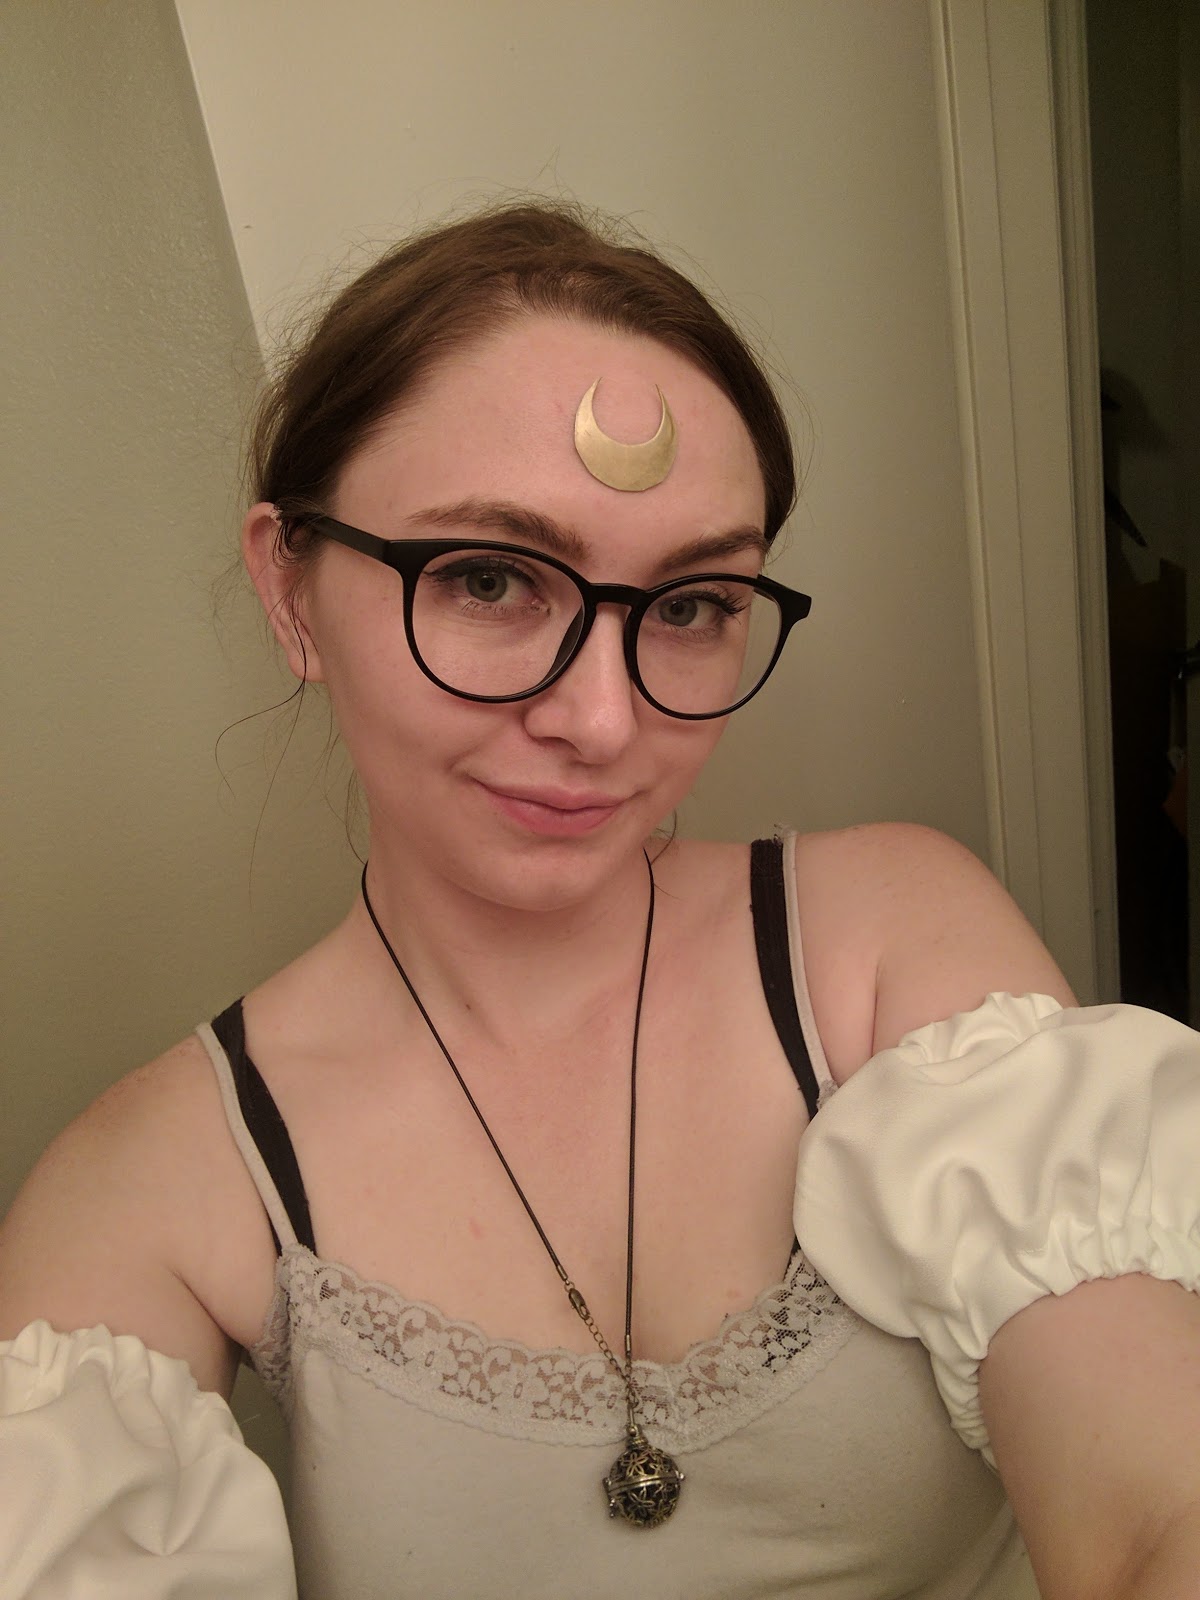
Here are my puffs and my forehead crescent:
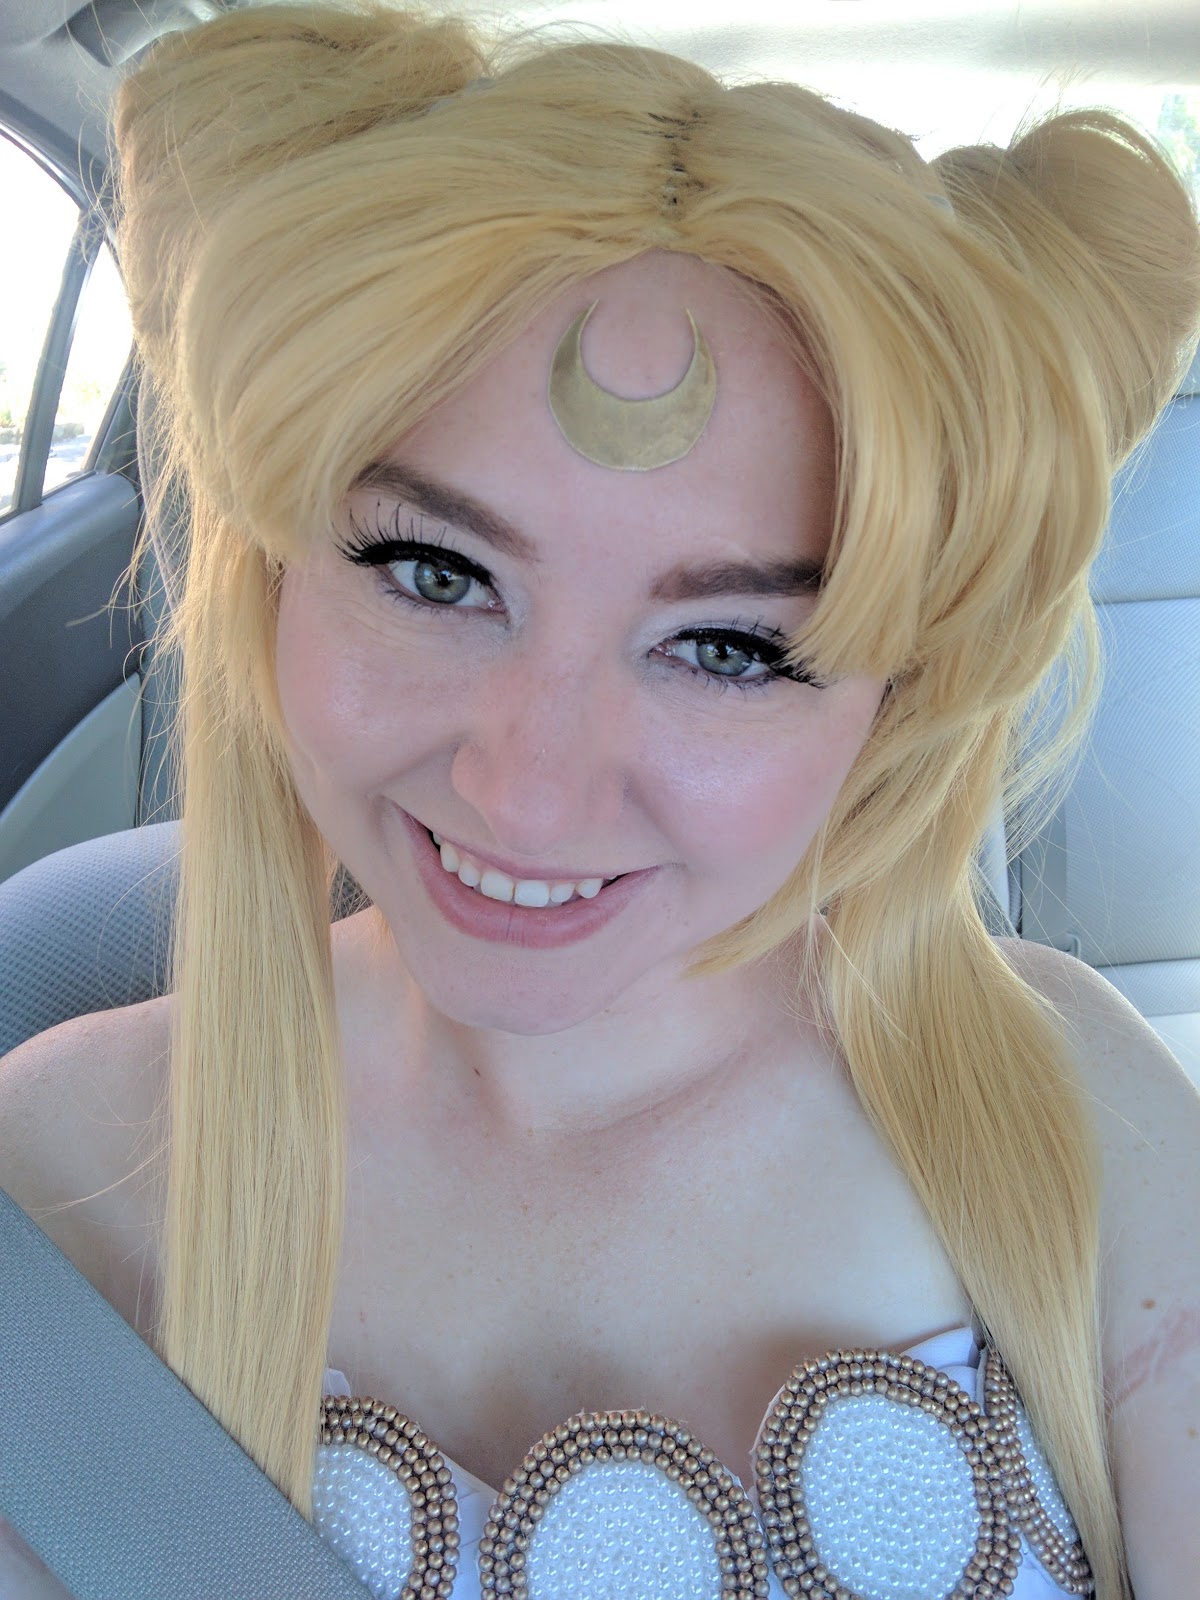
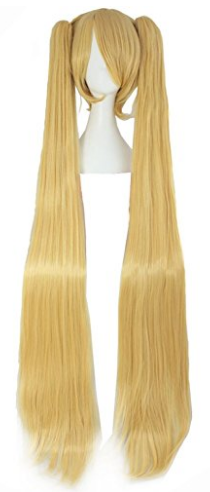
Wig Time!
Here is the wig fresh out of the bag. I made some quick head buns.
The bangs didn't quite work, so I gave them a trim.
I ended up going through a whole lot of trial and error to make the bangs work.
I ended up soaking them in hot water, pinning them in a puff shape and leaving them to dry.
Result:
I still want more volume, but I can keep trying later.
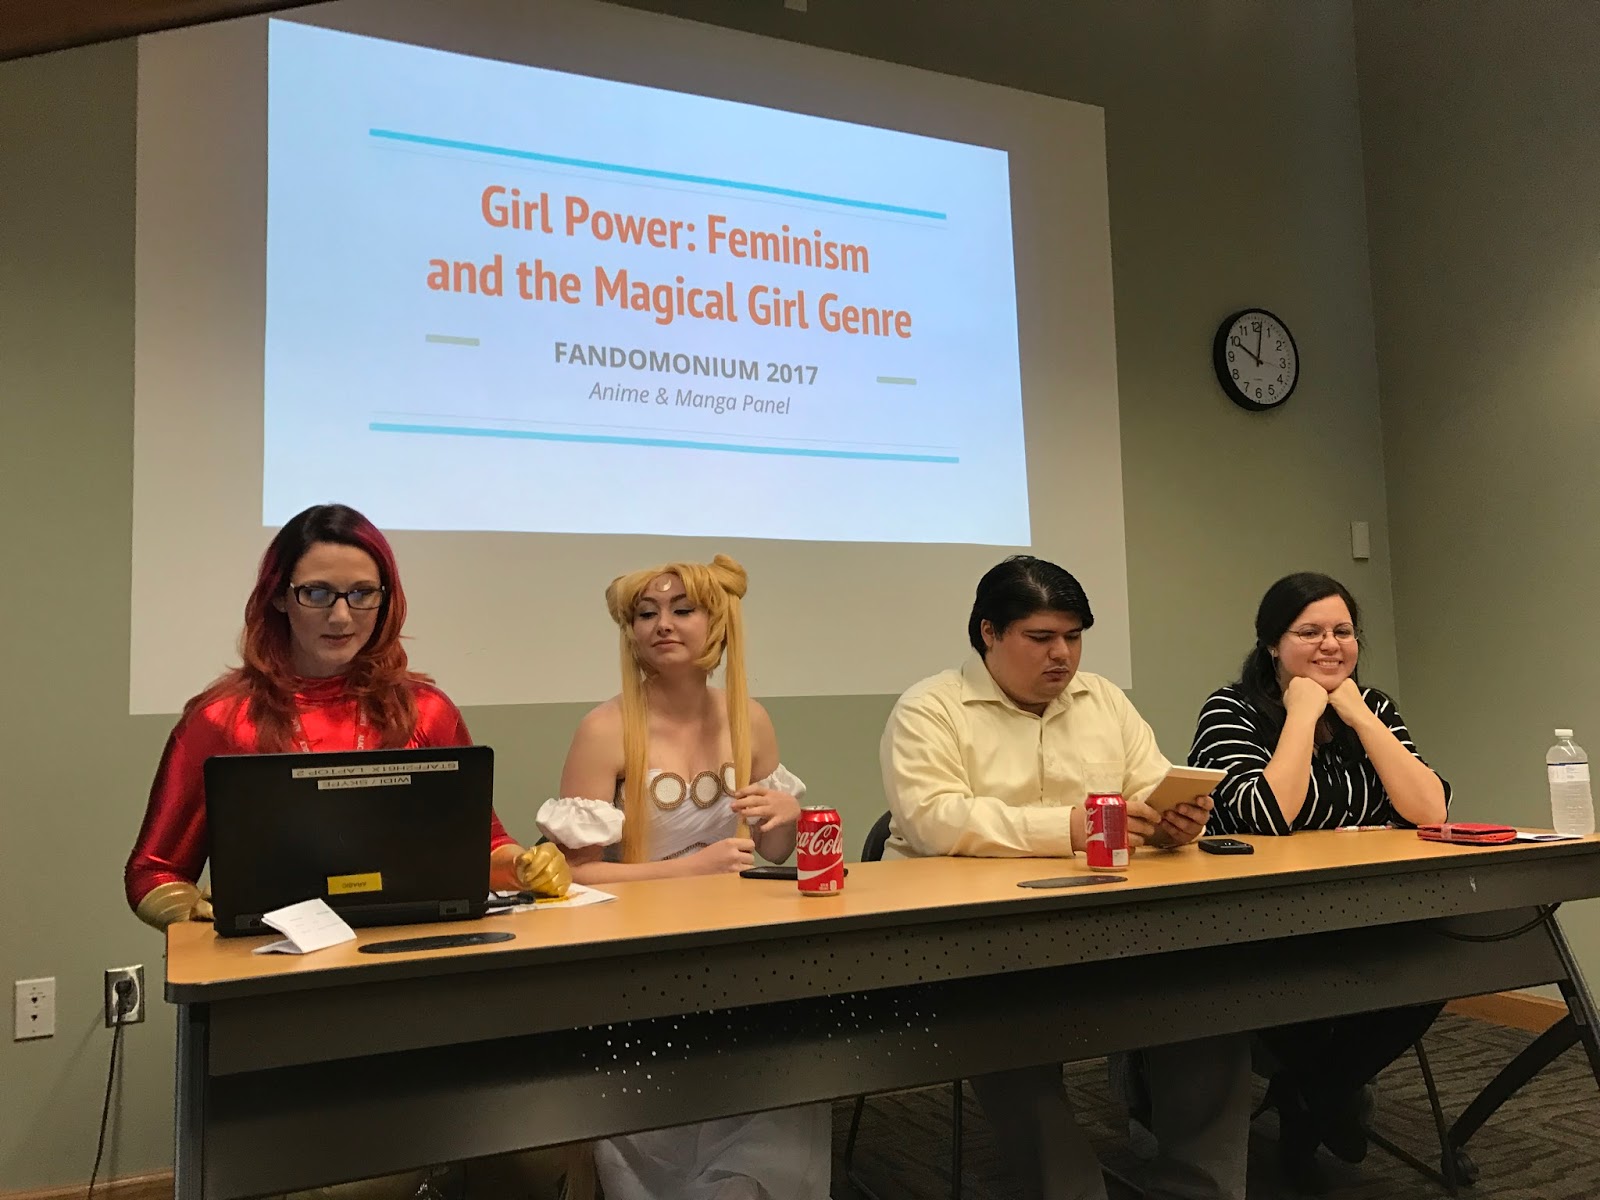
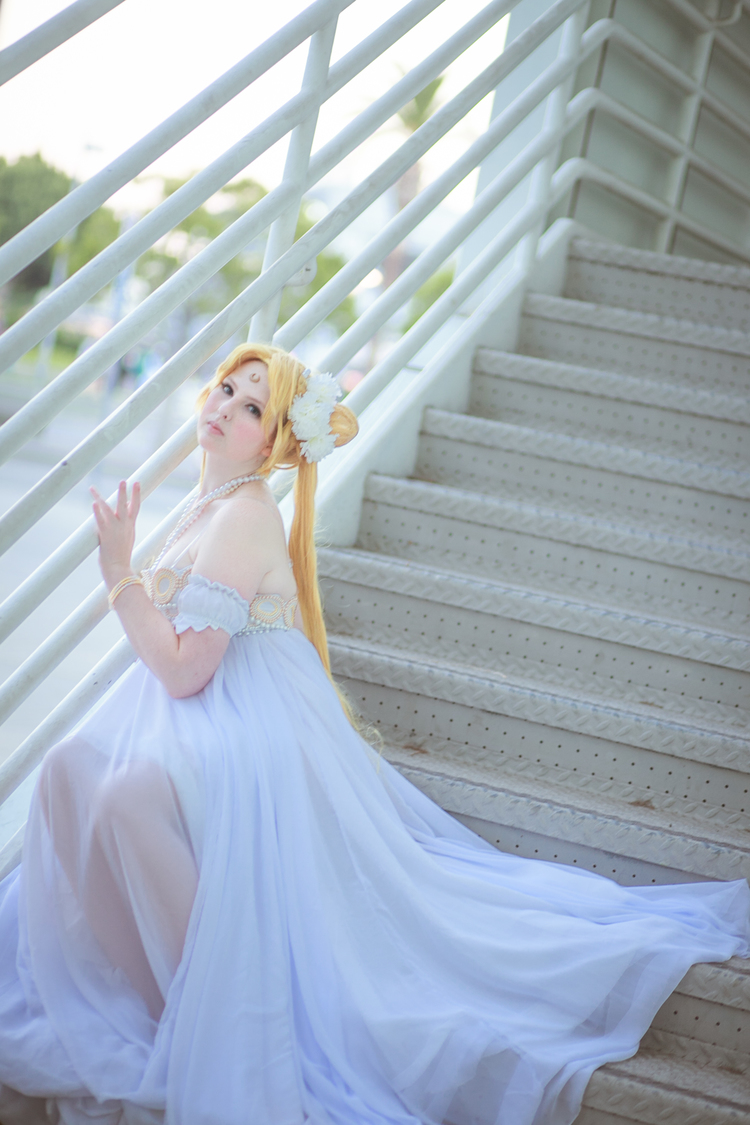
I am going to make a separate post with pictures from Fandomonium in just a bit with all my final pictures so keep a look out. Thanks!
For comments or questions, hit me up on Facebook or at fangirlingoutcosplay@gmail.com
TTFN!


