Aquaman Cosplay Progress: Building the Trident - Part 1
For Halloween, I have decided to go as a female version of Aquaman (the Jason Mamoa version). So, I've put my Ariel Gown project on hold for another fishy friend.
I liked the look of Raquel Sparrow's cosplay version that was shown on
GeekTyrant several months ago and I am using her outfit as an inspiration.
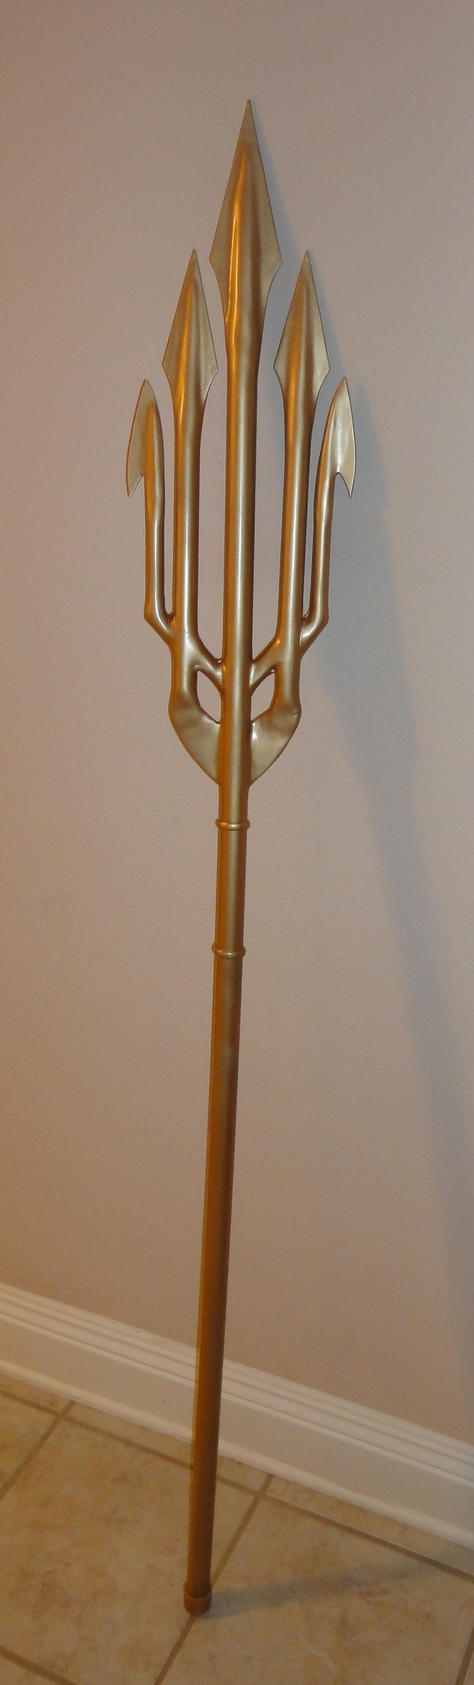
I am starting out by making the trident. Normally, I try to be accurate in my cosplay outfits, but the movie version of the trident isn't doing it for me. I much prefer the New 52 trident.
Because I am going to be putting a good chunk of time into it, I am going with the version I like.
The Build - Part 1
This is the first chunk of my trident build. I have made a good chunk of progress, but it is slow going. Once I have made another chunk of progress then I will add make another posting.
I wanted to make my trident as light as possible because I was going to have to carry it around all day and didn't want to eventually grow to hate it. So, I decided to use plastic dowel rods instead of wood like I have seen in other trident tutorials. I got three packs of dowel rods from Hobby Lobby. They cost about 3 bucks per package so overall it was pretty cheap.
I started by generally creating a layout of how I wanted my trident to look with the dowels.
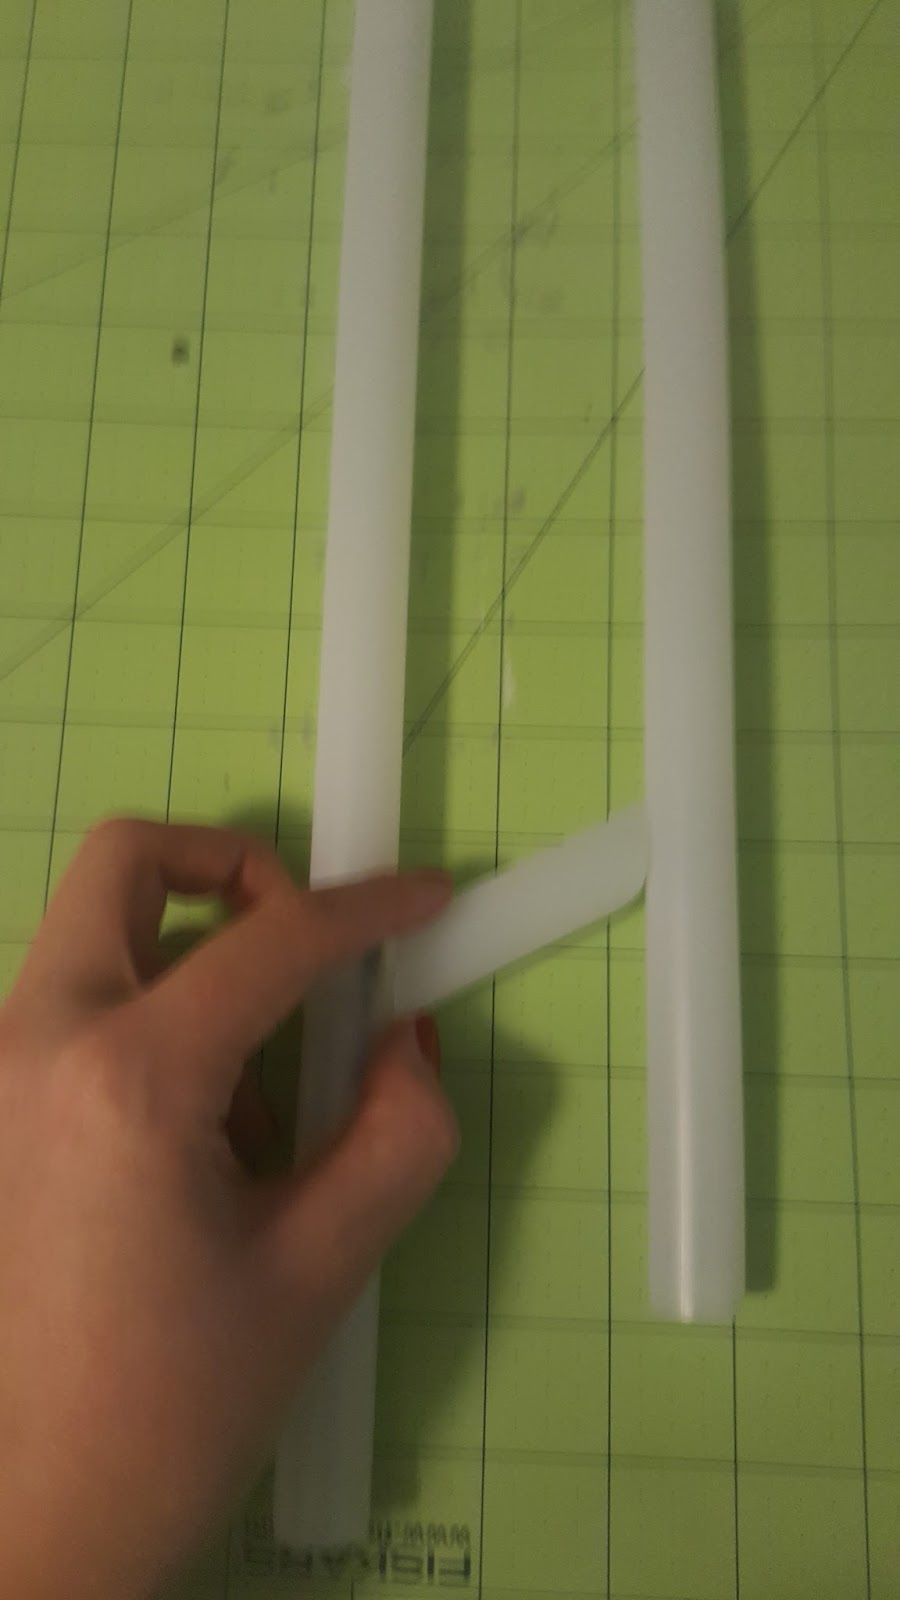
Because I wanted the middle rod to be longer than the 12.5ish inches of the dowels, I created an extension by using cutting another dowel into a small piece.
I then used flat wire (also purchased at Hobby Lobby) and hot glue to build support for the extension while attaching it. I didn't want it falling off on me.
And there you have a bigger stick!
From there, I went off to construct the joints of trident.
I cut the joint pieces at a 45 degree angle so they could be flat against the trident spikes.
I tried a variety different methods in order to get the trident pieces to stay together. Hot glue, wires, etc. However, I found the best method was electrical tape. I am going to be covering the entire thing in worbla to make it sturdy, so the appearance doesn't really matter that much.
The spikes lean a little wonky, but I was able to sort that out when I added the Worbla. I used my cutting mat for spacing.
I had an scrap piece of Worbla from when I made my Scarlet Witch head pieces, so I went ahead and used that.
I made slits on the backside, so I could fold it over better.
There were still come gaps at the back, so I used scraps to fill it in.
For adding the trident blades/spikes/top-whatevers, I notched the top edge of the tube in order to fold it down onto the blades/spikes/top-whatevers.
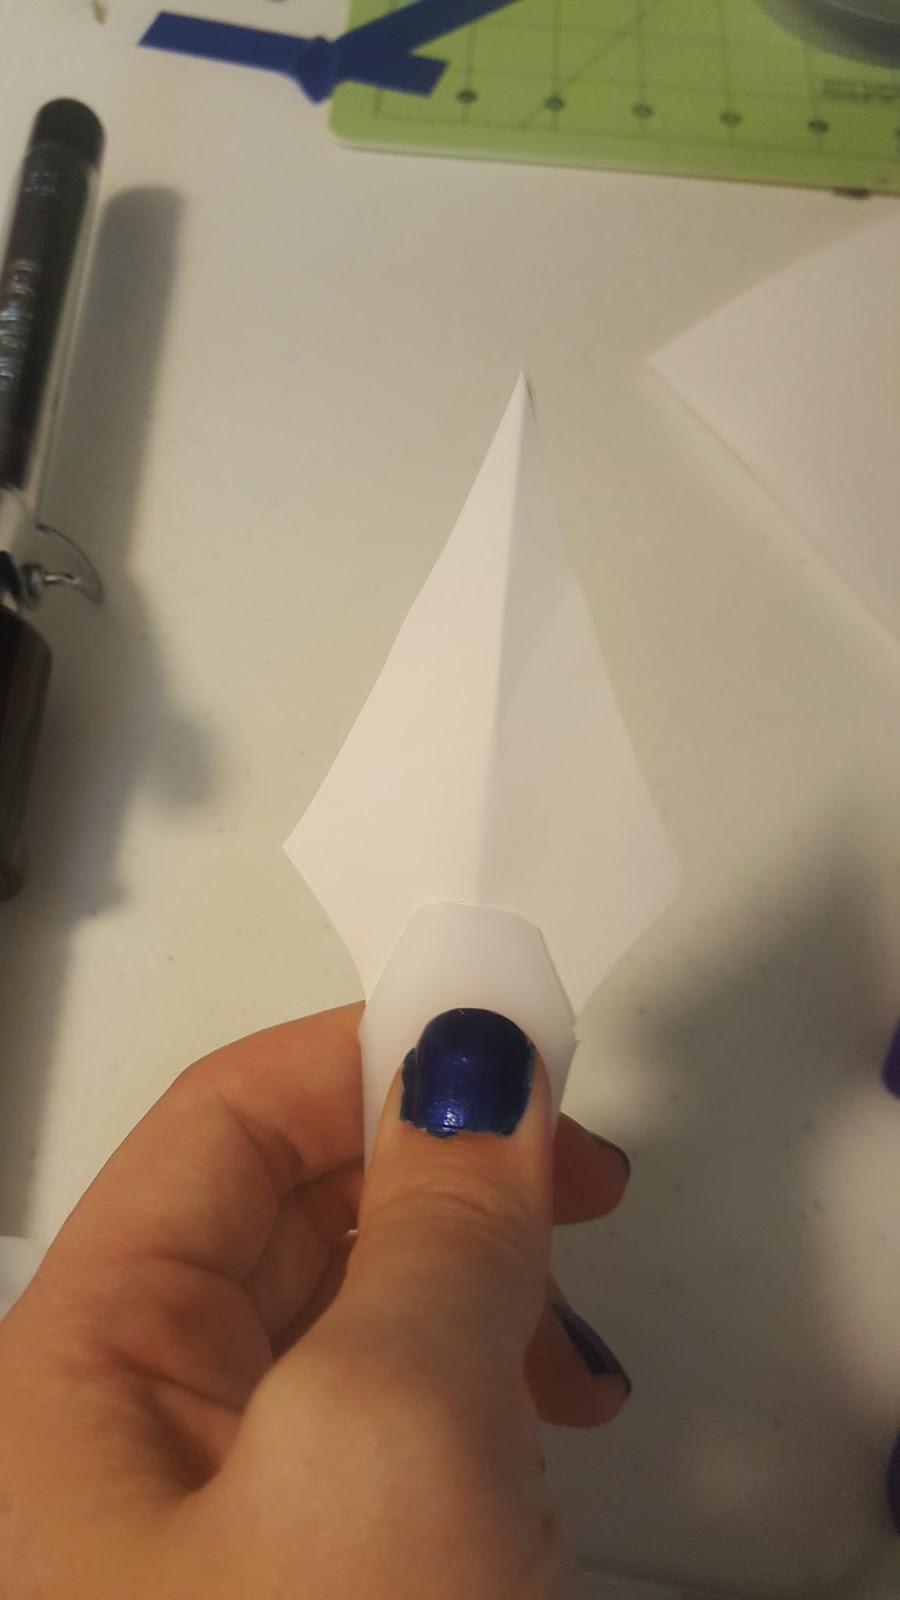
I made a little template of the blades and then cut them out of my Worbla scraps. For each blade, I used two layers of Worbla in order to give it more thickness.
Then I added them to the top and used scraps to cover everything.
The right side blade is leaning a bit, but I can fix that later.
Next, I made the outside blades. Same method as the other blades: paper cutout, Worbla cutout, two layers, and attach.
And here is my trident at the end of part 1.
I am currently working on smoothing out all the edges, which looks like it will take a healthy amount of time. My next task for the trident (after smoothing) will be to add the bottom brace and attach it to the handle portion. Then it will be painting a finishing touches. I will update when I get working on that. If you have any questions, let me know. Thanks!