Showing posts with label Sansa Stark. Show all posts

Wednesday, June 15, 2016

Dark Sansa Stark Cosplay Progress: Part 8 - Underskirt & Finishings

Dark Sansa Stark Cosplay Progress: Part 8 - Underskirt & Finishings

For this part, I will be finishing up my outfit. I am going over the underskirt, feather arm cuffs, necklace, and dress finishings. 

Underskirt

Instead of doing Sansa's funky, stripy skirt that I saw in Entertainment Weekly (below), I decided to go with a simple underskirt. This was partially because I didn't know how to construct the skirt and partially because it seemed like it would take forever and it was pretty much going to be covered by the dress. 


So I followed a simple skirt pattern and used the same fabric from the dress. 


Feather Arm Cuffs

Because I didn't attach the feathers to my sleeves. I made feather arm cuffs. These were really simple.

First I made tubes of the black fabric from the dress/skirt.


Next, I cut them down to fit my wrists.


I sewed up the edges.


Then I measured out black double folded bias tape that was about half an inch shorter than the wrist cuffs.


Next I glued in feathers to the bias tape to make my own feather tape.


I attached the feather tapes to the cuffs.


Two layers of the feather tape took care of it all.


To keep it on my wrists, I attached press on velcro.

Necklace

For Sansa's circle necklace, I used black Worbla that I had left over from my Scarlet Witch headpiece. I got the Worbla from Arda. Unfortunately, they don't seem to have it anymore on their website. 

Here is my lovely kitty, Murph, on the uncut Worbla. It was about the size of your average poster board and cost about $20. 


If you already have Worbla for a project, this is a great option to use the scraps. If you don't have Worbla, I would not suggest that you go out and buy some specifically for the necklace. I used about a six inch square.I drew out the shape on some craft foam and used the sandwich method with the Worbla.


Yes, the pendant has glitter all over it. No, the Worbla is not glittery. I was using glitter for another project when I was making it and as we all know glitter gets everywhere.

For the chain, I used jump rings from Joann Fabrics. The particular ones that I used had a flexible center so they were easier to work with. They were intended to be used for chain mail. I used approximately 200 of these rings. 


For the nail at the end, I used a bullet charm from Hobby Lobby and covered it in extra Worbla.


For final touches, I coated the pendant in black paint. I wanted it to be a slightly darker shade of black. I used the paint below.


Dress Finishing

I attached a series of hooks along the front and I was all good to go.

I am going to post Con pictures for the final look.

Coming Soon: Part 9 - Finished Costume

Friday, May 20, 2016

Dark Sansa Stark Cosplay Progress: Part 7 - Wig Braiding

Dark Sansa Stark Cosplay Progress: Part 7 - Wig Braiding

I personally adore Sophia Turner's red hair. Alas, for this outfit, Sansa is hiding out and has dyed her hair black.


 I purchased the following wig online.

Wig Used: 26 inches long wavy black synthetic lace front wig for women (black) from WELLKAGE


Another alternative that I had been considering was Arda's Matilda CLASSIC or Dany CLASSIC. However, they were more expensive than I would have liked and I was able to get the Wellkage wig on sale. 

Out of the Box with Lace Front Intact

I haven't cut the lace front yet. This is what the wig looked straight out of the box. 


This is a close up of the wig's hairline. Since Sansa's hairstyle is primarily pulled back. The hairline is super important because it will be ridiculously obvious. The top hairline is a little sketchy, but the sides look good. 


I am keeping the lace on until I have finished styling the wig. I am using it to keep it attached to my foam wig stand.

Braiding Process

I am by no means an expert on braiding. It honestly has been one of the things that I have been dreading most of all about doing a Game of Thrones cosplay. The braids are so intricate and ornate. Fortunately for me, Sansa's hair is more simple in this outfit.

Sansa has her hair pulled back with two sets of braids up top. The rest of her hair is down in waves.


Because of my questionable braiding skills, I chose to braid my hair on a wig stand instead of on my head. I was armed with a brush, small clear hair ties, and a ton of hair spray.

Starting Point:


Super Awesome Center Part:


Top Braids:

I made my two side braids...

 ...and connected them.


Bottom Braids:

Finished Look:

The wig isn't taped down for these images so the sides come up a bit, but you get the idea.


Trying to take a picture of the side of the hair, but I couldn't get a good shot.


And a shot of the length.

Completed Wig

And I don't feel like it looks too shabby. Yay!

Coming Soon: Part 8 - Underskirt and Finishings


Monday, May 16, 2016

Dark Sansa Cosplay Progress: Part 6 - Feather the Collar

Dark Sansa Cosplay Progress: Part 6 - Feather the Collar

Since I have finished my finals, I finally got around to finishing off feathering my collar.

I started with the collar on my dress form. I used black rooster feathers that I purchased via Amazon for the collar. 


I marked down lines and hot glued my feather strips down.


Below is the collar after two lines of feathers.


I continued until I got up to the neck portion of the collar. This was three lines in total. For the final line, as seen below, I had to curve around to the front. I made sure not to be too curved so that the feathers were flat against the collar. 


Next, I cut out small sections to cover the remaining sides.


And hot glued them down. 


Now the base of the collar is all finished. 


For the neck, I wrapped the remaining feather strop around the neck and glued it down.


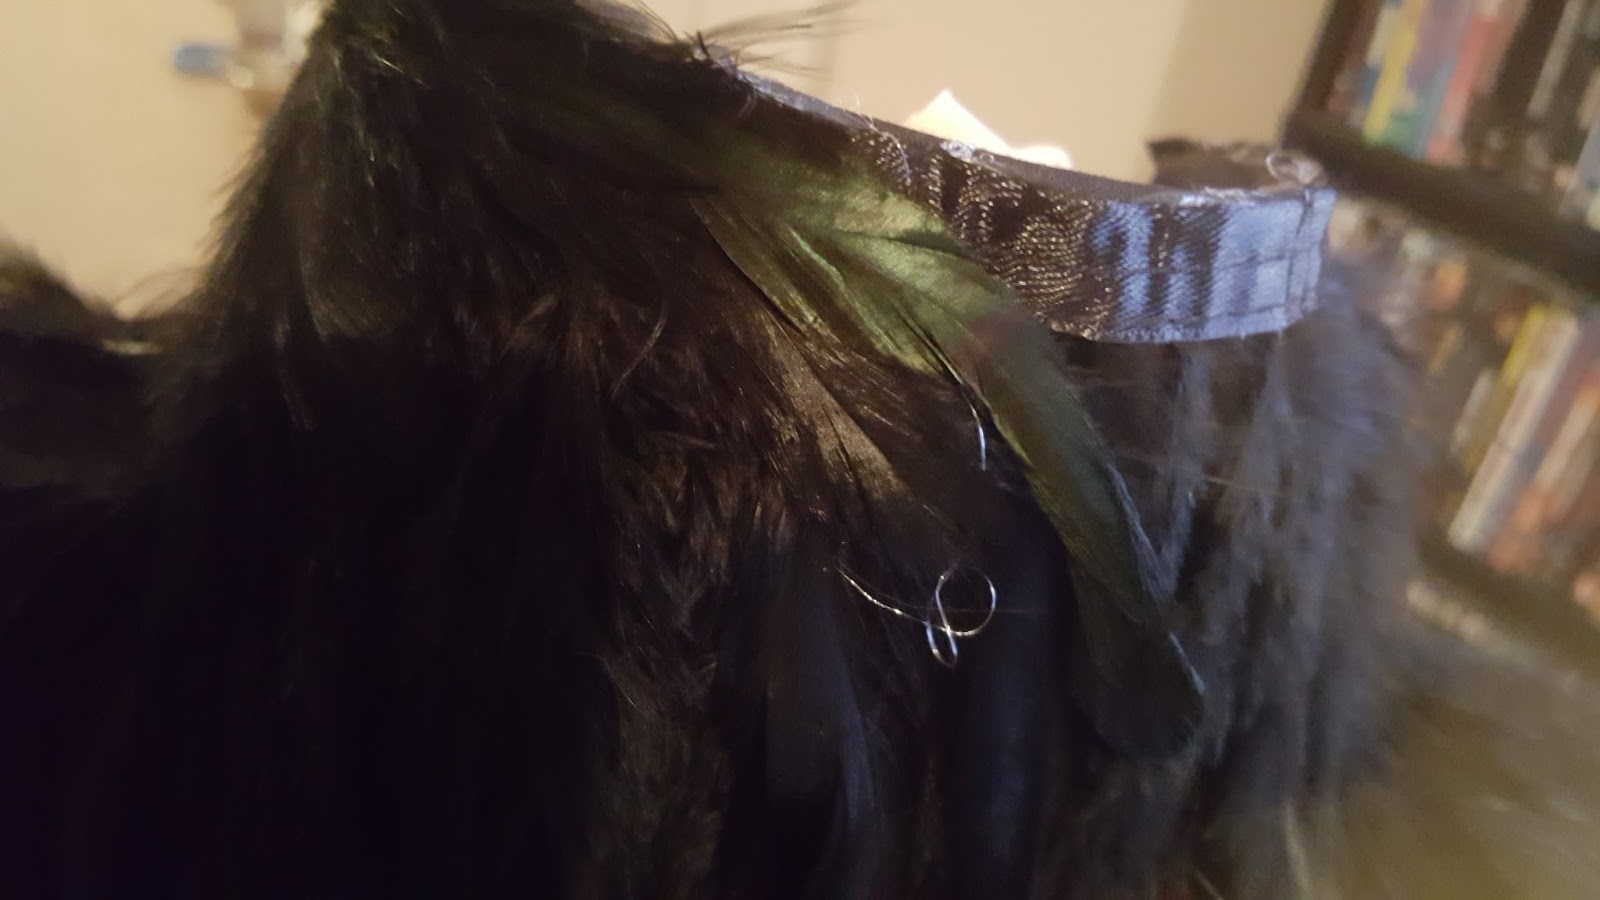
To cover the ribbon top of the feather strip, I took individual feathers and layered them over the edge.


The edges of the feathers stick out at the end so I glued them down and snipped off any excess

And I'm done!


I am planning on making slight adjustments later to make the feathers a bit more slick, but I will touch on that later. 

Coming Soon: Part 7 - Wig Braiding