Showing posts with label DBZ. Show all posts

Tuesday, June 13, 2017

Bulma's Namek Dress Cosplay Walkthrough

Bulma's Namek Dress Cosplay Walkthrough

This is way, way past when I intended on posting this, but I got sidetracked by work and generally being lazy.

For FreeCon, I made Bulma's outfit from their time on Namek in DBZ.
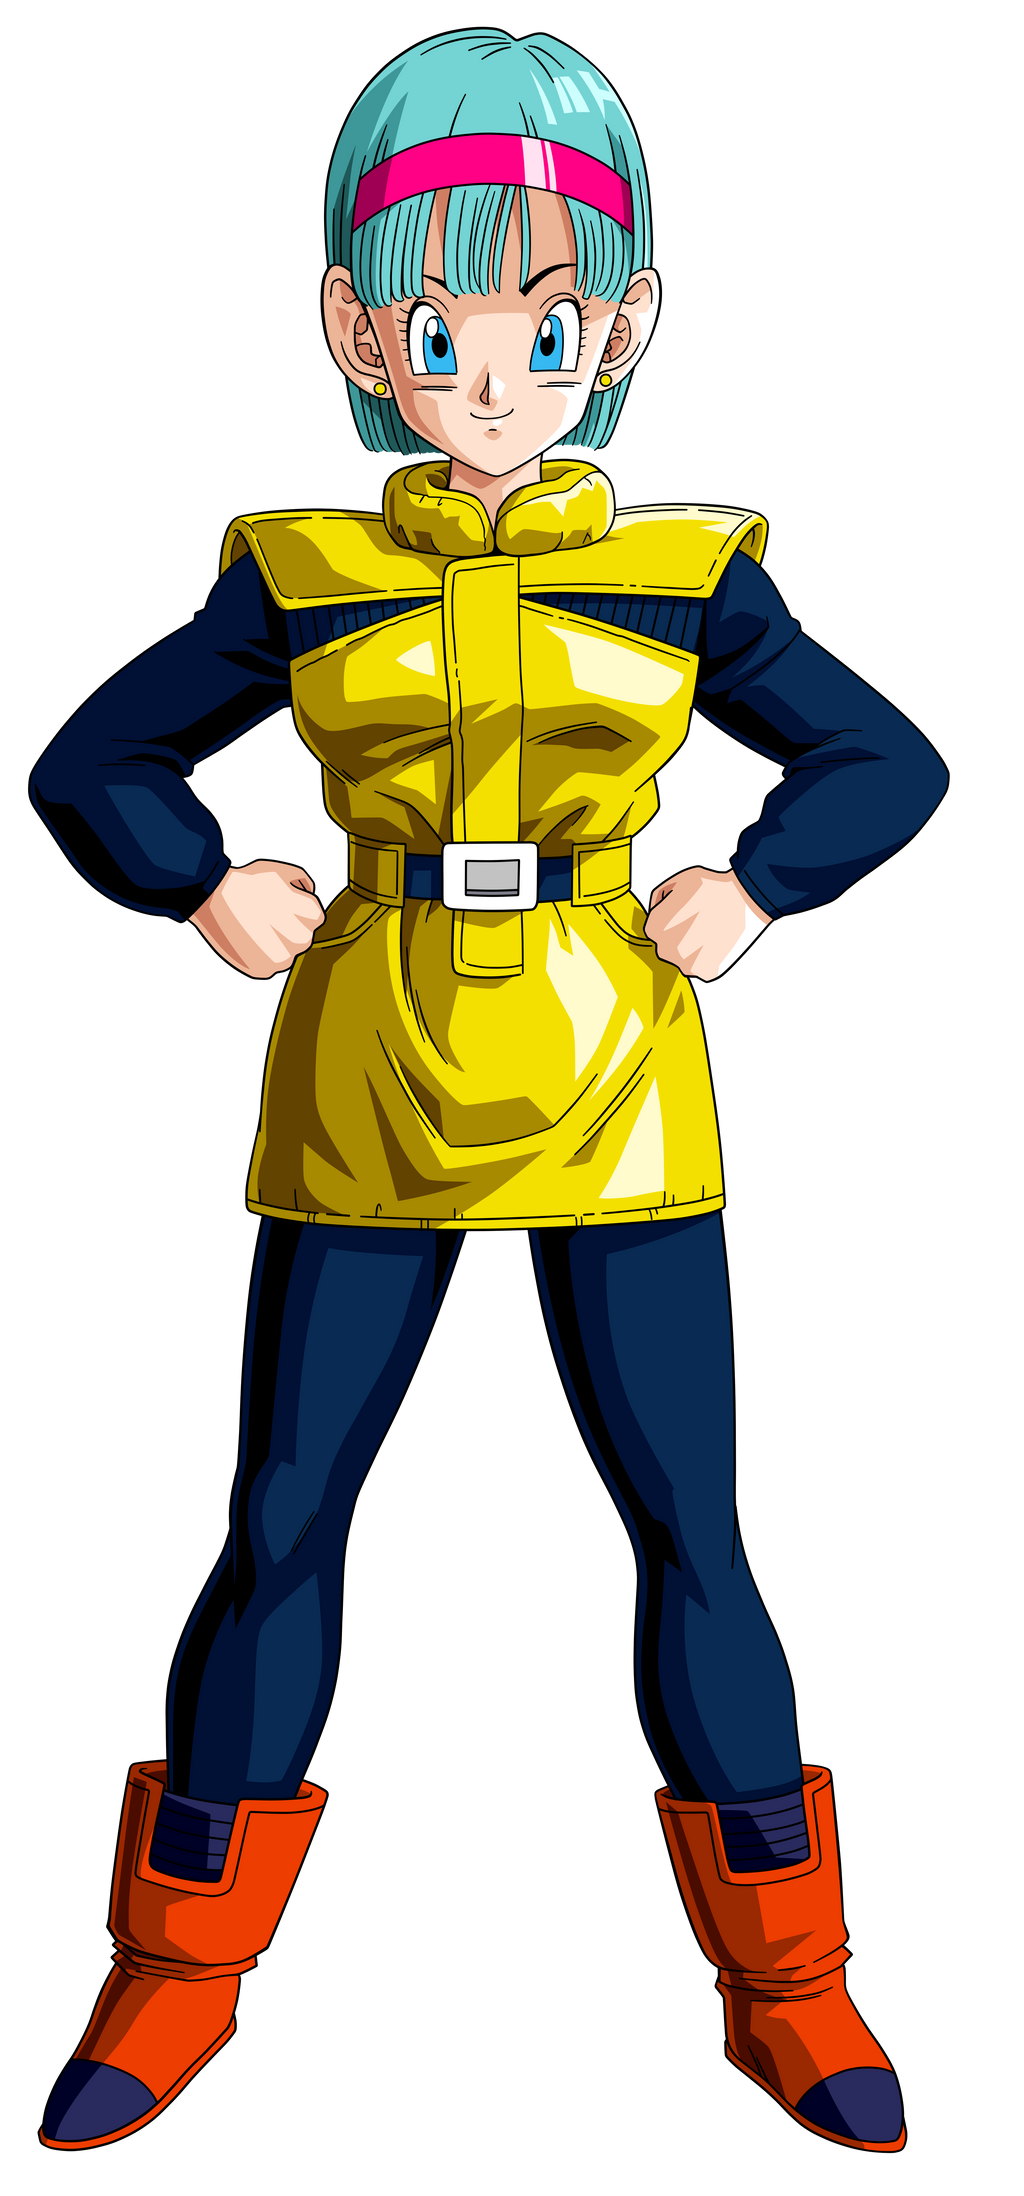
Image result for bulma namek

Dress

For the dress, I used some yellow sportswear fabric from JoAnn Fabrics and the Simplicity 1609 pattern.


I cut out the pattern a size bigger than I would normally in order to give some bulk to the outfit. Bulma's yellow dress is a bit bulky on her, so I wanted that extra umph to it. 


I placed the pattern on my dress form to find out a good length for the dress. Bulma has very little length to the dress, so I didn't want to waste fabric on giving the full dress length and then chopping it all off.


Because Bulma's dress has more shoulder covering than the pattern provides, I extended out the shoulder and gave an almost cap-sleeve look to the dress. 


I duplicated the shoulder extensions on the back as well.


I sewed the front and and back together.

Next, I got working on my cutouts.

I used electrical tape to mark out my intended cuts.


From this, I made templates for my black sections.


I used left over black flannel to make the black sections. 


I went on to cut out the sections and did a little mini hem.


After that I went to make the center strip/zipper. 

It ended up being a 4" x 20ish" strip, which I folded over and stitched to make a tube.


I pinned it to the center of the dress.


Before I attached the center strip, I needed to make a collar.

I cut a 5" x the circumference of the neck on my dress rectangle of the yellow fabric.


I added light weight interfacing to the rectangle to make it stand up. I folded that in half then used a roll of thread to round out the top of the band. 


I flipped the fabric inside out and sewed along my markings to give a rounded edge to each side of the collar.


I also removed the last few stitched so the it could lay along the neck of the dress.


I sewed in the black parts.


To make my belt look nice, I made a tube of yellow fabric and threaded the belt through. 


Here is about how it looks at this point.  


When adding in the back zipper, I did take in the neck a bit so that it didn't gape as much. You can see this in the final pictures below.

Boots

I make the boots I got used some cheap knock off  Uggs. In reference pictures I saw, sometimes her boots were orange, sometimes they were red, and sometimes they were brown. So, I punted and went with a color I didn't hate: orangey brown.


To finish the boots off, I used masking tape to tape off sections and then painted them black using fabric paint.
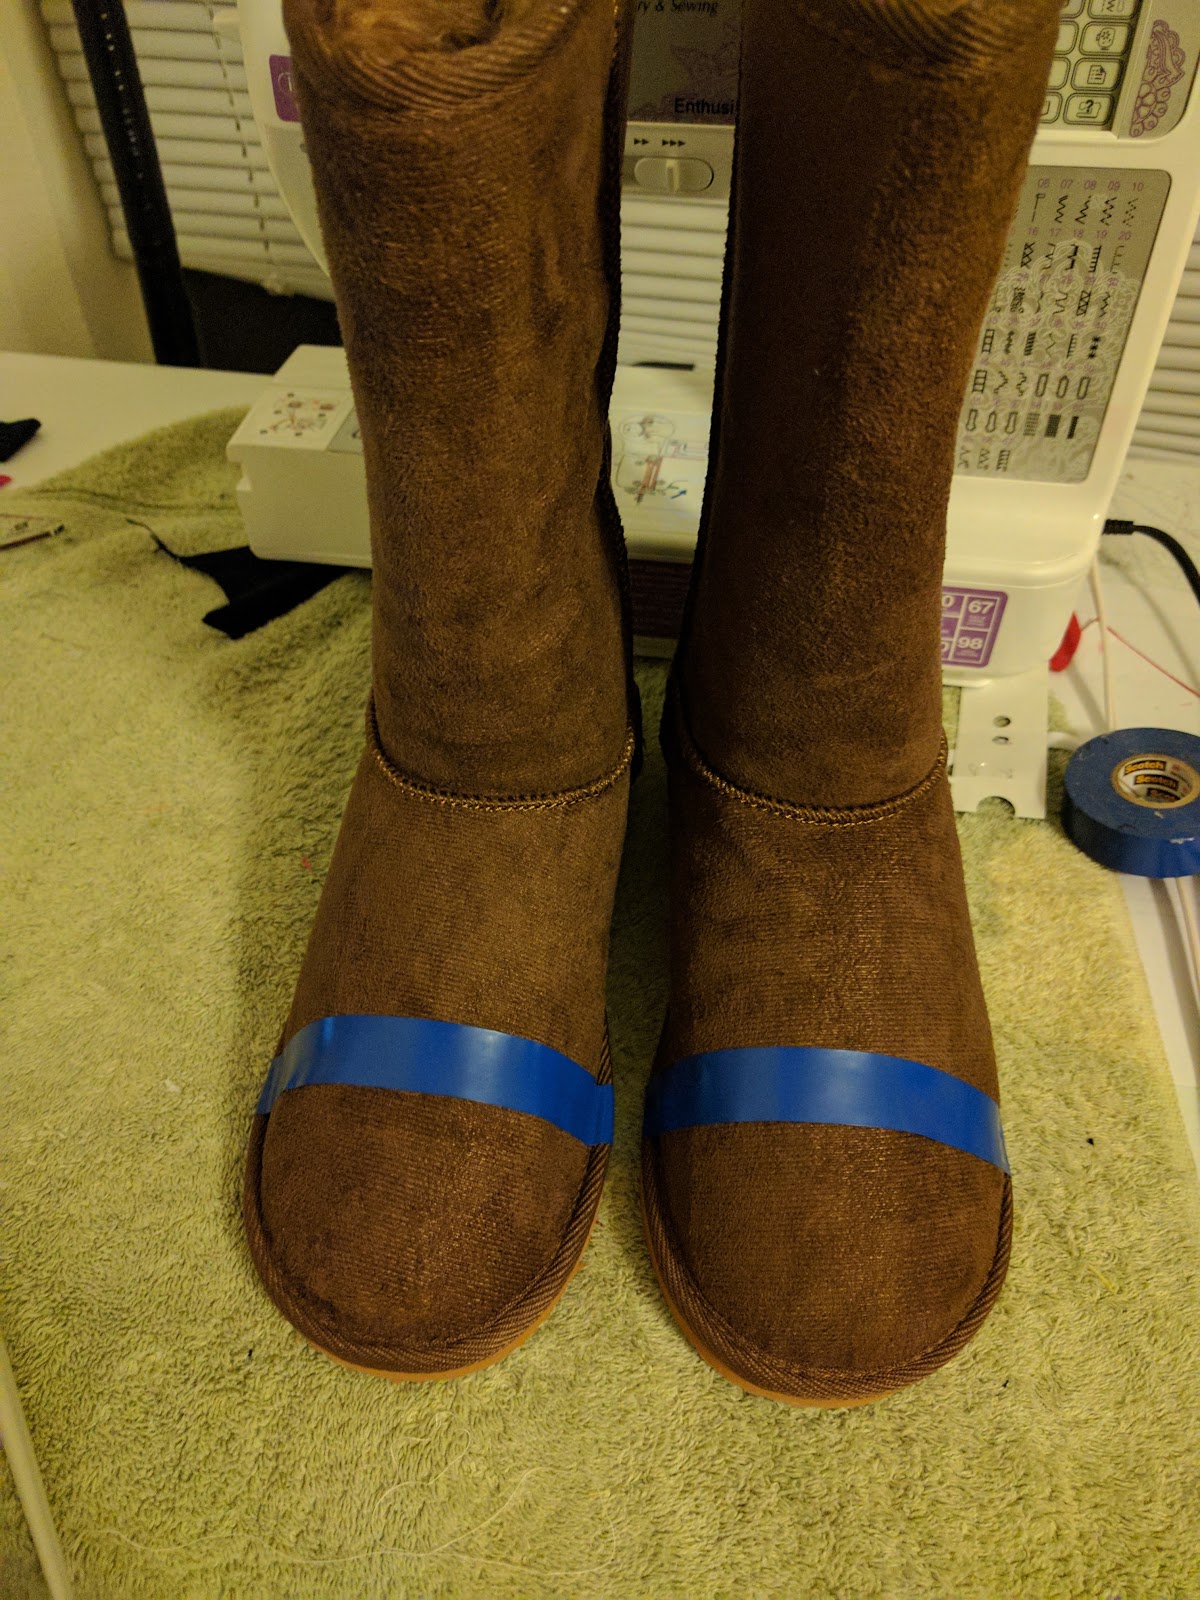


And yes, because I suck, I forgot to take pictures of the finish look. I will get better at this one day.

Wig

For the hair, I got a aqua colored bob wig off Amazon. I saw that quite a few people used it for Bulma outfits.


I cut the bangs and straighten the rest of the wig.


Add a pink headband and that's all you need!


Final look + glasses 


I don't have a final picture of me at FreeCon because I totally blanked on it; however, I will make sure to update this post with a complete look once I wear it to another Con. 

TTFN!


Sunday, January 22, 2017

Four Star Dragon Ball (Sushinchu) Purse Construction

Four Star Dragon Ball (Sushinchu) Purse Construction

I have recently been rereading the Dragon Ball manga, so I am in a bit of an obsession mode. As a way of channeling that obsession for the good of man-kind, I decided to make a dragon ball purse to accompany my current and future Dragon Ball themed cosplay and outfits. Of course, the four star dragon ball, Sushinchu aka Grampa Gohan, was the obvious choice.

I have laid it all out for you, so that you may make your own. Or, if you are lazy/don't sew/want me to do if for you, you can always contact me (fangirlingoutcosplay@gmail.com) about it and I can make you one.

ANYWAYS, below are my construction notes and tid-bits on my dragon ball purse.

Step One: Gather The Supplies


I got everything at Joann Fabrics for under $20. 

Supplies Needed:
Gold Ponte Fabric - 1 yard
Red Zipper
Red Iron On Stars - 4
Gold Thread
Small D rings - 4
Black straps - Not pictured
Fuse N Shape Craft Interfacing
Medium Weight Head Bond Interfacing

Step Two: Cut Out The Pieces

I used Patter Pile's Circle Purse Tutorial for my pattern pieces. 

Turns out they got it from Alejandra’s Styles, who made a lovely YouTube video about constructing it.

 I used her video for helping me put this all together, so I would very much suggest you watch the video.

Anyways, I made a pattern out of some paper (pictured below). It consisted of: two 10.5" x 1.5" rectangles (base A); one 15" x 3" rectangle (base B); two 2" x 3" rectangles (loops)*; and two circles with a diameter of 12".

*note: I had to extend these loops to work for me, so I actually used 2.5"x 6" rectangles for the loops. I will touch on it later as well.


Step Three: Apply Interfacing to EVERYTHING


The Fuse N Shape has two sided fusibility so I simply iron it on to the fabric. I used the gold fabric on both sides. 


I also sewed all the edges for good measure.


For the two 10.5" x 1.5" rectangles, I wrapped the edges when I sewed them down so that the edges wouldn't be exposed when I installed the zipper. You can see a better picture in the zipper step.


Boom, all the pieces done. 


For the 2" x 3" rectangles, I used the medium weight fusible interfacing. They ended up being too short for my construction, so I extended them to 2.5" x 6" rectangles.


Step 4: Install Zipper


Between the two 10.5" x 1.5" rectangles, I installed the zipper.


Step 5: Sew Straps On

I sewed the 2.5" x 6" rectangles into tubes.


I made sure they were thin enough to fit on the D-Rings.


Then I sewed them to cover the caps between the 10.5" x 1.5" rectangles.


Then looped it back on itself and sewed it down.


Step 6: Sew Everything Else Together

I attached the other base piece to the sides of the zipper block, so I had a lovely loop


My circles ended up being way too large, so I ended up having to trim it down by quite a bit until it fit in my loop.


I sewed the circles in, making sure to open the zipper before both sides were attached.


Then I flipped it out to expose my bag.

Step 7: Iron On The Stars


The stars were easily attached with an iron. It was just press and hold.


Step 8: Add Straps


I added black straps to the bag and used the D-Rings to make it adjustable.

Step 9: Gloat 

Now I have a pretty, pretty bag. Yay me!


The whole project took me roughly two hours max. I would definitely say it was worth it.

If you have any questions, let me know. TTFN!