Showing posts with label Bulma. Show all posts

Tuesday, June 13, 2017

Bulma's Namek Dress Cosplay Walkthrough

Bulma's Namek Dress Cosplay Walkthrough

This is way, way past when I intended on posting this, but I got sidetracked by work and generally being lazy.

For FreeCon, I made Bulma's outfit from their time on Namek in DBZ.
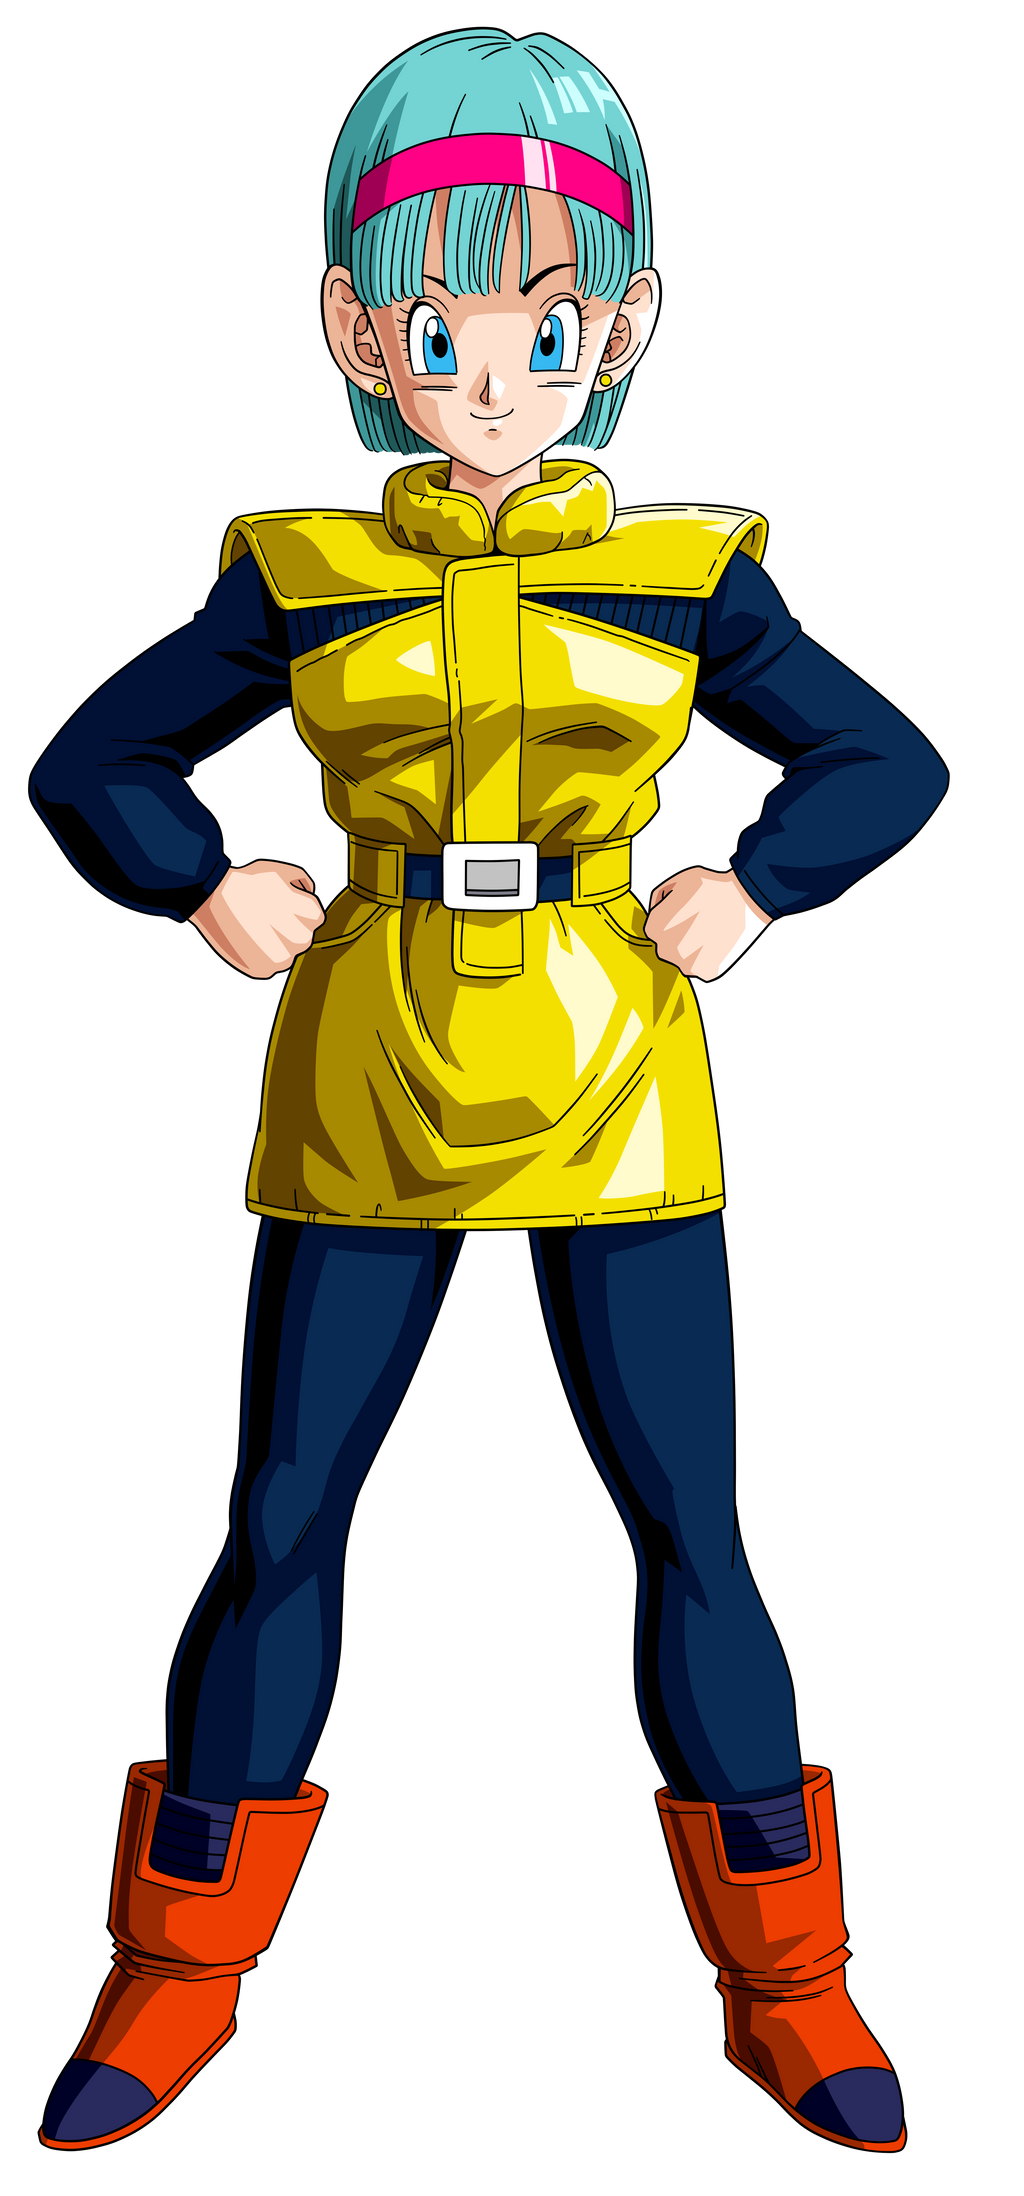
Image result for bulma namek

Dress

For the dress, I used some yellow sportswear fabric from JoAnn Fabrics and the Simplicity 1609 pattern.


I cut out the pattern a size bigger than I would normally in order to give some bulk to the outfit. Bulma's yellow dress is a bit bulky on her, so I wanted that extra umph to it. 


I placed the pattern on my dress form to find out a good length for the dress. Bulma has very little length to the dress, so I didn't want to waste fabric on giving the full dress length and then chopping it all off.


Because Bulma's dress has more shoulder covering than the pattern provides, I extended out the shoulder and gave an almost cap-sleeve look to the dress. 


I duplicated the shoulder extensions on the back as well.


I sewed the front and and back together.

Next, I got working on my cutouts.

I used electrical tape to mark out my intended cuts.


From this, I made templates for my black sections.


I used left over black flannel to make the black sections. 


I went on to cut out the sections and did a little mini hem.


After that I went to make the center strip/zipper. 

It ended up being a 4" x 20ish" strip, which I folded over and stitched to make a tube.


I pinned it to the center of the dress.


Before I attached the center strip, I needed to make a collar.

I cut a 5" x the circumference of the neck on my dress rectangle of the yellow fabric.


I added light weight interfacing to the rectangle to make it stand up. I folded that in half then used a roll of thread to round out the top of the band. 


I flipped the fabric inside out and sewed along my markings to give a rounded edge to each side of the collar.


I also removed the last few stitched so the it could lay along the neck of the dress.


I sewed in the black parts.


To make my belt look nice, I made a tube of yellow fabric and threaded the belt through. 


Here is about how it looks at this point.  


When adding in the back zipper, I did take in the neck a bit so that it didn't gape as much. You can see this in the final pictures below.

Boots

I make the boots I got used some cheap knock off  Uggs. In reference pictures I saw, sometimes her boots were orange, sometimes they were red, and sometimes they were brown. So, I punted and went with a color I didn't hate: orangey brown.


To finish the boots off, I used masking tape to tape off sections and then painted them black using fabric paint.
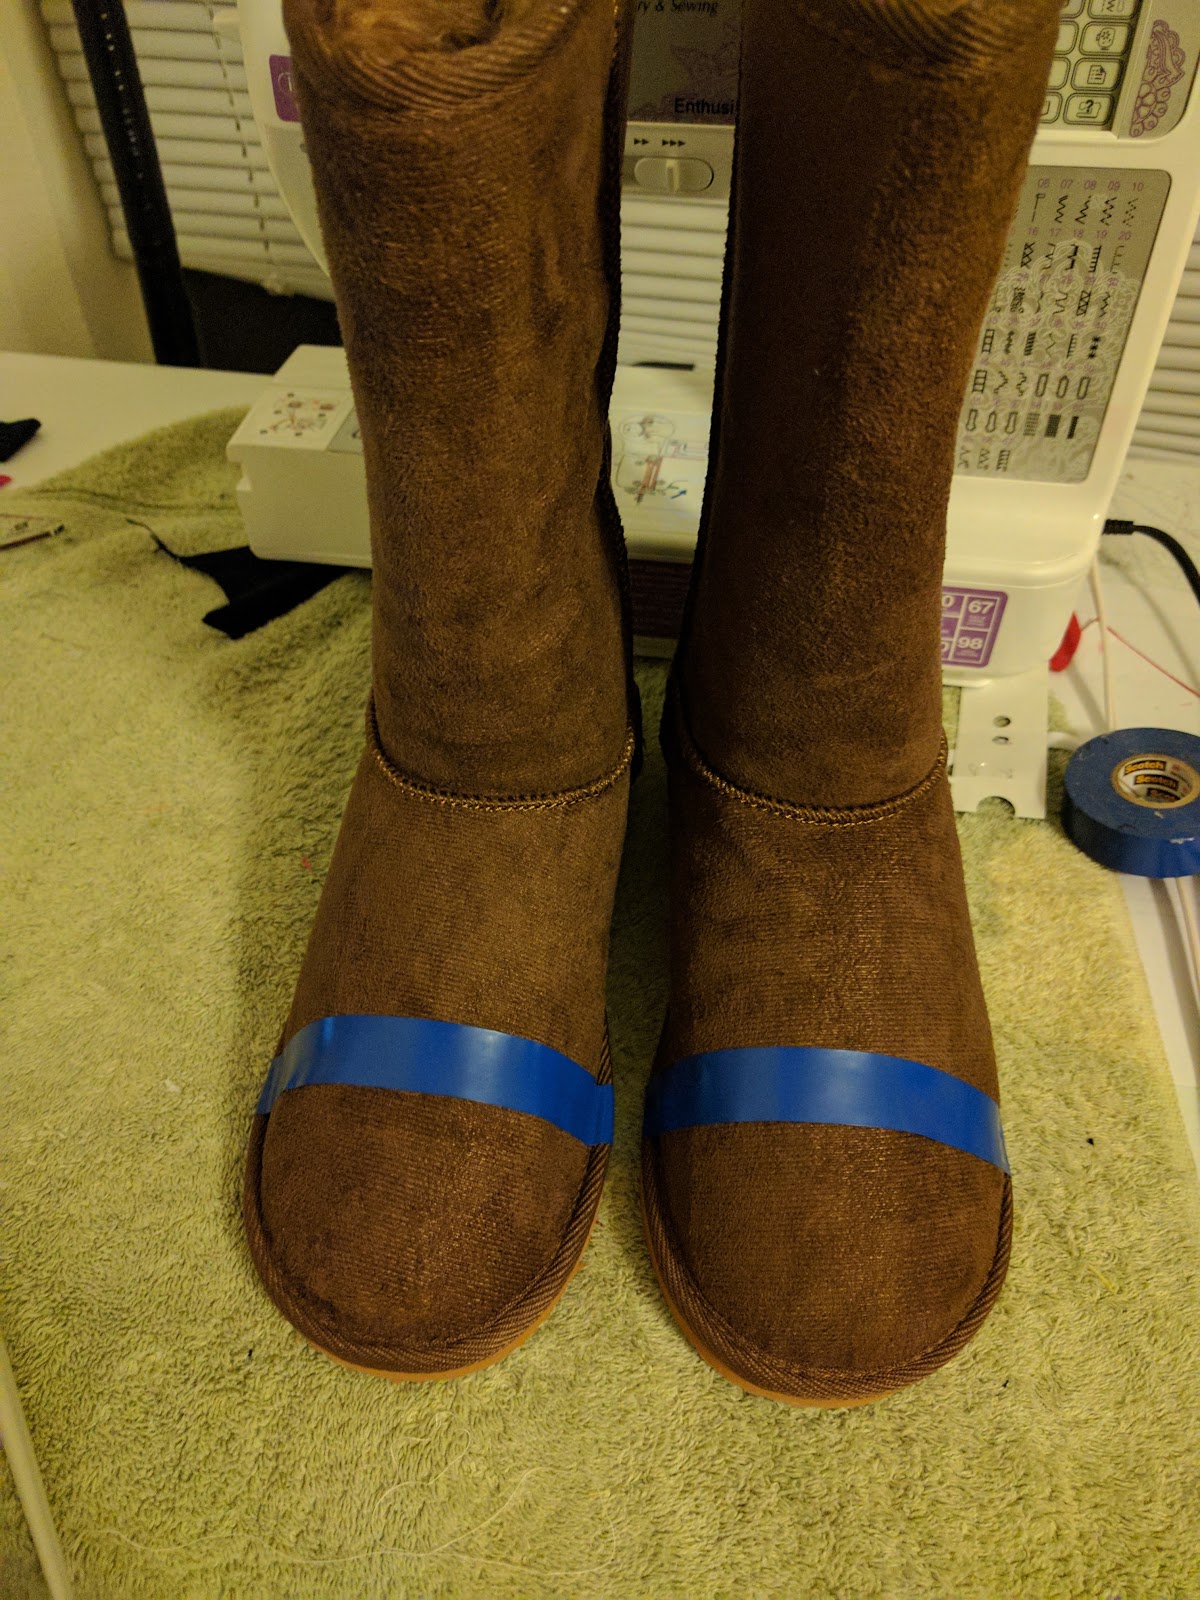


And yes, because I suck, I forgot to take pictures of the finish look. I will get better at this one day.

Wig

For the hair, I got a aqua colored bob wig off Amazon. I saw that quite a few people used it for Bulma outfits.


I cut the bangs and straighten the rest of the wig.


Add a pink headband and that's all you need!


Final look + glasses 


I don't have a final picture of me at FreeCon because I totally blanked on it; however, I will make sure to update this post with a complete look once I wear it to another Con. 

TTFN!


Sunday, January 22, 2017

Make In A Day Cosplay: Bulma (DBZ) & Dragon Ball Radar

Make In A Day Cosplay: Bulma (DBZ) & Dragon Ball Radar


Because of my horrible time management skills, I was unable to complete my Mercy outfit for SwampCon 2017. I was hosting my own panel and didn't want to show up in nothing, so I put together a quick Bulma outfit. I am watching Dragon Ball Super at the moment and totally obsessing, so yeah a DBZ outfit had to occur. 

I chose to do Bulma's pink shirt/dress outfit.

Result:


Reference Photo:


So, here is how to make this very simple cosplay quickly.

 Outfit Supplies


Iron On Prinables - Jolee's Boutique Easy Image Light & Dark Fabric Standard Transfer Sheets


Knee High White Socks - Dyed Purple
Fabric Quarter - Dyed Purple - For the Neck Scarf
Safety Pins - For the Neck Scarft
RIT Purple Fabric Dye
Tennis Shoes
Cream Tights
Belt
Red Fabric


Outfit Assembly

To construct the dress, I used iron on sheets to put the "Bulma" and "97" on the front and back on the pink dress. Honestly, the iron on sheets I used were pretty awful. They peeling often and forced me to re-iron them multiple times and between the days of Con. 

 I dyed the fabric quarter and my socks purple. The socks didn't take the dye as well, so they ended up being a bit lighter than I wanted. 

Pouch Construction

I made a quick pouch out of foam and wrapped it in some left over blue fabric. I used this pattern (http://meow-chi.deviantart.com/art/Small-Belt-Pouch-schematics-147040252) as inspiration for my layout and honestly winged it on construction. I used hot glue and spray adhesive to keep it together. I also added stick on velcro to keep the top down.  I made in in like 15 minutes before I left for the Con so construction wasn't amazing. However, it held up excellently and I'm pretty damn pleased with it.


Wig Manipulation


To get the wig into the pony tail, I attached it securely to my foam head using pins then I brushed it high into a pony tail. I couldn't get it super high and it took several attempts, but I eventually got it. For a wig with more hair, I would have been screwed (much like where I currently stand with my Mercy wig). It is important to note that to get the wig to fit correctly once the hair was pulled into the pony tail, I had to stretch the wig far down on my foam head. This keeps the wig from bunching up on ya.  


Next, I braided the pony tail and secured it with a band.

Lastly, I made a bow out of a strip of red lining that I had left over.

Dragon Ball Radar Construction

The Dragon Ball Radar is where I spent most of my time. I hadn't made anything like it before so I made this the evening before Con. Originally, I tried to make it a lot more advanced than it needed to be, but it turned out to be the cheapest part of my costume once I simplified it. 

Supplies:
paper-mache circle box
green paper folder
translucent green plastic divider
yellow-green sharpie
ruler
battery operated fairy lights
tape
white paint
box cutter


First, I took paper-mache box and cut it down to where the fairy lights could fit in it, but still pretty thin.


Next, i took the top and drew out a circle. I left a small rim along the edge of the top and cut the rest out.


Next, I cut out a circle out of the paper folder that was the same size of the top.

I drew out the same thing on the translucent green divider.

Then I created a grid on the divider with the sharpie.


I painted both the top and bottom of the box white. 

Next I glued the two circles together and placed them in the top of the box.


Finally, I taped the lights to the folder so that the dots of light would shine bright through the folder and divider circles. 


Easy peazy lemon squeezy!


Simple and cheap. Just how I like it.

If you have any questions, give me a shout. TTFN!