Friday, May 20, 2016

Dark Sansa Stark Cosplay Progress: Part 7 - Wig Braiding

Dark Sansa Stark Cosplay Progress: Part 7 - Wig Braiding

I personally adore Sophia Turner's red hair. Alas, for this outfit, Sansa is hiding out and has dyed her hair black.


 I purchased the following wig online.

Wig Used: 26 inches long wavy black synthetic lace front wig for women (black) from WELLKAGE


Another alternative that I had been considering was Arda's Matilda CLASSIC or Dany CLASSIC. However, they were more expensive than I would have liked and I was able to get the Wellkage wig on sale. 

Out of the Box with Lace Front Intact

I haven't cut the lace front yet. This is what the wig looked straight out of the box. 


This is a close up of the wig's hairline. Since Sansa's hairstyle is primarily pulled back. The hairline is super important because it will be ridiculously obvious. The top hairline is a little sketchy, but the sides look good. 


I am keeping the lace on until I have finished styling the wig. I am using it to keep it attached to my foam wig stand.

Braiding Process

I am by no means an expert on braiding. It honestly has been one of the things that I have been dreading most of all about doing a Game of Thrones cosplay. The braids are so intricate and ornate. Fortunately for me, Sansa's hair is more simple in this outfit.

Sansa has her hair pulled back with two sets of braids up top. The rest of her hair is down in waves.


Because of my questionable braiding skills, I chose to braid my hair on a wig stand instead of on my head. I was armed with a brush, small clear hair ties, and a ton of hair spray.

Starting Point:


Super Awesome Center Part:


Top Braids:

I made my two side braids...

 ...and connected them.


Bottom Braids:

Finished Look:

The wig isn't taped down for these images so the sides come up a bit, but you get the idea.


Trying to take a picture of the side of the hair, but I couldn't get a good shot.


And a shot of the length.

Completed Wig

And I don't feel like it looks too shabby. Yay!

Coming Soon: Part 8 - Underskirt and Finishings


Monday, May 16, 2016

Dark Sansa Cosplay Progress: Part 6 - Feather the Collar

Dark Sansa Cosplay Progress: Part 6 - Feather the Collar

Since I have finished my finals, I finally got around to finishing off feathering my collar.

I started with the collar on my dress form. I used black rooster feathers that I purchased via Amazon for the collar. 


I marked down lines and hot glued my feather strips down.


Below is the collar after two lines of feathers.


I continued until I got up to the neck portion of the collar. This was three lines in total. For the final line, as seen below, I had to curve around to the front. I made sure not to be too curved so that the feathers were flat against the collar. 


Next, I cut out small sections to cover the remaining sides.


And hot glued them down. 


Now the base of the collar is all finished. 


For the neck, I wrapped the remaining feather strop around the neck and glued it down.


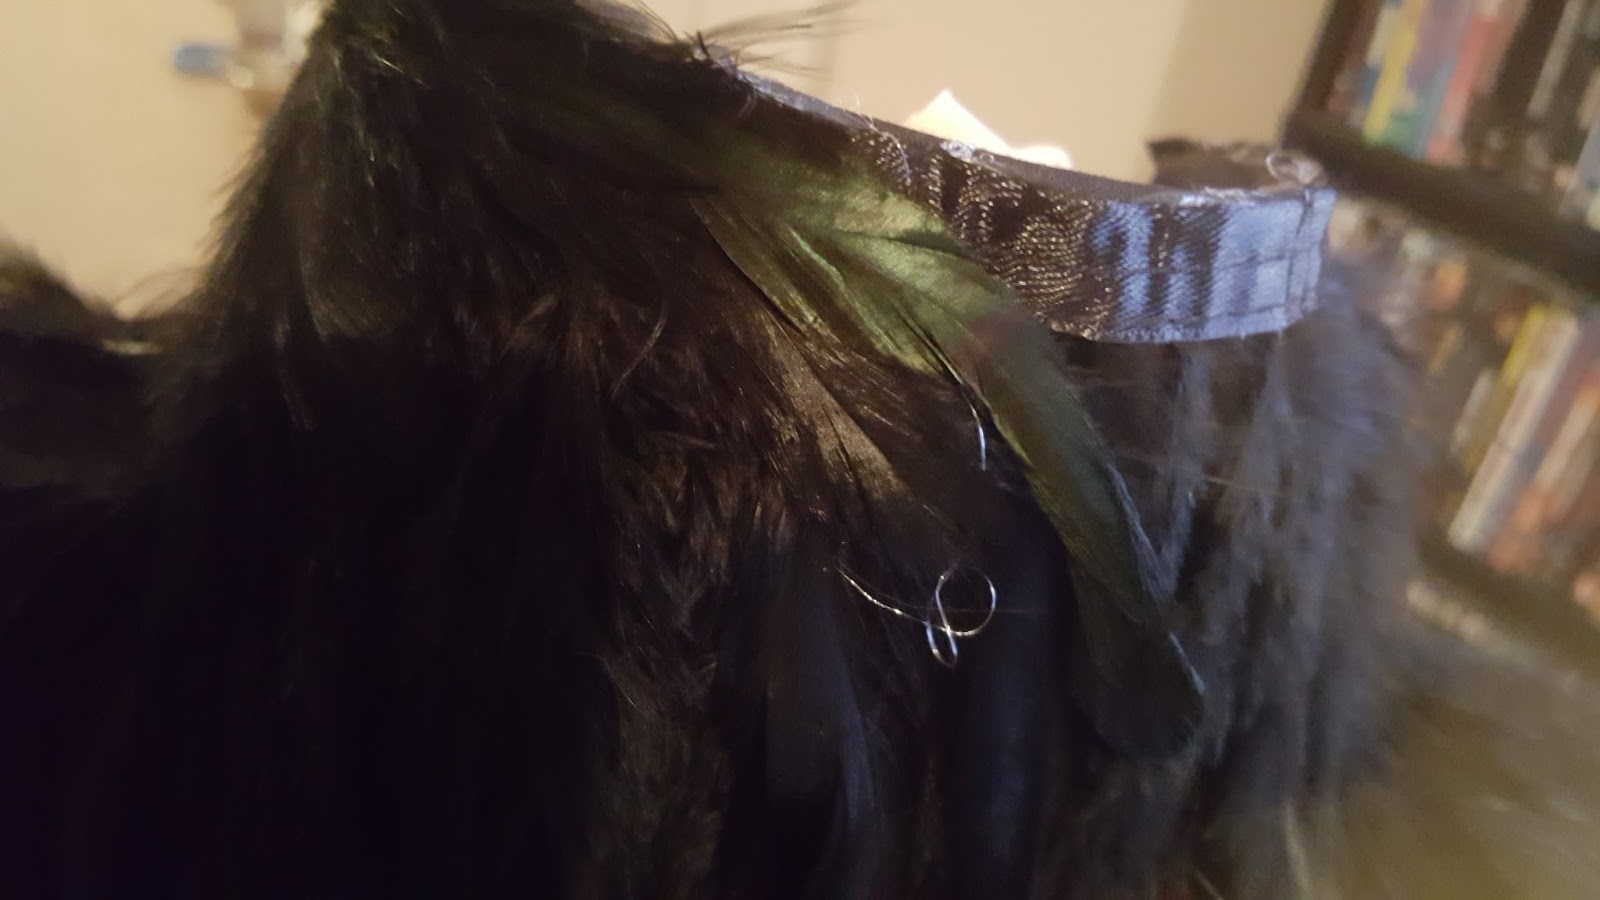
To cover the ribbon top of the feather strip, I took individual feathers and layered them over the edge.


The edges of the feathers stick out at the end so I glued them down and snipped off any excess

And I'm done!


I am planning on making slight adjustments later to make the feathers a bit more slick, but I will touch on that later. 

Coming Soon: Part 7 - Wig Braiding

Tuesday, April 26, 2016

Dark Sansa Stark Cosplay Progress: Part 5 - Feather the Feather Vest

Dark Sansa Start Cosplay Progress: Part 5 - Feather the Feather Vest

Now that I have my vest all sewn together, I will be adding the feathers.

To turn this...

...into this.

To start out, I tried to figure out the best way of attaching the feathers. I had three major options: sew feathers directly onto the fabric, layer fabric and feathers a la Life of Jennie, or make my own feather tape using trim, feathers, and hot glue. I decides to go with my own feather tape. 

Step 1: Gather Materials

To make my feather tape, I used braided trim from Joann Fabrics, feathers that I purchased from Amazon, and hot glue. The link to the braided trim was the closest one that I could find on Joann Fabrics' website. 

Trim

Feathers

Step 2: Make Feather Tape

To make the feather tape, I first measured out my pieces of my trim. I gave myself a little room on each side of the vest. Before I cut the trim, I sealed it off with some hot glue. This keeps it from fraying. 


Once sealed, I snipped the trim half way through the hot glue and topped the edge to make sure it was completely covered. 


Next, I picked out my feathers and snipped off the trim strip. From the feathers trim I received, some of the feathers were not super pretty, so I trimmed their ends so they looked nicer. 


After my feathers were selected, I hot glued my feathers to the trim piece that I had cut. I made them hang down probably 1 - 2 inches past the trim piece. 

NOTE: make sure that they are all on the same side. One side of the feather is shiny and one is more matte. I went with placing the feathers with the matte side facing out. 

This picture is horrible, but it gets the point across.


Then I went down the trim until I had completely covered it with feathers.


Once the feathers are glued down to the strand, flip it over. This will be the side that you see on the vest.


Next, I snipped off the excess length of the feather.


And then you have your feather tape!

Step 3: Attach Feather Tape to Vest

I started by trying to sew the feather tape onto the vest. That sort of worked, but it ended up not going so smooth and my sewing machine was less than thrilled with me. So I switched to hot glue. It went a lot more quickly and easily.

When I was doing the second side, I tried to match up each line.

Step 4: Center Edge

For the center edge, I tucked it and hot glued it down.


Step 5: Side Edge

The side edge is a bit hot-glue-y, so I wanted to make it look less like a craft project.


To fix it, I added a bit of the trim to cover up the glue and then hot glued them down on the inside. 


Final Product

 And here is it all feathered up!


Coming Soon: Part 6 - Feathering the Collar