Fandomonium Prize Construction - Part Three: Dalek Messenger Bag
Originally, I said that I was going to make a comic book bag; however, the fabric selection at JoAnn Fabrics for Marvel/DC fabric left me wanting. The Doctor Who fabric on the other hand made me happy, so I switched it up.
It is a very simple messenger bag (my first one), so it doesn't have all the bells and whistles. If you want a super nifty bag, I would suggest
no time to sew's Messenger Bag walk through. For a simple bag that only takes a couple hours to make, look no further than my nifty cool one!
Supplies:
1/2 yard of main fabric (I had purchased a yard of the Dalek fabric, but only used about half)
1/2 yard of lining fabric (I used scraps from my Mercy outfit)
1/2 yard of fusible fleece
thread
1" nylon straps
one strap adjuster
paper and tape for pattern
ruler
pen
Process:
I started out by making my template for the bag sides. It came out to be a 10.5" x 11" rectangle. I cut two of these out of my Dalek fabric.
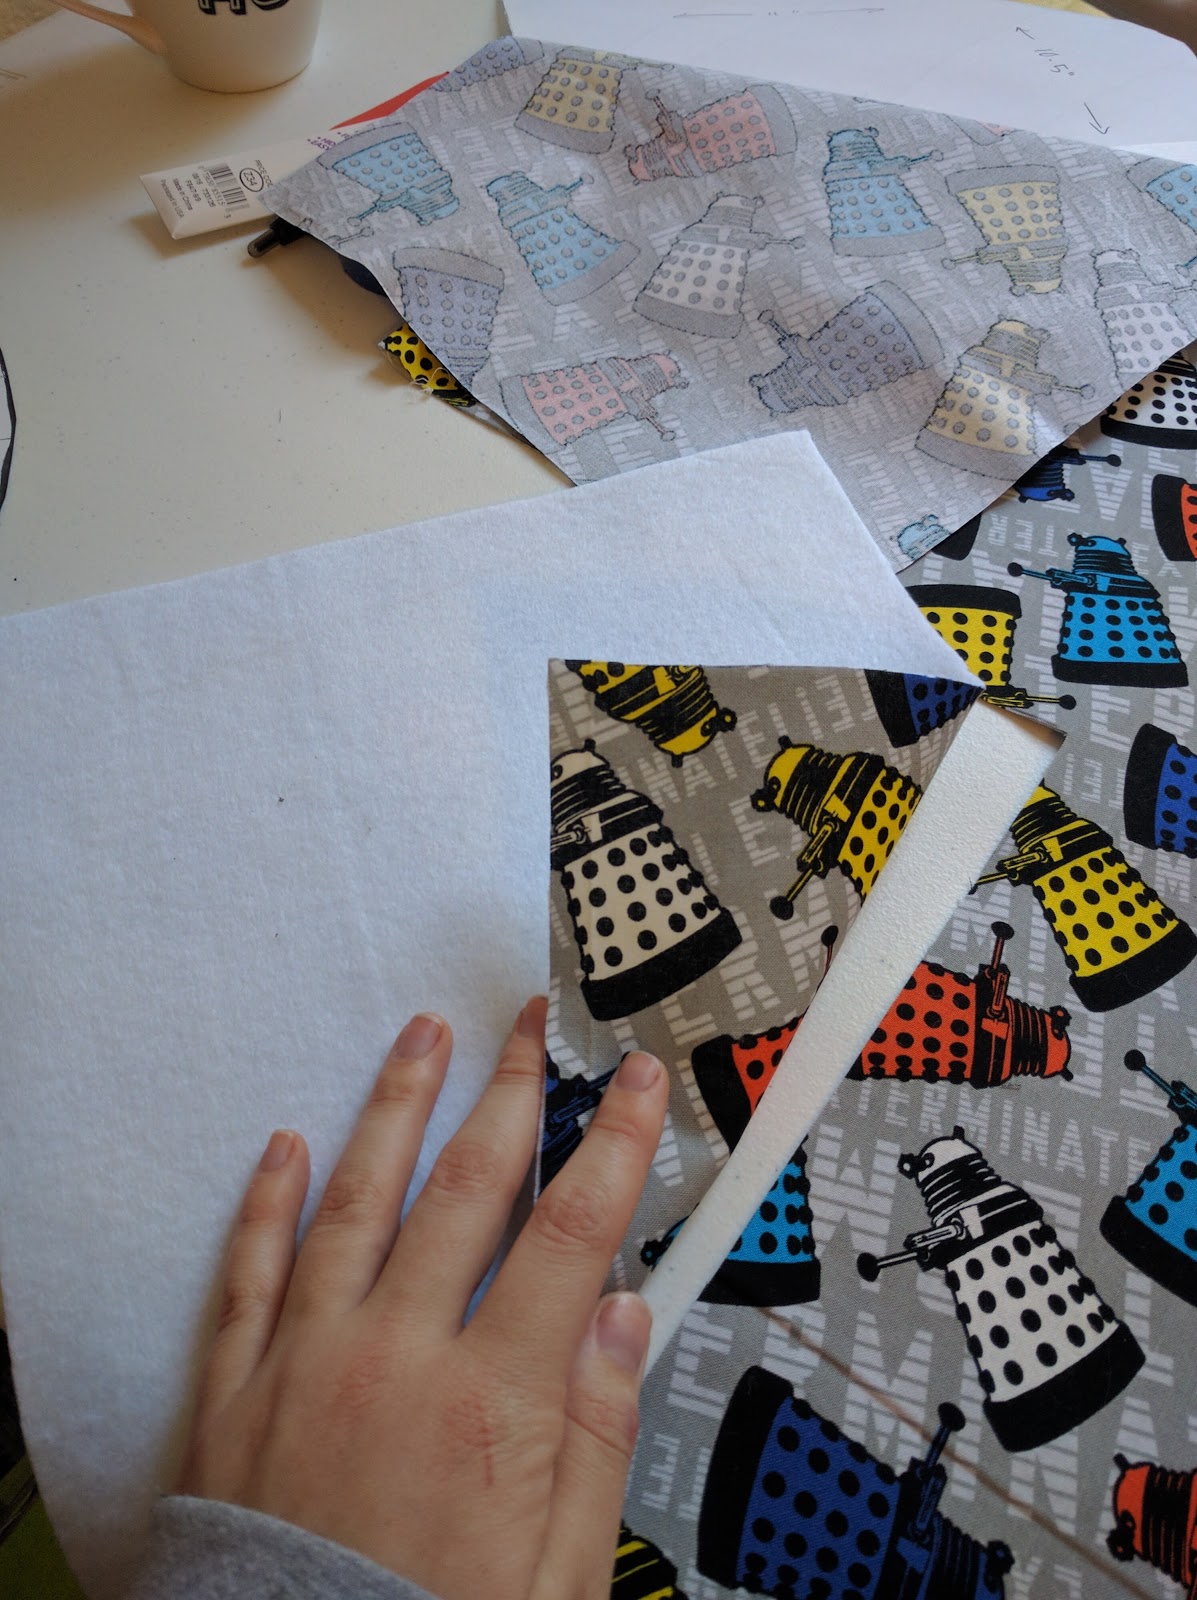
I then cut the same shape (with a smidge of overhang) out of my fusible fleece interfacing.
Then I ironed the Dalek fabric to the interfacing.
I repeated the same thing for the other 10.5" x 11" rectangle.
Here we have our front and our back.
Next, I needed to make the sides and bottom of the bag.
With some helpful math, as seen below, I figured out about how long I would need the strip to be. 32" was the minimum needed, but I added a few inches and went with 34" to be safe.
I wanted a decent thickness to the bag, so I made the stip 3" wide.
Like the front and back panels, I cut out the same thing in the fusible interfacing and ironed them together.
The next step was sewing the bag together.
I pinned the side of the stip to the front piece.
I gave myself a 1/4" seam allowance and sewed it all together.
I then folded the side over to give myself a nice corner.
Note: To give yourself a good corner, don't sew all the way up to the end. Give yourself a little less than your seam allowance so that the corner will fold nicely.
I continued that process all around the front panel excluding the top.
I ended up with some extra fabric on the end, but I snipped that off.
Because I am always paranoid about the bag ripping, I went over my seams with a zig zag stitch to seam failure.
I repeated the same action with the back panel, so I ended up with the main portion of the bag.
Next, I repeated that whole process with the lining fabric (except for the interfacing bit).
When both the lining and the main fabric portions are complete, it is time to sew them together.
I turned the lining right side out, but kept the main fabric (Dalek) inside out.
I then placed the lining inside the main fabric. I made sure to line up the corners and started to pin it all together.
I pined the front and two sides, but left the back unpinned. That way it could be turned right side out.
I went on to sew the edges together and went over it with a zig zag stitch.
Then I flipped it right side out.
Before we can seal up the bag, we need to make the flap.
I made it very similarly to the front and back panels, but made it slightly bigger. It came out to be a 11" x 11.5" rectangle. I cut one out of my Dalek fabric, one out of the lining, and one out of the fusible interfacing.
I pinned the edges together.
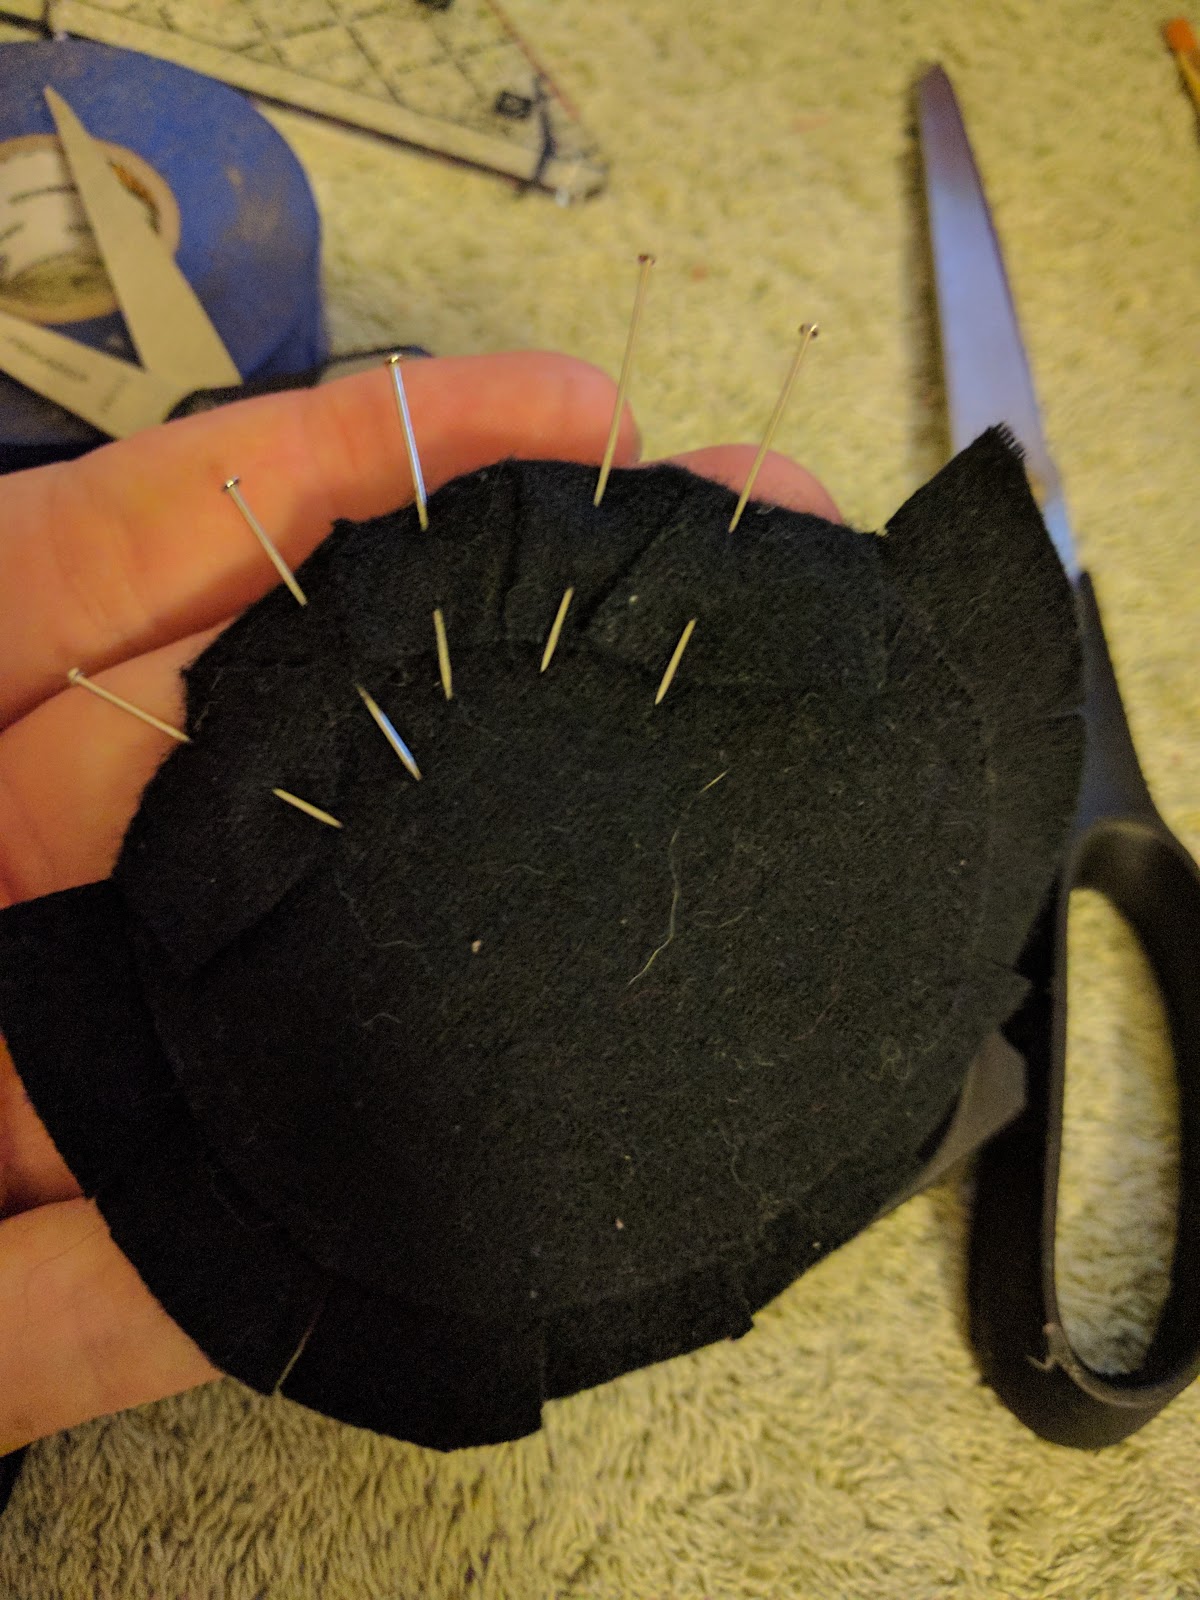
I then used an electrical tape box top to add curves to the bottom edges. This is totally optional, but I think it looks nice.
I snipped the edges and pinned them too.
I went on to sew the fabrics together.
Then I flipped it right side out.
I pressed the flap and then sewed a hem along the edges.
I went back to my edges of the main bag potion. I pressed the edges, pinned them, and hemmed it.
I pressed the unsewn edges of the back. Then I inserted the flap and sewed it down.
And that made up the main portion of the bag.
I added a bit of white bias tape to the edge to give it a bit of strength and to break up the Dalek pattern. It also covered up the less than fabulous back seam.
Afterwards, I just followed the strap instructions and sewed them onto the sides of the bag.
The lovely results!
The bonus is that I have enough fabric to make another one as well! So, if you want one and don't want to sew it yourself, hit me up at fangirlingoutcosplay@gmail.com and I can give you a great deal on it. Or go to
Fandomonim at the Alachua County Headquarters Branch Library on April 8th and get it as a prize!
Also, I GOT A CAPTAIN AMERICA SHIELD!
I got it at the ThinkGeek store in the Florida Mall in Orlando. Needless to say, I am super fricking pumped about it and have to tell everyone I know! Also, that means I need to make a Cap outfit :)
If you have any questions about making the bag, let me know. Thanks!
TTFN!