Mercy (Overwatch) Cosplay Progress: Update January 2
I was able to get a bunch done over the New Years holiday, so I will be catching you all up now.
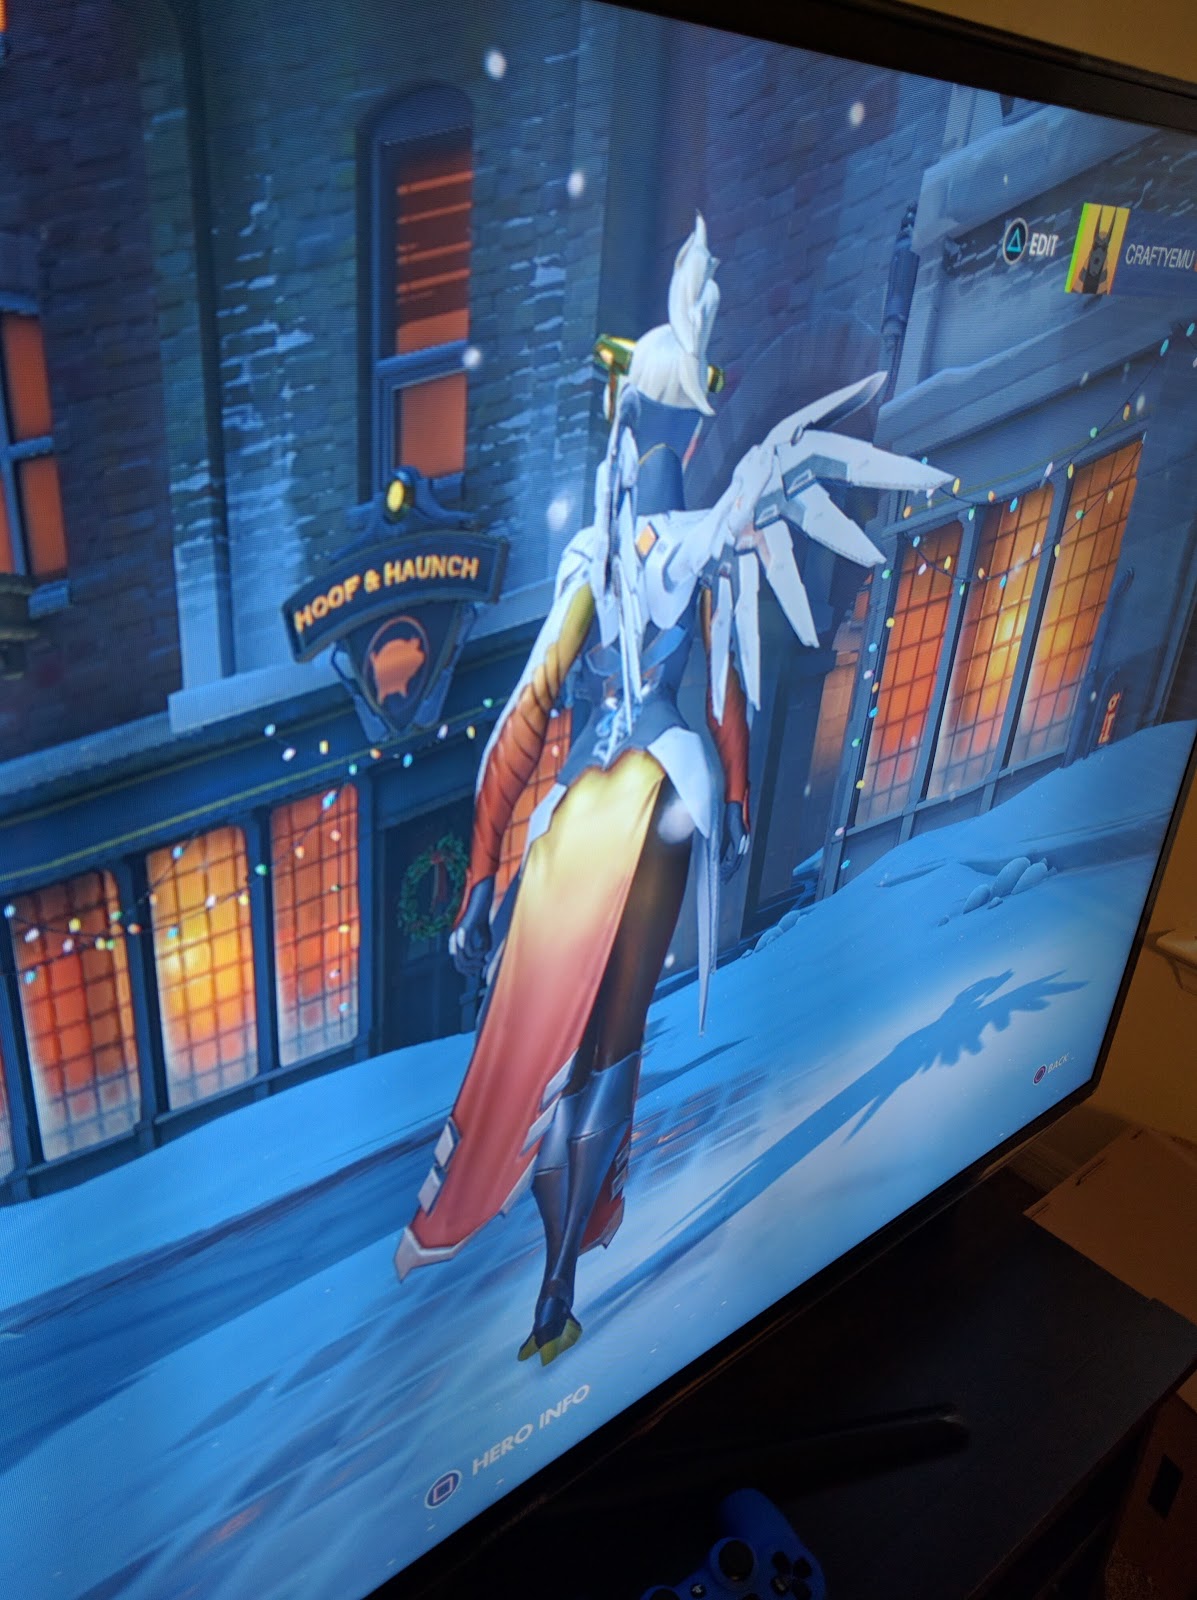
First, I got some new reference pictures from the game. These made it a lot easier to figure out the skit fitting, which I will discuss at the end.




Wings
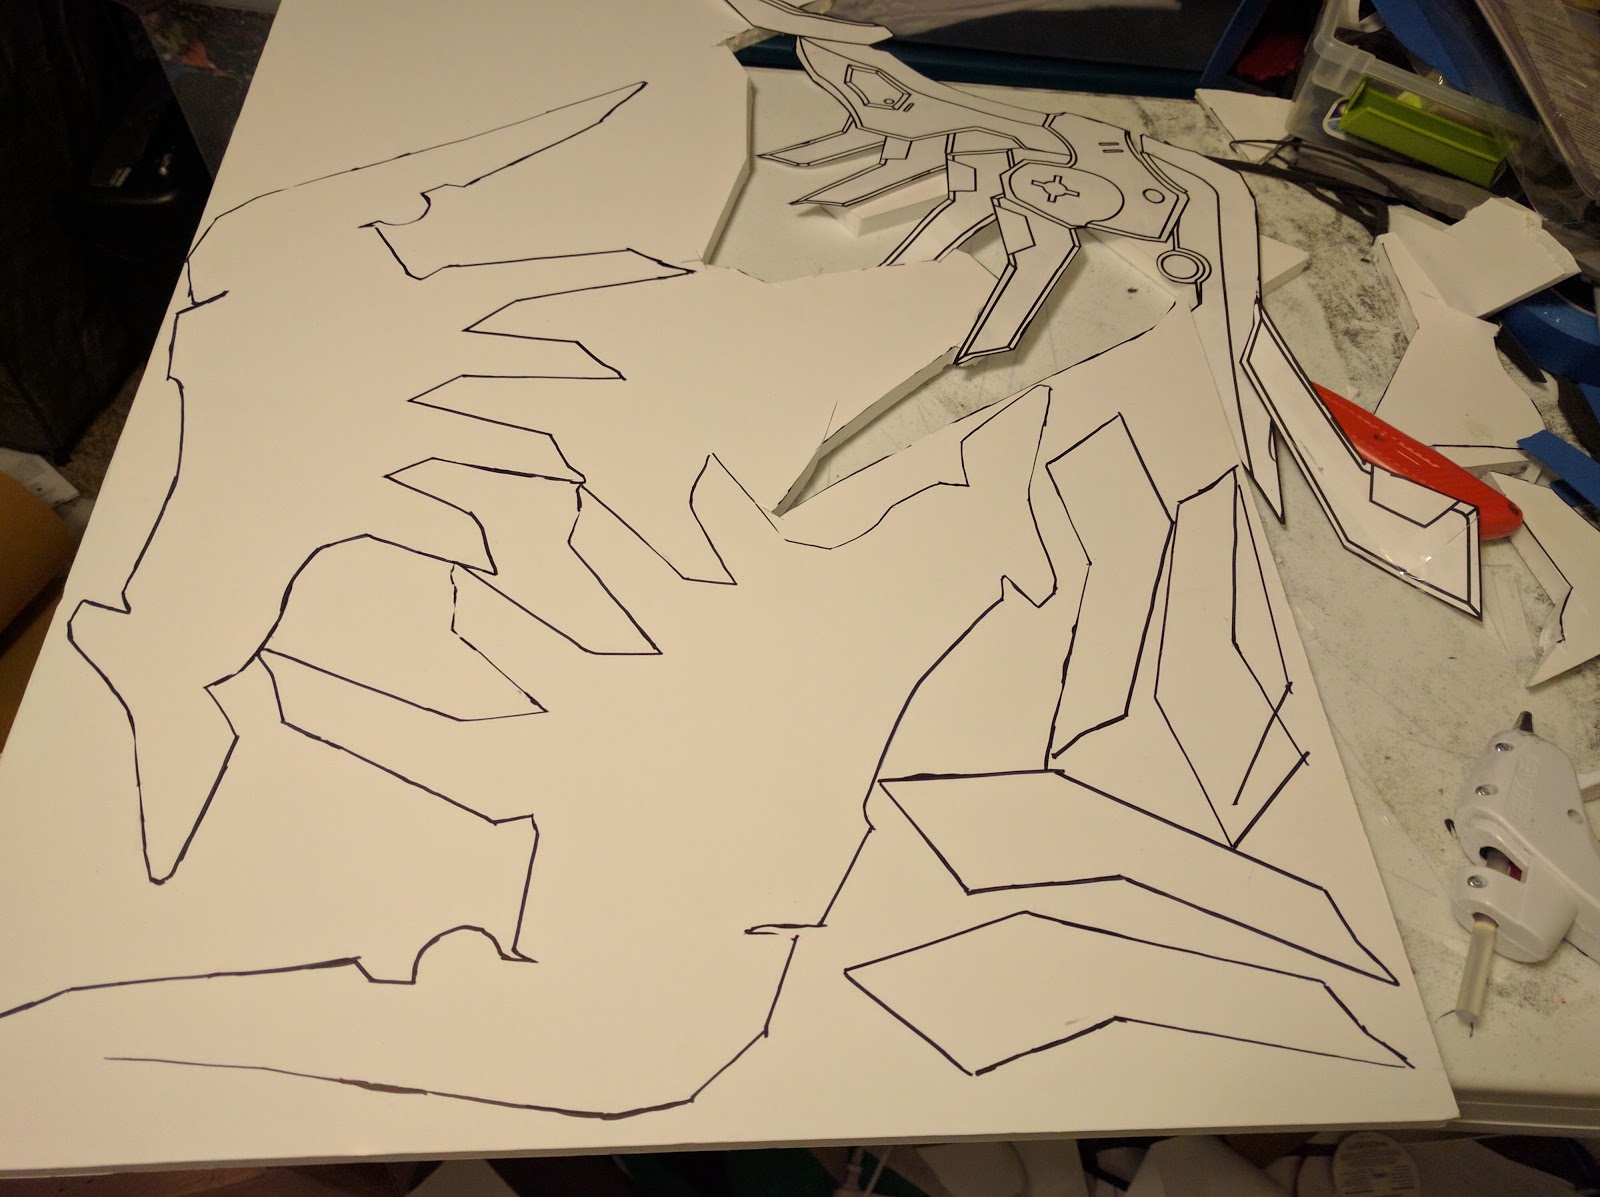
First, I scratched my wings. I was totally hating them and they weren't turning out the way I wanted. I decided to make them out of foam board instead.


It was much easier to get a finished product and to make the cuts that I wanted. I simply cut out the shapes in layers and stacked them up. I initially stuck them together with hot glue, but I took them apart in order to add the wing blades and wrap the wings in Worbla.
I made the feather parts out of acrylic sheeting that I picked up from Home Depot.


Once I wrapped the pieces in Worbla, I started painting them in Gesso to get the wings smoother.

I spray painted the feather parts with Cider Apple paint that I picked up from Michaels.


I glued the wing feathers to the center portion of the wings with E600 glue.

To solidify the bond, I applied weight.

And that's where I am on those right now.
Boots and Leg Armor
I purchased Refresh Women's Ringo-03 Knee High Side Zipper Closure Chunky High Heel Dress Boots off of Amazon.
I painted the bottom of the shoe and heel in a light orange paint. Unfortunately I don't have pictures at this moment, but I will have them in the future.
I made the leg armor out of foam wrapped in worbla.


I will be adding straps and details later.
Chest Armor
So my chest armor was another thing that ended up sucky and again I scraped what I had done earlier. My original armor was too thick so I couldn't sit down and it wasn't smooth.
I decided to do my armor in pieces so that I could get the shapes right.
I started with the lower half.

Next, I tried to mold the Worlba to make boobs. I shaped the Worbla to the bra that I was planning on using since my dress form is pretty flat chested. However, it didn't have great results.

So I dropped the bra and molded it directly to the dress form.


I connected the two with scraps and a picture is below after the Neck Piece and Collar. I also added some shaped shoulder pieces.
Neck Piece
For the neck piece, I didn't want anything too stiff and would allow for full function of my neck, which ruled out a neck corset design. I took inspiration from a ski mask for my pattern.
I made an example out of masking tape on my foam head. Yes, it is a man's foam head. Yes, I have a giant head so this is totally necessary.


Then I cut it out of fabric and fitted it to my head.
And here are the finished results (ignore the greasy suck-tastic hair).


Collar
I used EVA foam and then covered it with the same fabric from my tunic.

Picture of Collar, Neck Piece and Chest Armor


Skirt
With the help of my boyfriend, I measured out the skirt on me using the reference pieces I created.
The front skirt was 8" x 33 1/2" and the back was 16" x 24". I double layered the skirt because of how thin the fabric was.
I used yellow Kona Cotton that I purchased from JoAnn Fabrics.

Next, I needed to dip dye the fabric to get the yellow to orange gradient.
I marked out 5" increments on the fabric so that I could keep the gradient matching from the front to the back. The front strip is longer, so it will have more yellow at the top.

I used a Howcast video on dip dying (https://www.youtube.com/watch?v=N458U7QPv5s) as a guide for my work.
I used Rit All-Purpose Liquid Dye in Tangerine.
The results are below.


The bottom isn't as dark as I want, so I may go back and redye with a darker color.
That's it for now. I have a little over a week before Swamp Con so I will be working hard to accomplish the rest of my costume.
If you have any questions, feel free to ask!
TTFN!