Monday, January 2, 2017

Mercy (Overwatch) Cosplay Progress: Update January 2

Mercy (Overwatch) Cosplay Progress: Update January 2

I was able to get a bunch done over the New Years holiday, so I will be catching you all up now.

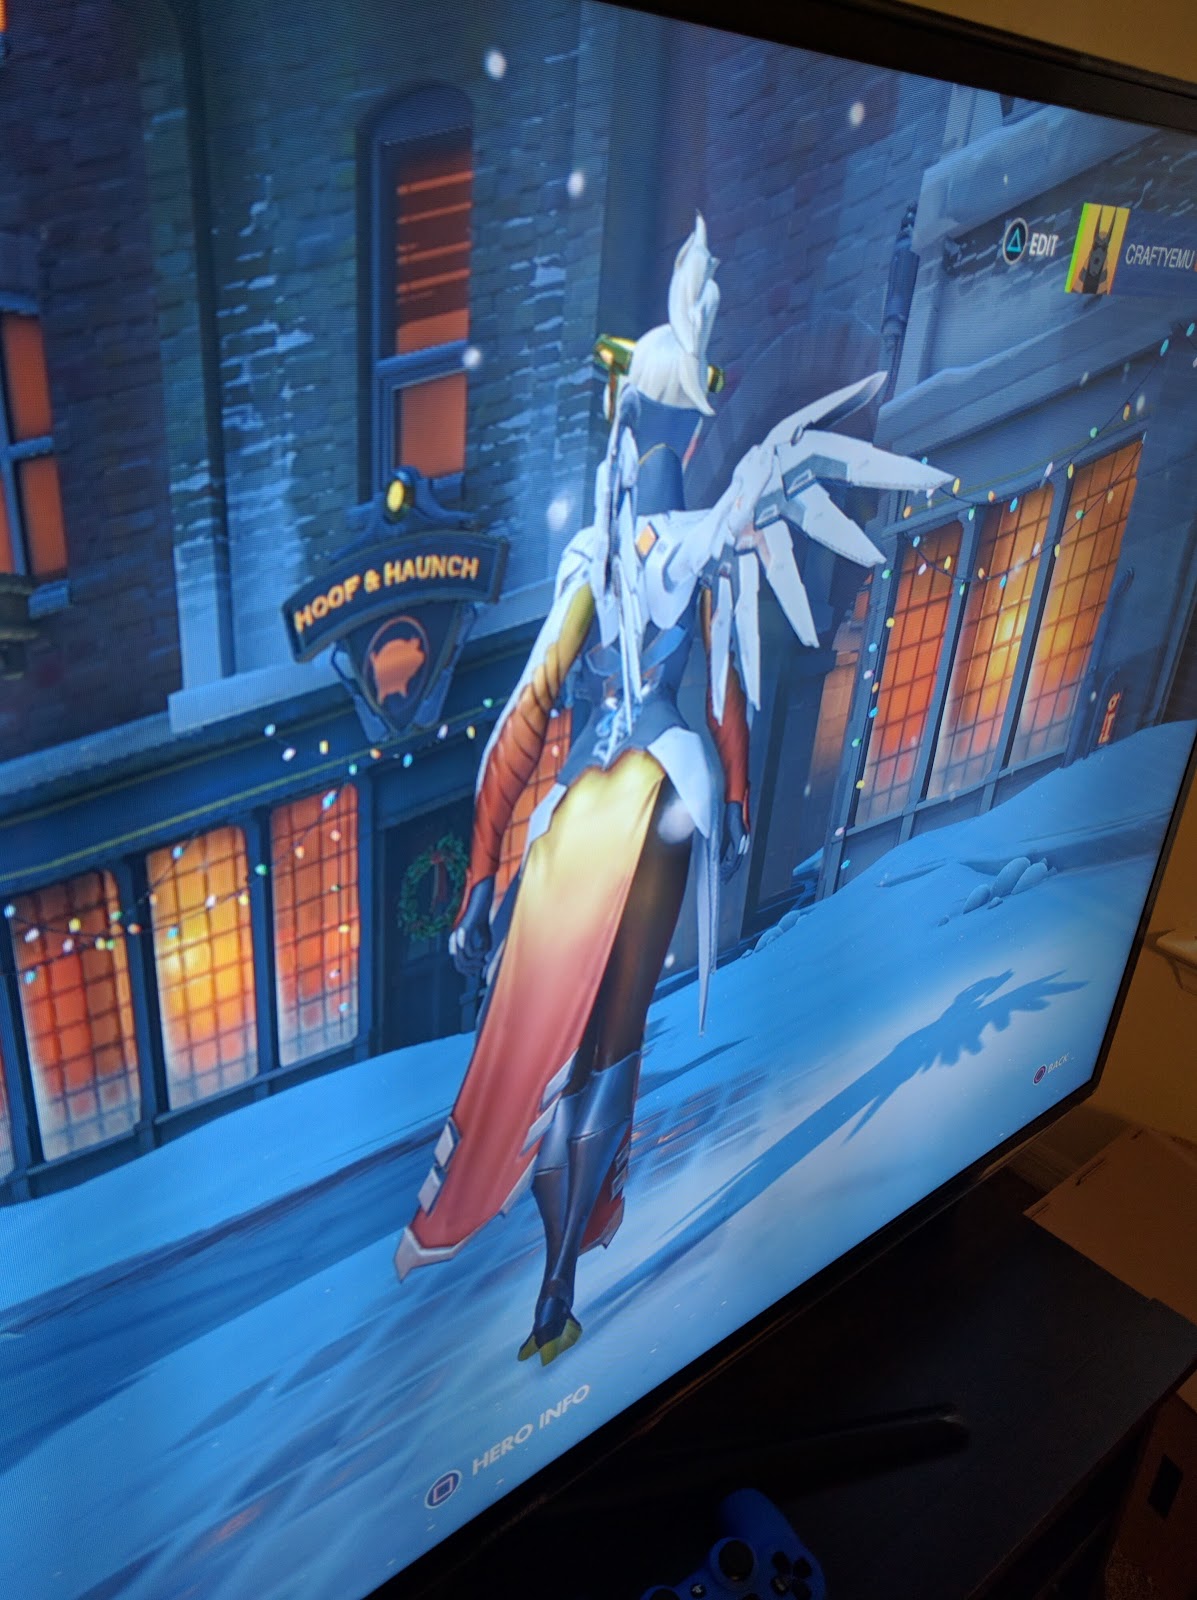
First, I got some new reference pictures from the game. These made it a lot easier to figure out the skit fitting, which I will discuss at the end.




Wings

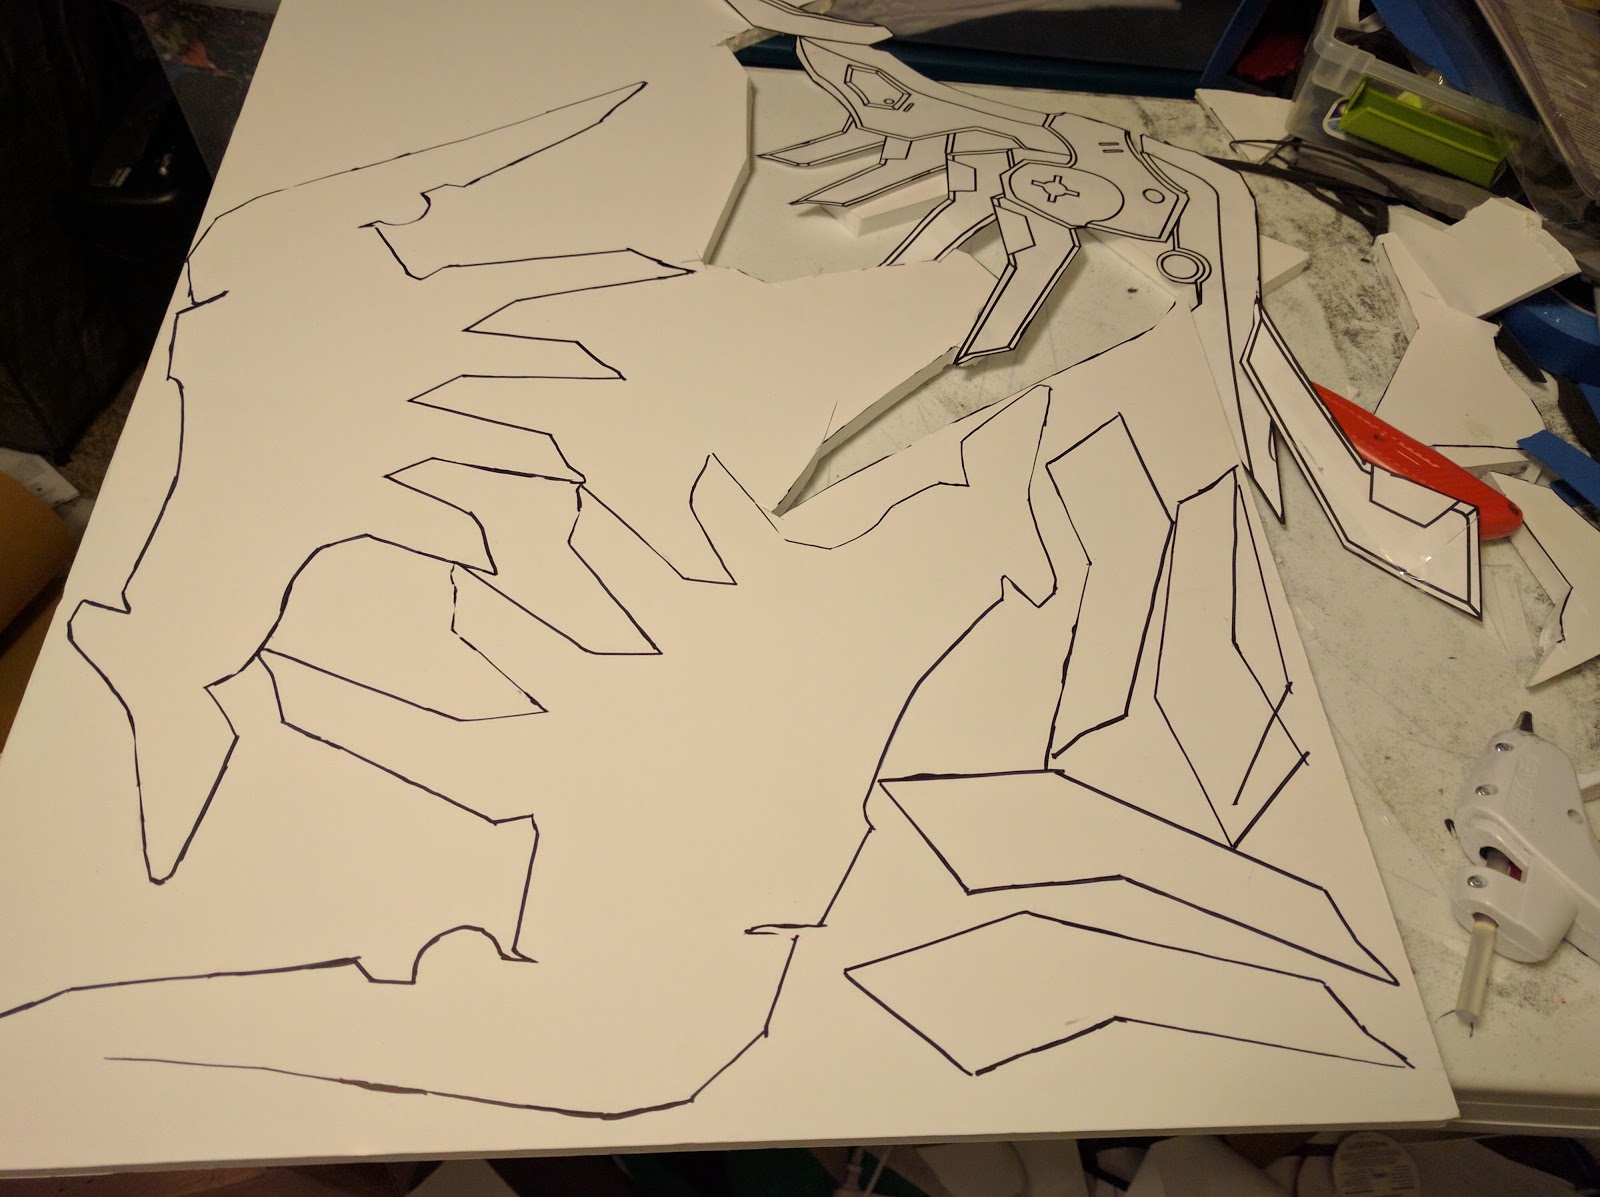
First, I scratched my wings. I was totally hating them and they weren't turning out the way I wanted. I decided to make them out of foam board instead. 


It was much easier to get a finished product and to make the cuts that I wanted. I simply cut out the shapes in layers and stacked them up. I initially stuck them together with hot glue, but I took them apart in order to add the wing blades and wrap the wings in Worbla.

I made the feather parts out of acrylic sheeting that I picked up from Home Depot.


Once I wrapped the pieces in Worbla, I started painting them in Gesso to get the wings smoother.


I spray painted the feather parts with Cider Apple paint that I picked up from Michaels. 


I glued the wing feathers to the center portion of the wings with E600 glue.


To solidify the bond, I applied weight.


And that's where I am on those right now.

Boots and Leg Armor


I painted the bottom of the shoe and heel in a light orange paint. Unfortunately I don't have pictures at this moment, but I will have them in the future.

I made the leg armor out of foam wrapped in worbla.


I will be adding straps and details later.

Chest Armor

So my chest armor was another thing that ended up sucky and again I scraped what I had done earlier. My original armor was too thick so I couldn't sit down and it wasn't smooth.

I decided to do my armor in pieces so that I could get the shapes right.

I started with the lower half.


Next, I tried to mold the Worlba to make boobs. I shaped the Worbla to the bra that I was planning on using since my dress form is pretty flat chested. However, it didn't have great results.


So I dropped the bra and molded it directly to the dress form.


I connected the two with scraps and a picture is below after the Neck Piece and Collar. I also added some shaped shoulder pieces.

Neck Piece

For the neck piece, I didn't want anything too stiff  and would allow for full function of my neck, which ruled out a neck corset design. I took inspiration from a ski mask for my pattern.

I made an example out of masking tape on my foam head. Yes, it is a man's foam head. Yes, I have a giant head so this is totally necessary.


Then I cut it out of fabric and fitted it to my head.

And here are the finished results (ignore the greasy suck-tastic hair).


Collar

I used EVA foam and then covered it with the same fabric from my tunic.


Picture of Collar, Neck Piece and Chest Armor


Skirt

With the help of my boyfriend, I measured out the skirt on me using the reference pieces I created.

The front skirt was 8" x 33 1/2" and the back was 16" x 24". I double layered the skirt because of how thin the fabric was.

I used yellow Kona Cotton that I purchased from JoAnn Fabrics.


Next, I needed to dip dye the fabric to get the yellow to orange gradient.

I marked out 5" increments on the fabric so that I could keep the gradient matching from the front to the back. The front strip is longer, so it will have more yellow at the top.


I used a Howcast video on dip dying (https://www.youtube.com/watch?v=N458U7QPv5s) as a guide for my work.

I used Rit All-Purpose Liquid Dye in Tangerine.

The results are below. 


The bottom isn't as dark as I want, so I may go back and redye with a darker color.

That's it for now. I have a little over a week before Swamp Con so I will be working hard to accomplish the rest of my costume. 

If you have any questions, feel free to ask!

TTFN!


Thursday, December 22, 2016

Mercy (Overwatch) Cosplay Progress: December 22 Update

Mercy (Overwatch) Cosplay Progress: December 22 Update

I've been working on a variety of bits for my Mercy cosplay, but I've hit quite a few challenges which have slowed me down. On the upside, with great frustration come great creativity!

Speaking of which, after struggling with carving down my wings from EVA foam, I decided to simplicy and layer foam board. Results look awesome if I do say so myself. 

I started by cutting out the full wing. I used the same pattern that I used for my EVA foam, which you can find a link to on my previous posts.


Then I kept adding layers


And BOOM a good looking wing!


I was able to bang out both wings in an evening. I will be reinforcing them with Worbla and attaching them to my harness. I will post an update on that after the holidays once I figure it all out! 

On a different note, I created a Facebook page (https://m.facebook.com/FangirlingOut/) that makes it easier to follow my progress and get updates. That way you don't have to keep checking back on Blogger. Also, I like chatting so feel free to give me a shout!

TTFN


Thursday, December 1, 2016

Mercy (Overwatch) Cosplay Progress: December 1 Update

Mercy (Overwatch) Cosplay Progress: December 1 Update

Continuation of Halo Time!

So I took my outline of my halo, which the creation of can be seen on my last post, and traced it out on my EVA foam. The EVA foam is the extra from my wings.


I cut it out and boom! Lovely little halo. The next step is carving it down and shaping it to be more angular and stuff. 

So, I added lines to help keep the center point and make a guide for my angling. 


It is about a 45ish degree angle.


I then tacked it to my foam head and used my heat gun to shape it so it will hold the curve.


And there we go! 

I am going to be trying to work on finishing it up soon. I will probably be covering it in some Worbla and then painting it gold.

TTFN!
Monday, November 28, 2016

Mercy (Overwatch) Cosplay Progress: November 28 Update

Mercy (Overwatch) Cosplay Progress: November 28 Update

With all the traveling this holiday, I didn't get as much done as I had hoped. However, I started on my halo so I'm pretty excited! Before I get all into that, I wanted to to touch base on my tunic/bodice.

Tunic

The tunic I am making is going to be the structure that holds everything up. It is basic and black so nothing is really special about it. 

I used some left over spandex from my Black Widow cosplay and a leotard pattern from Kwik Sew, as shown below.


I didn't make the crotch part of the leotard because there was really know point. 


However, I did extend the butt part down in the back.


I did this so I would have enough fabric in the back to do the little zig-zag that Mercy has in the back before her bodice turns into her skirt.

Image result for mercy back

A "business up front, party in the back" kind of thing going on.

Here are pics with the beginnings of my armor piece.


As it stands, the tunic hands a little how in the front. I will be fixing that soon. But that's whatever.

HALO TIME!


I started my quest for halo by measuring my head. Because I can't keep track of a measuring tape to save my life, I tried using my quilting ruler. As it turns out, it was basically halo-tastic for me.


Next step was making a sample one out of foam to get the measurements all awesome. 


I obviously needed to cut down the foam thickness up top, but I got the lightning bolt things where I liked them. I also needed to add length. I think I have a good halo going on, but I plan on having some wicked bangs.

I plan on styling my wig (Jeannie from Arda Wigs, which I ordered during their Black Friday sale) in the style of  akemi1010xoxo, as pictured below. Therefore, I needed more circle to my halo.


I cut my top halo part in half and spliced together some more length. 


It definitely looks more goofy right now than I desire, but I swear it will work out well. Tomorrow I plan on cutting it out of EVA foam and shaping it. That's all for now.

TTFN

Tuesday, November 22, 2016

Mercy (Overwatch) Cosplay Progress: November 22 Update

Mercy (Overwatch) Cosplay Progress:  November 22 Update


As I continue to carve out my wings from EVA foam, I've decided to start working on the clothing part of the costume (leggings, bodice, sleeves, etc.)

I started out by purchasing brown leggings from Amazon, as shown below.


Leggings Depot Basic Solid Plain Full Leggings Stretch 128 (Brown)


Sure, I could have made my own leggings. However, making my own would have cost me more money than purchasing pre-made ones, so I went with the cheaper option. The leggings are supposed to arrive Friday, so I will work on painting them at that time.

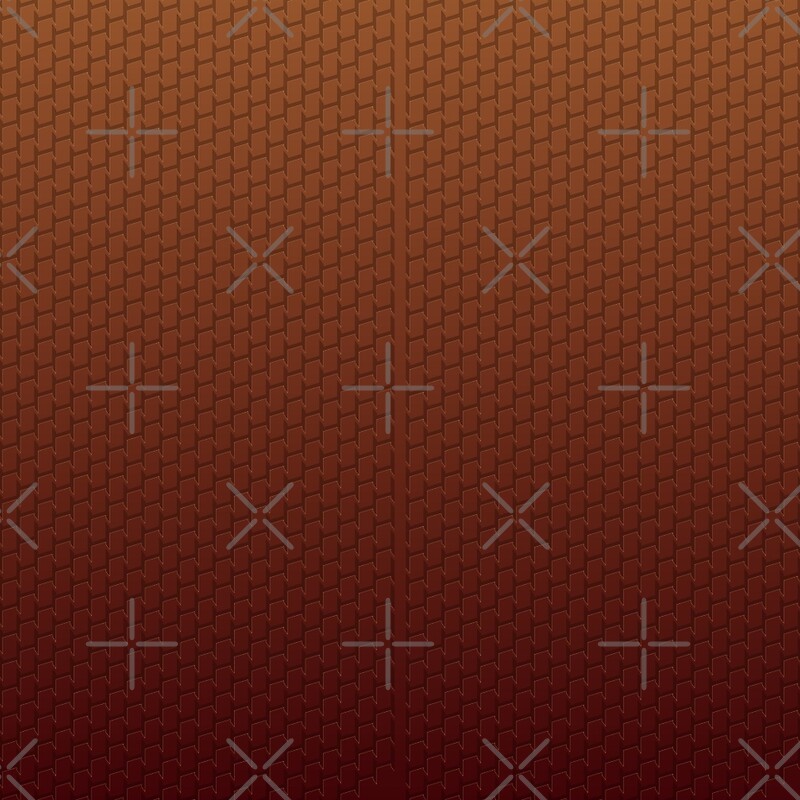
I will be replicating the design below on the leggings.


My plan is to make a stencil out of a plastic folder and just going to town on the leggings.

Next, I started working on white armor front piece.


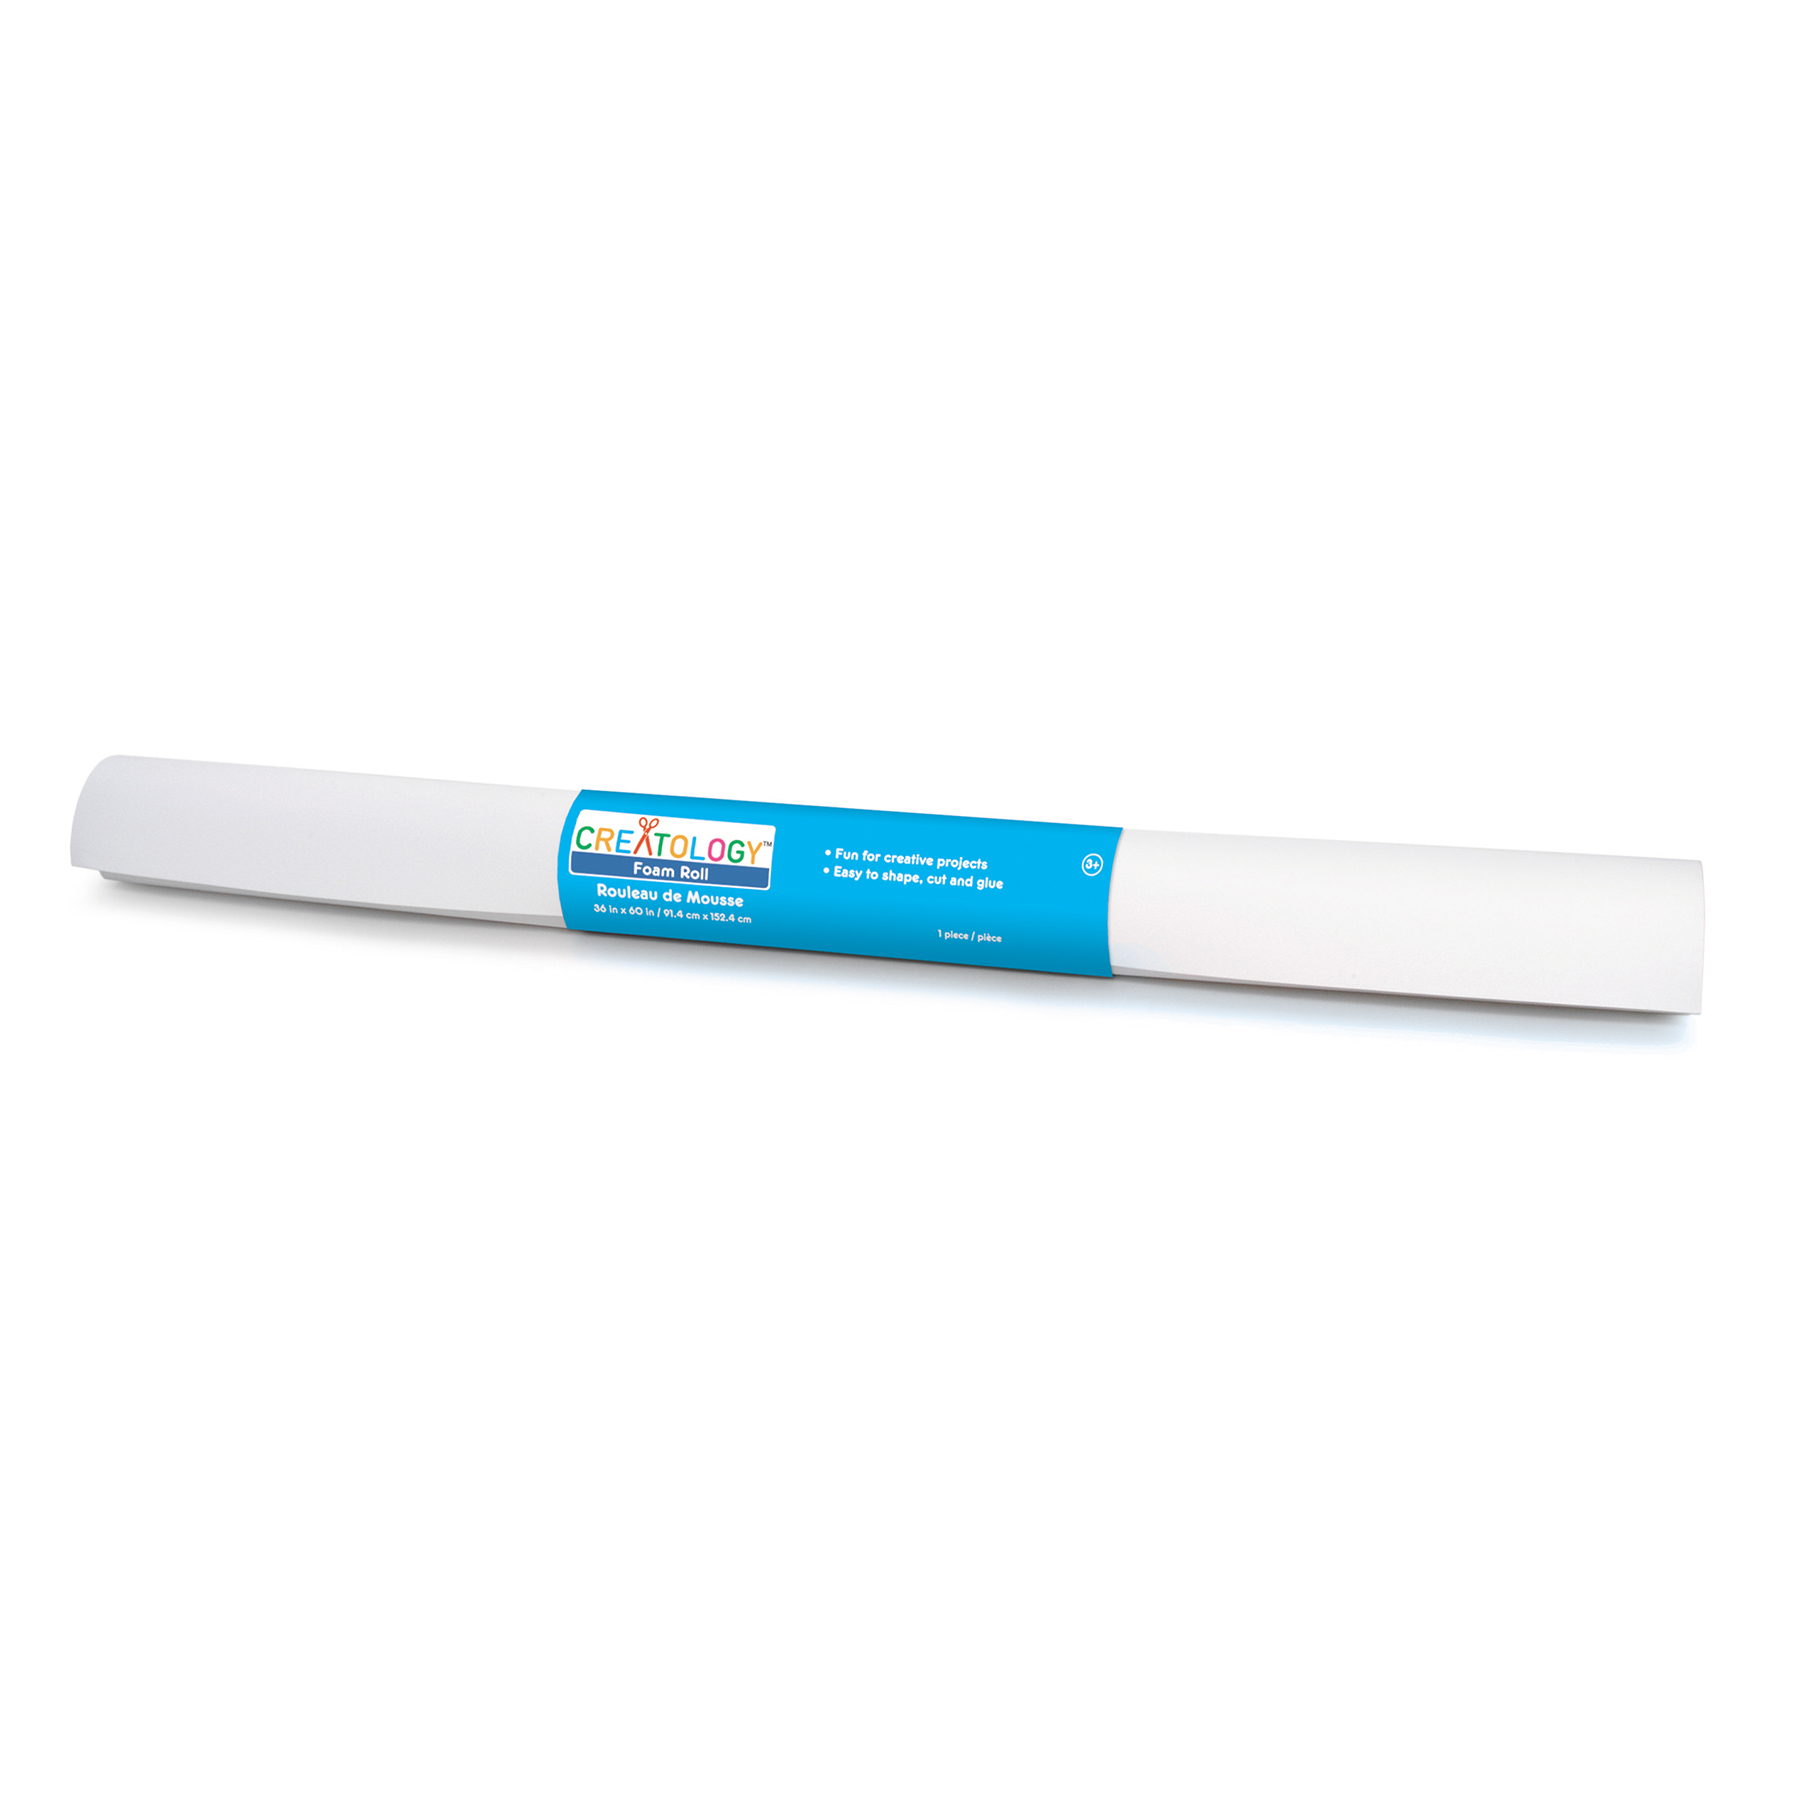
I decided to make the piece as light as possible and to do that I needed to use craft foam. I used white foam from Michael's, as shown below. 

It is a pretty good bang for you buck and gives you a lot of area to work with. I ended up making several different armor pieces before I got it right and having a lot of foam to work with was great.

I snipped big piece off the roll and draped it over my dress foam. I cut out the basic base of the armor. The top worked wretchedly because of the boobs, so I ended up deciding to take a piece together look to pull it off.  I kept the bottom and decided to cut out the top part separately. This meant that I needed to cut out the severely curvy bits (ta-tas). I used an old bra to get the shape I was looking for. 


After that I cut it out and got the basic shape down.


Next I needed the top half. So I took the extra foam that I cut off at the top and cut a neck hole.


Because the Saiyan look is not very Mercy-tastic, I trimmed the shoulders. Plus, I cut out the boob bits to make room for the curved bits.

And here it is in all its boobless wonder!


I am still trying to get the boob parts to shape well, so I this is where I stand for now. 

I am leaving town for Thanksgiving, but I plan on making a post again by Monday. I intend on either having the foam boob bits worked out or starting working on the skirt pieces.

TTFN

Saturday, November 19, 2016

Mercy (Overwatch) Cosplay Progress: November 19 Update


Mercy (Overwatch) Cosplay Progress: November 19 Update


In Janurary, I will be attending Swamp Con in Gainesville, FL. I figured that I would seize this opportunity to take on a video game based cosplay project. I chose to do Mercy from Overwatch.


One of my biggest challenges for this cosplay is going to be the wings, which are essential to Mercy's look. I've never made wings before so I need to get going on this ASAP.

To prevent myself from failing horribly at making progress posts, I am going to be trying to post based on day to day activities instead of completion chunks. 

Wings


I decided to carve my wings out of EVA foam and then cover them in Worbla. I started by purchasing a pattern for the wings through CestLaSara on Etsy. 


I cut out all the lovely pieces and taped them together. I made a wall of Mercy wings in my craft room.


Next, I marked out the general outline on some cardboard and cut the shape out of my EVA foam.


I cut out two pieces for each wing and hot glued them together.


Then, I began shaving down the foam and making crevices with my dremel rotary tool. 


That's all I have for you right now. I will be updating more as I go along. 
Thanks for checking me out!